GE PROPRIETARY TO GE
D
IRECTION 5308917-100, REVISION 8 LOGIQ P3 SERVICE MANUAL
8-4 Section 8-2 - Disassembly/Re-assembly of LOGIQ P3
8-2-4 LCD Assy (FRU P/N: 5315112-1 - LP3, 5396925-1 - LP3 BT10)
Purpose: This is a description on how to remove and replace the LCD Assy.
8-2-4-1 Tools
• Common Phillips screwdrivers
• Allen/Unbraco wrench
8-2-4-2 Needed Manpower
• 1 person, 11 minutes + travel
8-2-4-3 Preparations
• Shut Down the System Switch of the circuit breaker at the bottom rear side of the system.
8-2-4-4 Removal procedure
1) Shut down the Logiq P3 system.
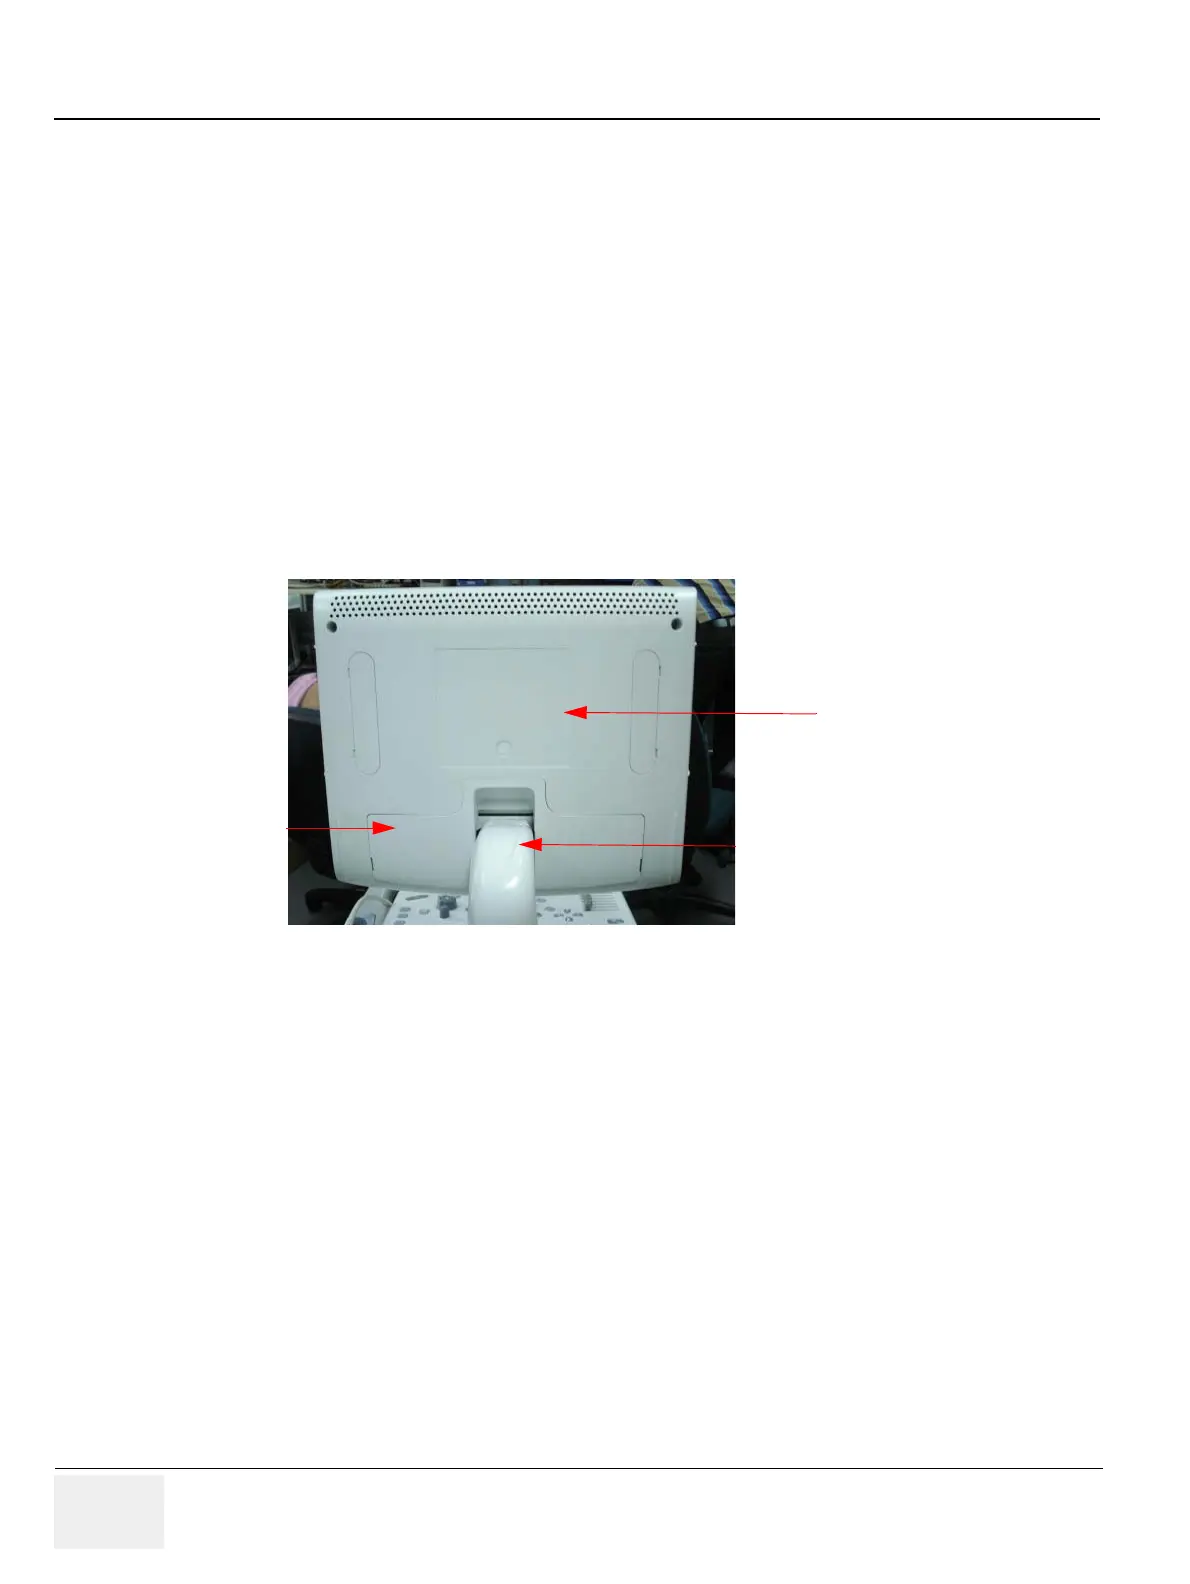
2) LCD monitor rearcover of Logiq P3 system.as shown below Figure 8-1 on page 8-4
Figure 8-1 LCD rear cover
3) Bend down the LCD monitor by 90 degree.
4) Bend the LCD monitor as shown below Figure 8-2 on page 8-5
LCD Rear cover
LCD Arm cover
LCD power
cable cover

 Loading...


