GE HEALTHCARERAFT VOLUSON® P8 / VOLUSON® P6
DIRECTION 5459672-100, R
EVISION 6 DRAFT (JANUARY 17, 2013) PROPRIETARY SERVICE MANUAL
3-54 Section 3-8 - System Configuration
Section 3-8
System Configuration
3-8-1 System Setup
Modifications of system parameters and settings are supported by 4 major groups.
Each major group contains diverse dialog pages and sub windows.
3-8-1-1 To invoke the Setup procedure:
In general operations are done with the trackball and the trackball keys (mouse emulation).
• General: Date, Time, Clinic Name, (EUM) Language, Screen saver, etc.
• User Settings: to save User programs, 3D/4D programs, Auto Text, Doppler 2D Refresh, etc.
• Patient Info Display: Drop Down Management, Capitalize Letter in Patient Names, etc.
• Service tab: conncet the USB “standard GE” dongle and enter the “standard GE revolving”
password (change every six months_ to get access to the Service Tools functions.
• System Info: shows which Software/Hardware version is installed in the system
• Options: shows which options are installed in the system
For information on configuring Software Options refer to Section 8-8 on page 8-19
• Peripherals: Video Norm selection, Foot switch assignment, Add Printer, Edit Printer settings, etc.
• Device Setup: to set up all DICOM, Archive and Network configuration nodes
• Button Configuration: to adjust assignment of Remote keys P1
, P2 and P3/DVR... (e.g, Printer
selection)
• Drives: USB and Network drives: stop devices, map network drive, Erase CD
• System Configuration: Save/Load Settings only, Save/Load/Delete Full System Configuration
• Image Archive: to save or load Image Archive
NOTICE
!! NOTICE:
More detailed information pertaining System Setup adjustments is found in the Basic User Manual; see:
Table 9-10, “System Manuals - Voluson® P8 / Voluson® P6,” on page 9-14.
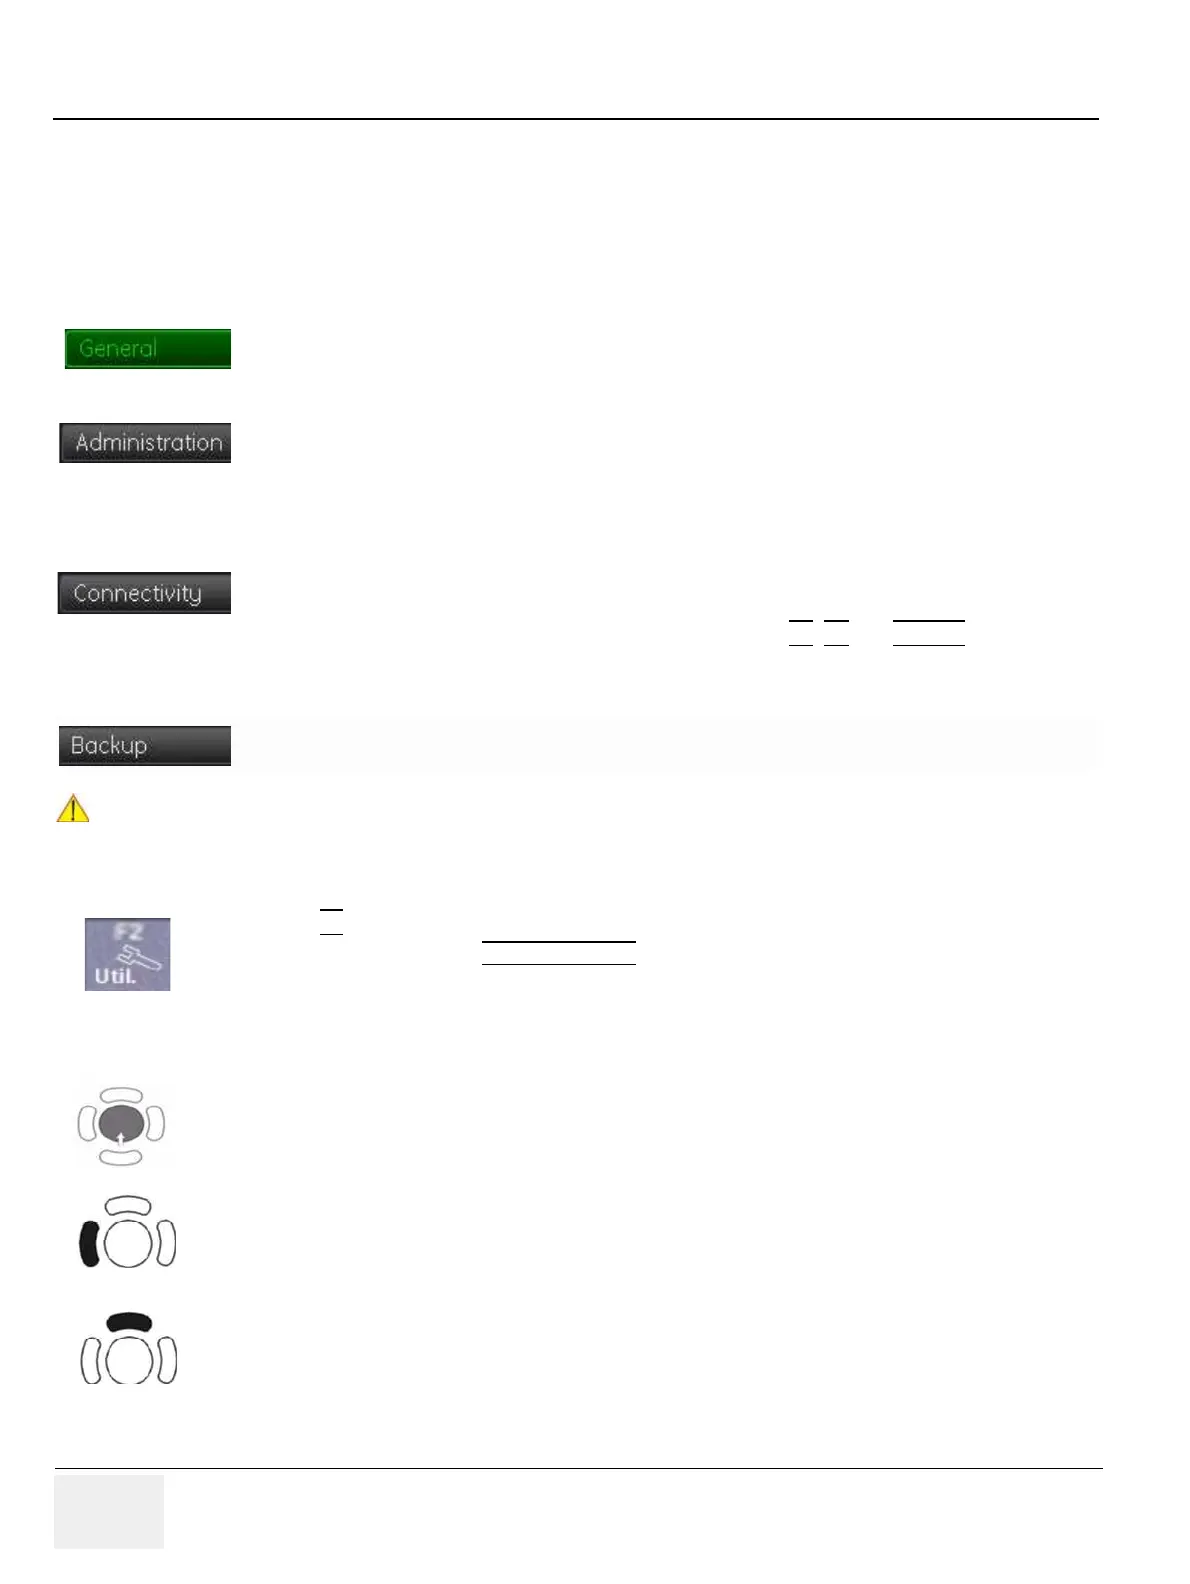
1.) Press the F2
key on the control panel.
2.) In the “Utilities” menu select SYSTEM SETUP
to activate the setup desktop screen.
3.) Select the corresponding major group from the left side of the screen and then click the desired tab.
Trackball (mouse position):
positions the pointing device (arrow) on the desktop
left trackball key (left mouse button):
sets, fixates markers and activates pages/buttons etc. marked by the pointing device
upper trackball key (right mouse button):
no function in system desktop

 Loading...


