GE HEALTHCAREDRAFT VOLUSON® P8 / VOLUSON® P6
DIRECTION 5459672-100, R
EVISION 6 DRAFT (JANUARY 17, 2013) PROPRIETARY SERVICE MANUAL
Chapter 4 - Functional Checks 4-43
4-5-4 Load Full System Configuration (Full Backup) (cont’d)
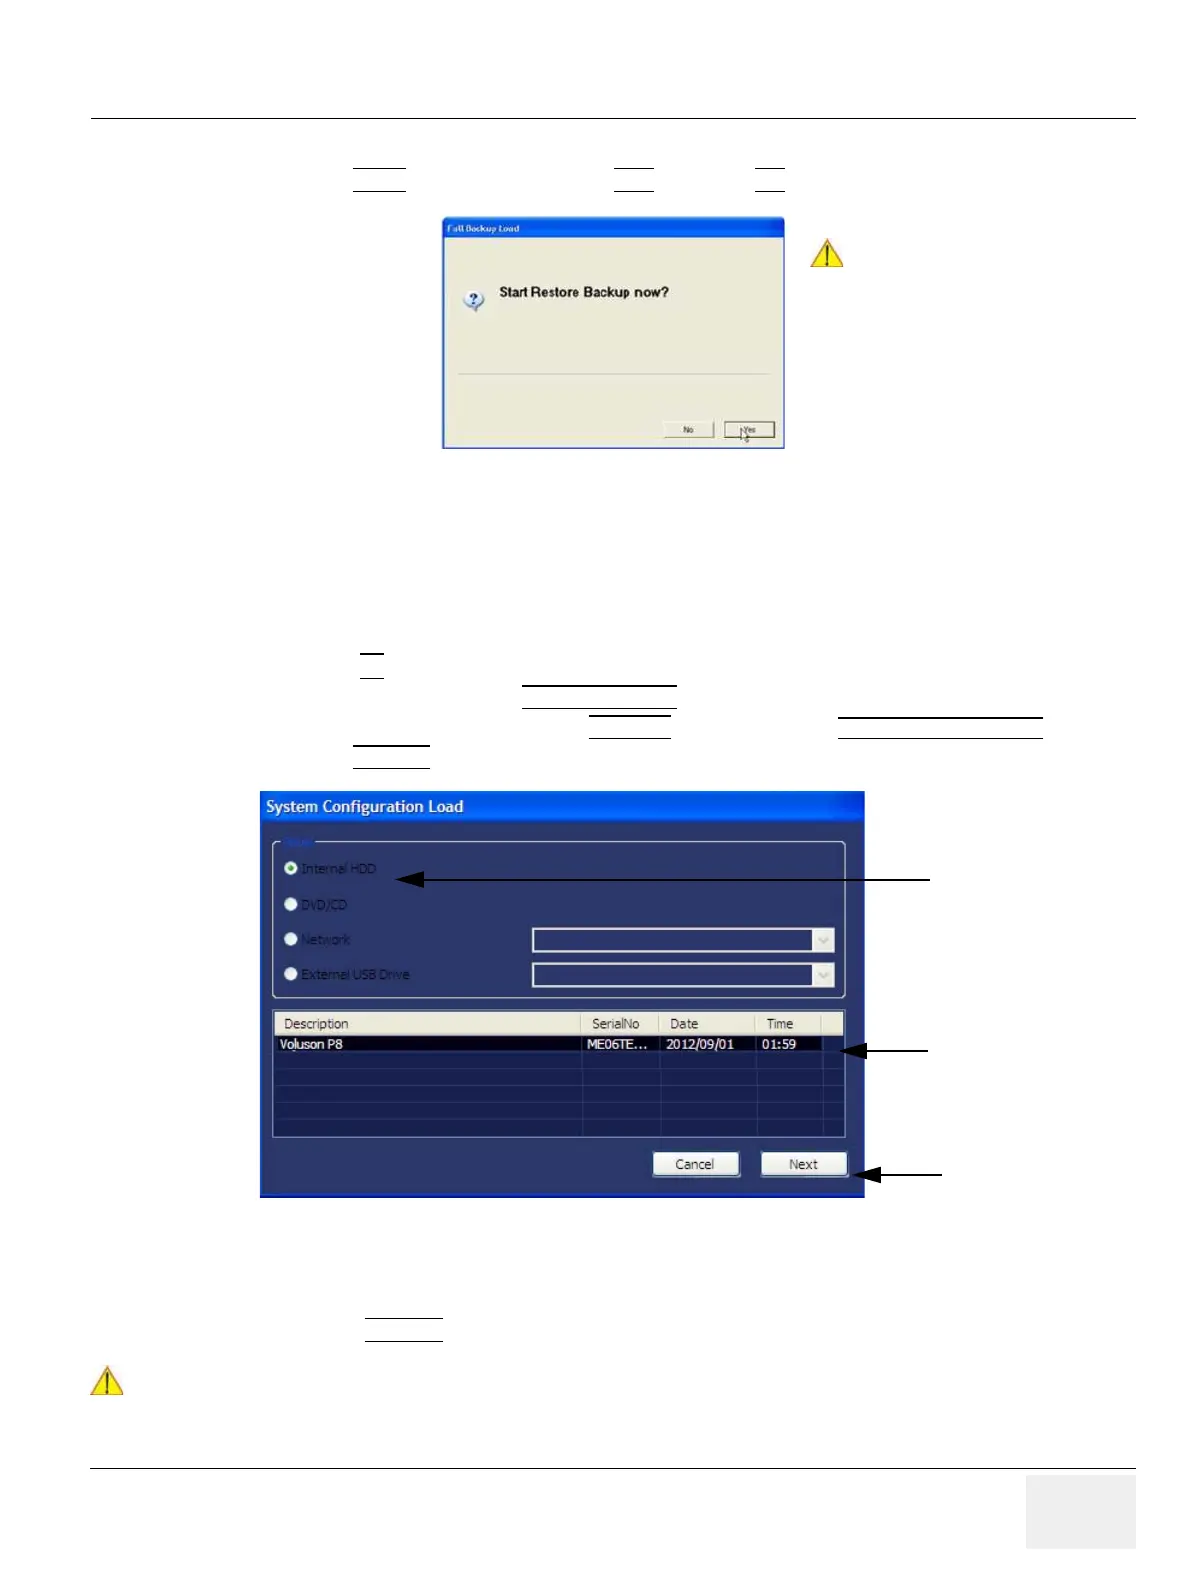
9.) Click the NEXT
button and then select YES to start, or NO to cancel the restore procedure.
After restoring the data, the Voluson® P8 / Voluson® P6 reboots and the application starts again.
10.)Confirm that the date and time are set correctly
4-5-5 Delete Full System Configuration (Full Backup)
1.) Press the F2 key on the control panel.
2.) In the “Utilities” menu select SYSTEM SETUP
to invoke the setup desktop on the screen.
3.) On the left side of the screen select BACKUP
and then click the SYSTEM CONFIGURATION tab.
4.) Click the DELETE
button of the “Full System Configuration” group.
5.) Choose the Destination.
6.) Click on the backup to be deleted (additional information is displayed in the table).
7.) Select the DELETE
button.
Figure 4-30 Start Restore Backup now?
Figure 4-31 System Configuration Delete
WARNINGWARNING
!! WARNING:
There is no “ UNDO” function for this action!
WARNINGWARNING
!! WARNING:
When clicking “YES”, the
current data on the system
will be permanently replaced
by the data of the backup and
can not be restored!
Choose Destination
Select Backup
Click [Delete]

 Loading...


