GE HEALTHCARERAFT VOLUSON® P8 / VOLUSON® P6
DIRECTION 5459672-100, R
EVISION 6 DRAFT (JANUARY 17, 2013) PROPRIETARY SERVICE MANUAL
3-26 Section 3-6 - Completing the Set Up
3-6-2-3 During a normal boot, you may observe
A.) Power is distributed to Peripherals, Operator Panel (control panel), Monitor, Front-End and
Back-End Processor.
B.) The Back-End Processor and rest of the scanner starts with the sequence listed in following steps:
1.) First of all, the BIOS version is shown on the monitor.
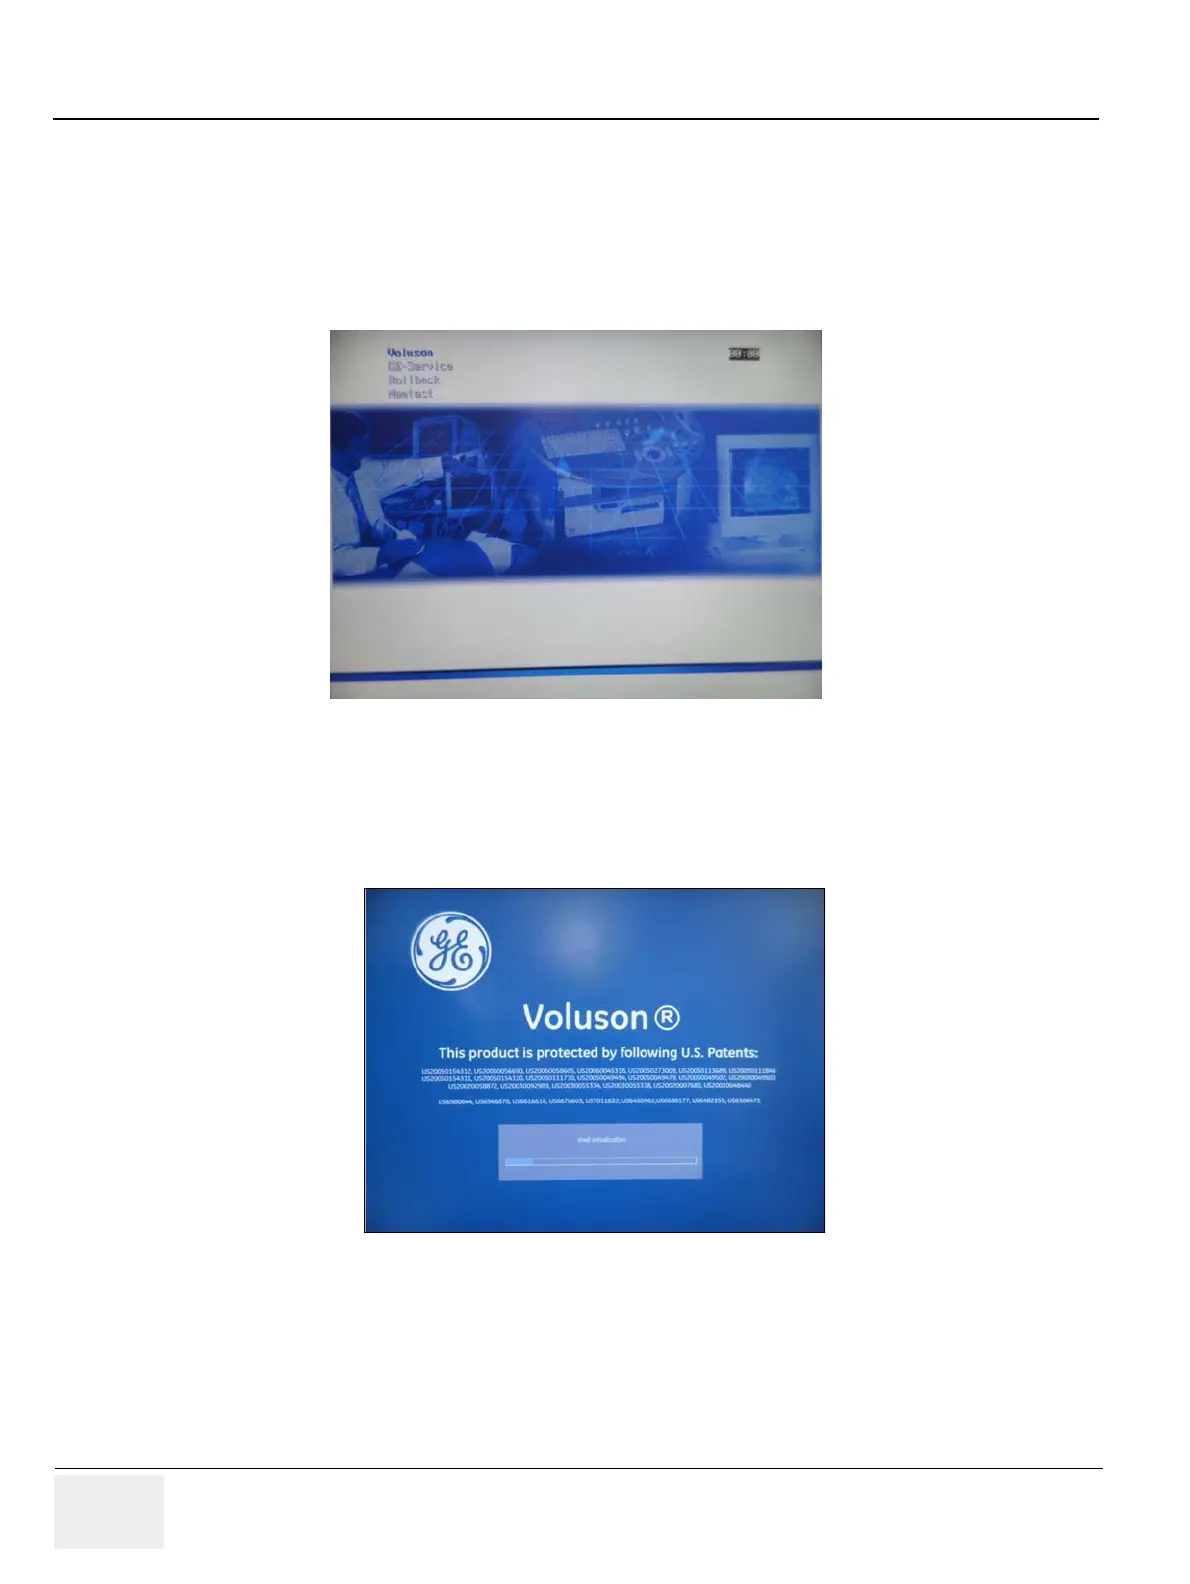
2.) Afterwards the “Boot Screen” is displayed. (Voluson is highlighted, Figure 3-15 below).
3.) Back-End Processor is turned ON and starts to load the software.
4.) The Start Screen (Voluson® P8 / Voluson® P6) is displayed on the monitor.
5.) Start-up progress bars indicating software loading procedures, are displayed on the monitor,
as shown in Figure 3-16 below.
6.) The software initiates and sets up the Front-End electronics and the rest of the scanner.
7.) The Keyboard backlight is lit.
8.) As soon as the software has been loaded, the 2D screen is displayed on the monitor.
Figure 3-15 Boot screen
Figure 3-16 GE Healthcare wallpaper with progress bar

 Loading...


