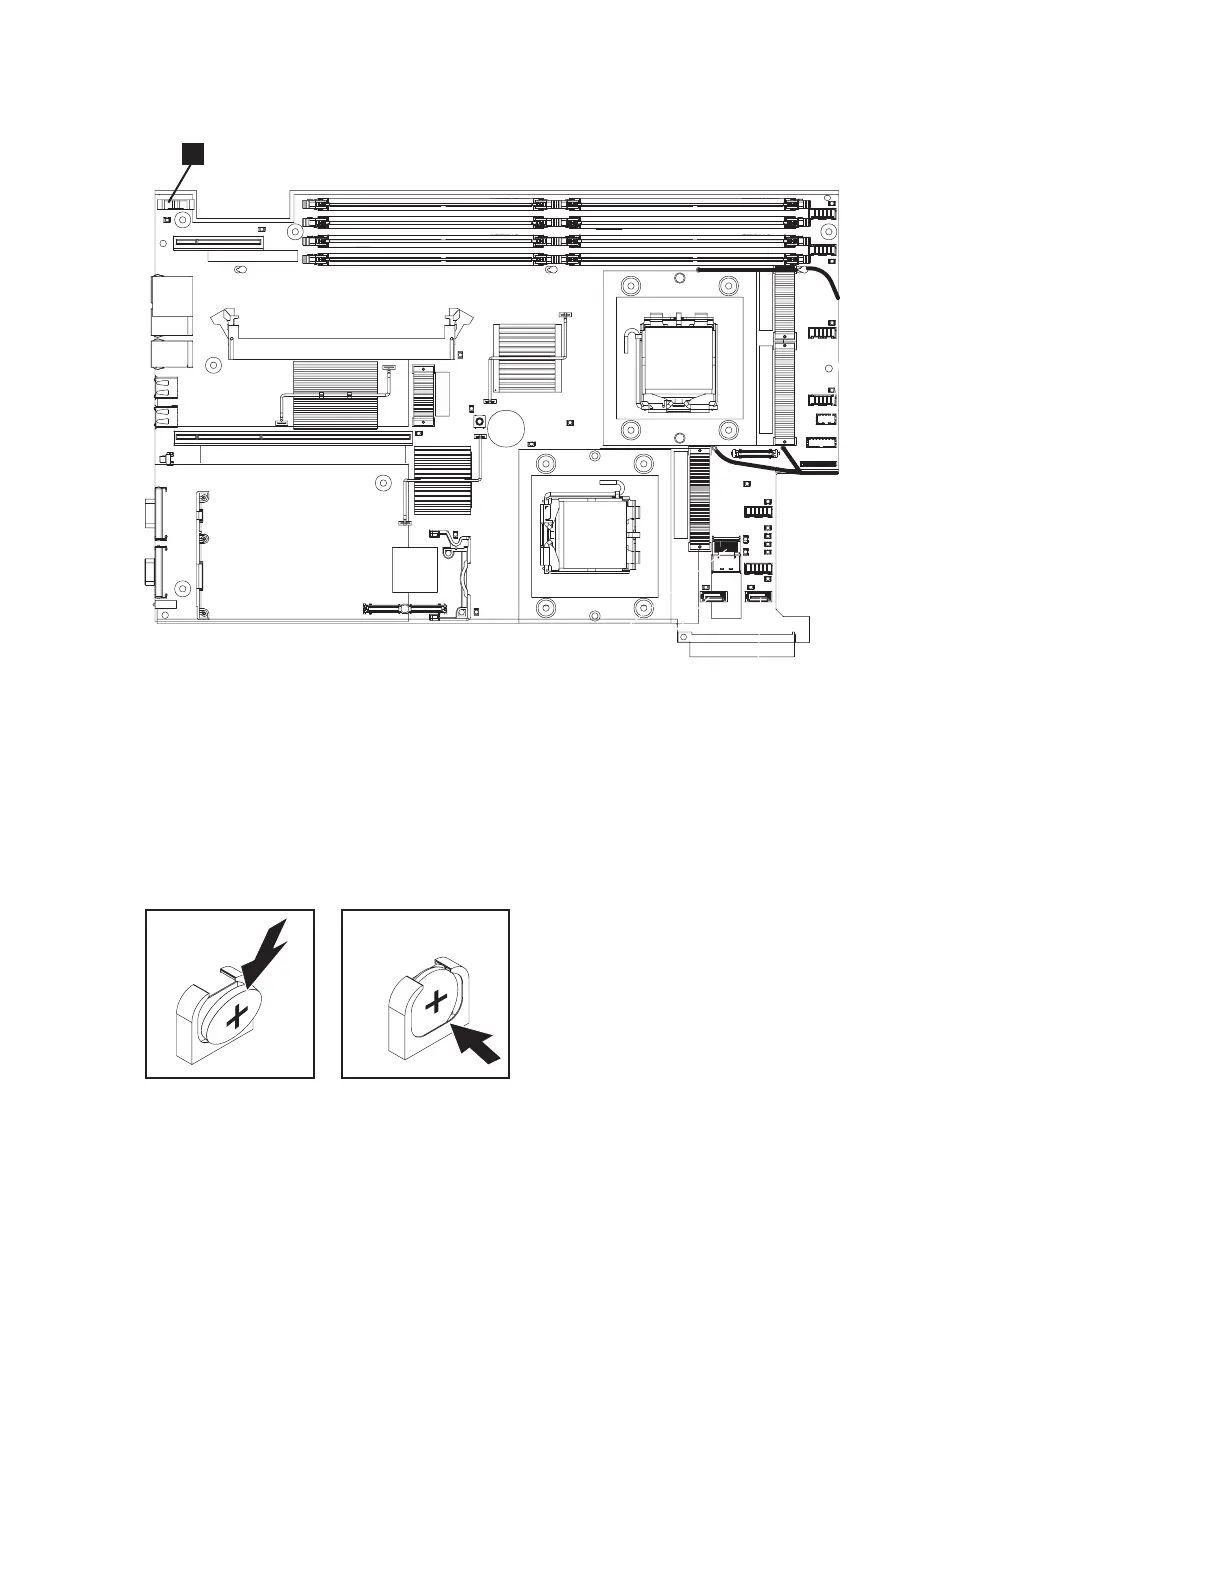
3. Insert the new battery:
a. Tilt the battery so that you can insert it into the socket on the side opposite the battery clip.
b. Press the battery down into the socket until it clicks into place. Make sure that the battery clip
holds the battery securely, as shown in Figure 145.
4. Replace the top cover. See “Replacing the top cover” on page 81.
5. Place the node in the rack. See “Replacing the SAN Volume Controller in a rack” on page 55.
6. Reconnect the external cables, and then reconnect the power cords and the node.
7. If there is a problem restarting the node, see MAP 5900 and then connect a monitor and keyboard to
the system and reset the BIOS date and time.
Replacing the SAN Volume Controller 2145-8F4 or SAN Volume Controller
2145-8F2 CMOS battery
This product was designed with your safety in mind. The lithium battery must be handled correctly to
avoid possible danger. If you replace the battery, you must adhere to all safety instructions.
1
svc00301
Figure 144. Location of the SAN Volume Controller 2145-8G4 CMOS battery holder
svc00275
Figure 145. SAN Volume Controller 2145-8G4 CMOS battery holder
Chapter 2. Removing and replacing parts 153
 Loading...