Configuring the Switch
3-92
3
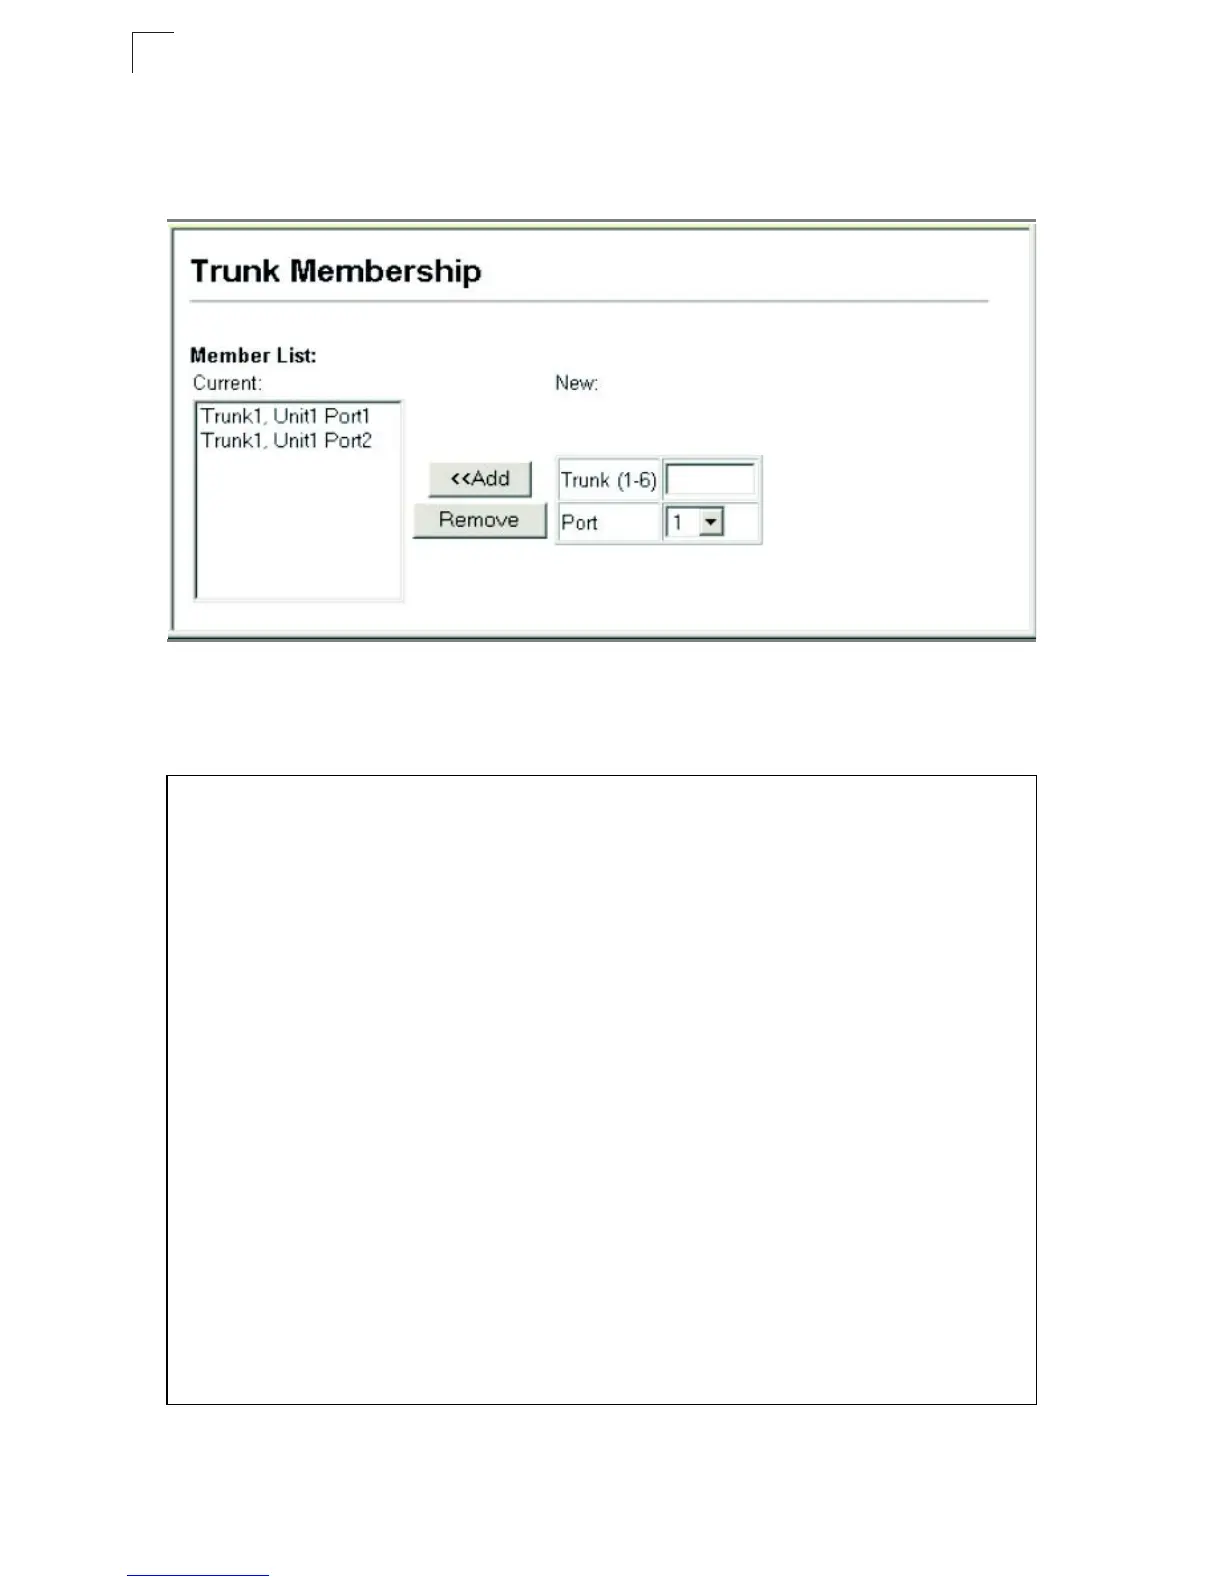
Web – Click Port, Trunk Membership. Enter a trunk ID of 1-6 in the Trunk field,
select any of the switch ports from the scroll-down port list, and click Add. After you
have completed adding ports to the member list, click Apply.
Figure 3-56. Statically Configuring a Trunk
CLI – This example creates trunk 2 with ports 1 and 2 on the V2H124-24FX. Just
connect these ports to two static trunk ports on another switch to form a trunk.
Console(config)#interface port-channel 2 4-151
Console(config-if)#exit
Console(config)#interface ethernet 1/1 4-151
Console(config-if)#channel-group 2 4-165
Console(config-if)#exit
Console(config)#interface ethernet 1/2
Console(config-if)#channel-group 2
Console(config-if)#end
Console#show interfaces status port-channel 2 4-158
Information of Trunk 2
Basic information:
Port type: 100FX
Mac address: 00-01-F4-73-7E-21
Configuration:
Name:
Port admin: Up
Speed-duplex: 100full
Capabilities: 100full
Flow control: Enabled
Port security: Disabled
Max MAC count: 0
Current status:
Created by: User
Link status: Down
Operation speed-duplex: 100full
Flow control type: Dot3X
Member Ports: Eth1/1, Eth1/2,
Console#