80209C_MHW_850-1650-1850_01-2020_ITA_pag. 261
8. MAINTENANCE
Attention!
The controller must be repaired only by technicians trained and authorized by Gefran. Any attempt by unautho-
rized personnel to repair or change the hardware characteristics of the controller will void the warranty.
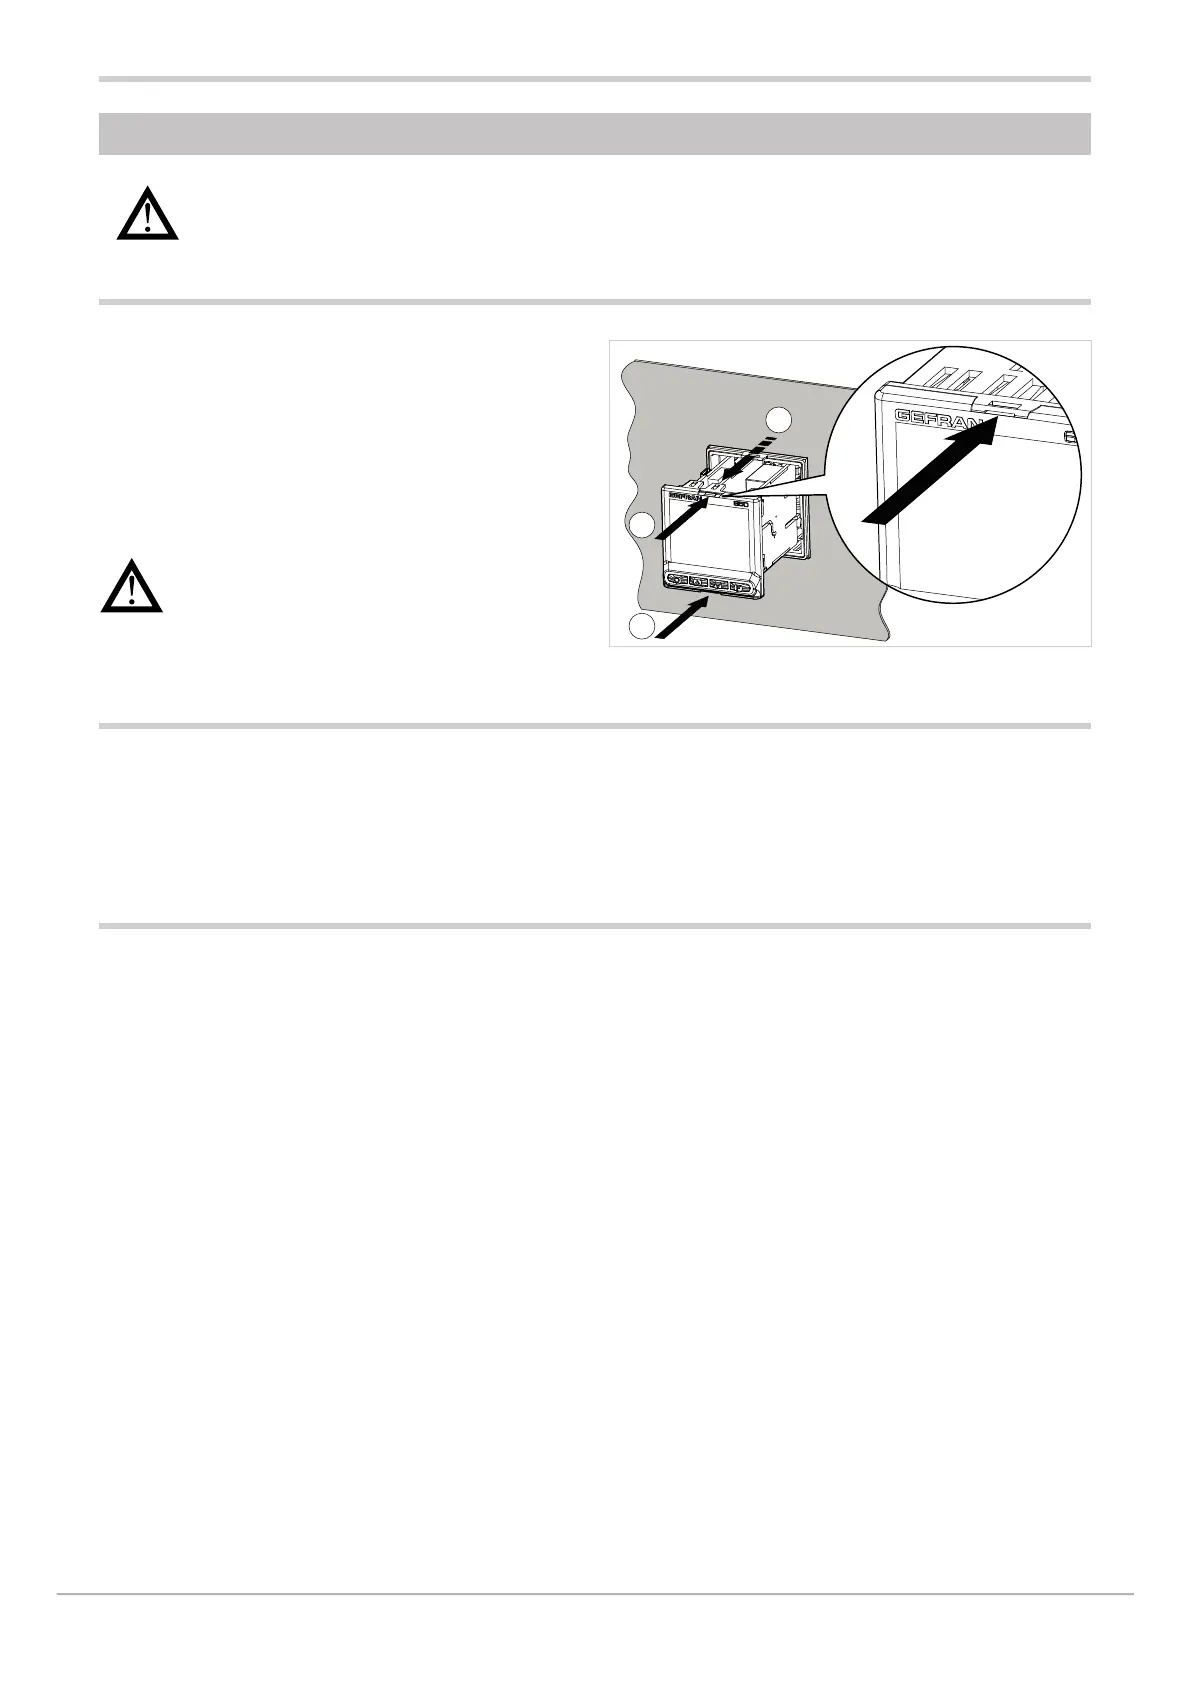
8.1. Replacing the controller
The instrument (display + electronic circuits) can be replaced
without having to remove the entire controller from the panel
and disconnect its cables.
First switch off the power supply to the controller and to the
other devices connected to it.
Then release the top and bottom of the faceplate and remove
the instrument (see figure).
Insert the new instrument and switch on the power supply.
Attention! Replace the entire controller if the blade
contacts inside the instrument or the protective
case show traces of burns or are not in perfect
condition.
1
1
2
8.2. Replacing the gasket
The gasket may lose efficiency over time and due to environ-
mental conditions.
To maintain IP65 faceplate protection, replace the gasket
(between faceplate and case and between case and panel)
at regular intervals.
To replace the gasket between the case and the panel you
have to disassemble the controller from the panel and then
reassemble it; to replace the gasket between the faceplate
and the case, follow the instructions for replacing the con-
troller).
8.3. Cloning the configuration
The configuration of one controller can be cloned to another
controller by means of a PC or the optional ZAPPER
accessory.
With a PC (and GF_eXpress software):
1. With the appropriate cable, connect the controller
(with the configuration to be cloned) to the PC.
2. Read all of the controller configuration parameters
and save them in a file (recipe).
3. Disconnect the controller.
4. Connect the controller to be configured to the PC.
5. Download the saved configuration to the controller.
6. Disconnect the configured controller
With the ZAPPER accessory:
1. Connect the ZAPPER to the controller with the
configuration to be cloned.
2. Press the read key on the ZAPPER: the green LED
starts flashing. DO NOT disconnect the ZAPPER while
the LED is flashing.
3. After a short time the green LED lights up steadily.
A rapidly flashing red LED means that the read proce-
dure failed. Disconnect the controller.
4. Connect the ZAPPER to the controller to be configured.
5. Press the write key on the ZAPPER: the green LED
starts flashing. DO NOT disconnect the ZAPPER while
the LED is flashing.
6. After a short time the green LED lights up steadily.
A rapidly flashing red LED means that the write proce-
dure failed.
7. Disconnect the configured controller.
 Loading...