7
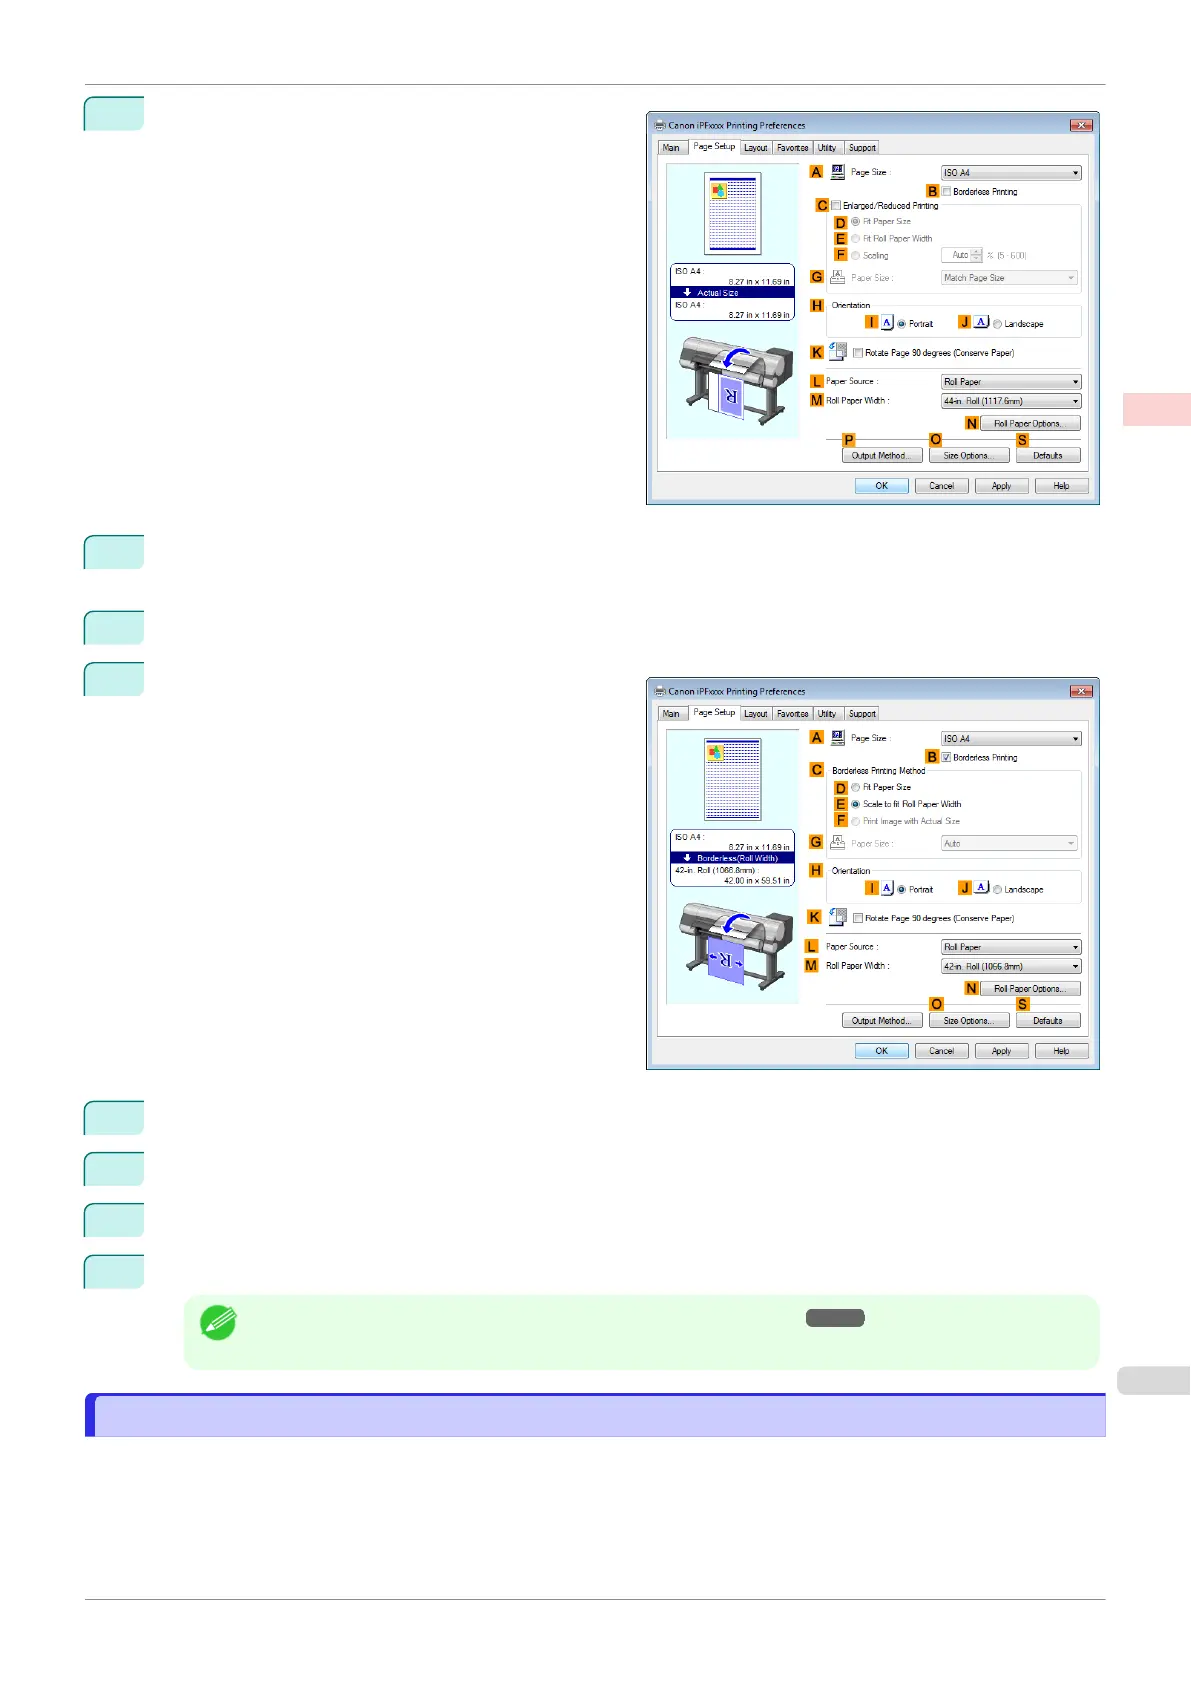
Click the Page Setup tab to display the Page Setup
sheet.
8
In the A Page Size list, click the size of the original as specified in the source application. In this case, click
10"x12".
9
Select and click a roll paper in the L Paper Source list.
10
Select the B Borderless Printing check box to dis-
play the Information dialog box.
11
Select the width of the loaded roll in the Roll Paper Width list—in this case, click 10-in. Roll (254.0mm).
12
Click OK to close the Information dialog box.
13
In C Borderless Printing Method, click F Print Image with Actual Size.
14
Confirm the print settings and print as desired.
Note
•
For tips on confirming print settings, see "Confirming Print Settings ." ➔P.149
Borderless Printing at Actual Size (Mac OS)
Borderless Printing at Actual Size (Mac OS)
This topic describes how to print borderlessly at actual size based on the following example.
iPF830
Borderless Printing at Actual Size (Mac OS)
User's Guide
Enhanced Printing Options Printing at full size
77
 Loading...