GE HEALTHCARE
DIRECTION 5394152, Revision 5
LOGIQ™ P6/P6 PRO SERVICE MANUAL
Chapter 4 - Page 4-37
Section 4-9Board Function Checks
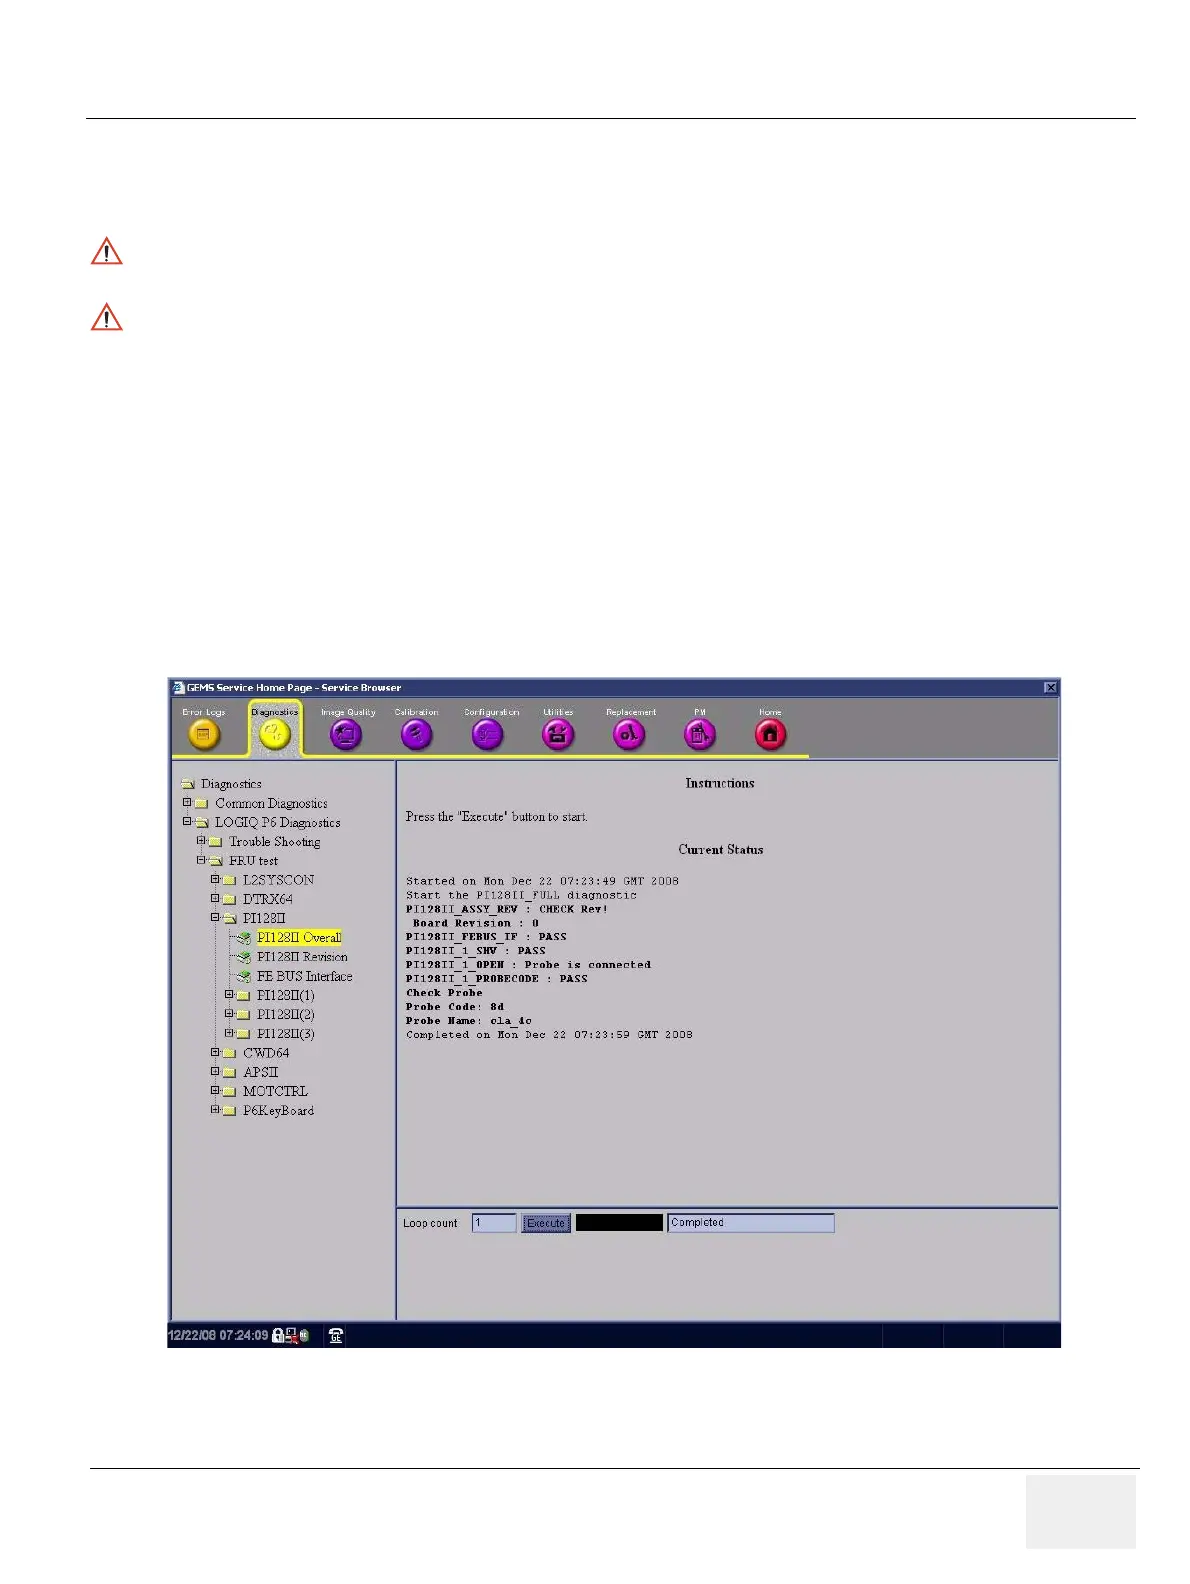
4-9-1 PI128II Assy function check procedure
1.) Turn on the system.
2.) After completion of echoloader loading, connect probe on port 1. Refer to the 4-3-7-1 "Connecting
a probe" on page 4-10.
3.) Log into “Service Login”. Refer to the 5-7-2 "Global Service User Interface (GSUI)" on page 5-24.
4.) Click “Diagnostics” on top menu.
5.) On left folder window, select 'LOGIQ P6 Diagnostics' => 'FRU test' => 'PI128 II'.
6.) Select 'PI128 II Overall' and execute test.
7.) All diagnostic test items shall be passed. Refer to the figure below.
NOTE: For LP6 PRO, select 'LOGIQ P6 PRO Diagnostics' => 'FRU test' => 'P3RLY' and execute test.
8.) Shut down the system.
9.) Restart the system.
WARNINGWARNING
When Service Login for FRU Diagnostic, scan mode must be B-mode. After Diagnostic is completed,
the system should be rebooted
WARNINGWARNING
Diagnostics should be performed with probes which have 128 or more elements
Figure 4-35 PI128II diagnostic test
 Loading...


