GE HEALTHCARE
DIRECTION 5394152, Revision 5
LOGIQ™ P6/P6 PRO SERVICE MANUAL
Page 10-10 Section 10-3 - Maintenance Task Schedule
10-5-4-2 Air Filter Cleaning
NOTE: For your convenience or of the air filter is too dirty, replacement filters are available. refer to
Chapter 9 for the air filter replacement part number.
10-5-5 Physical Inspection
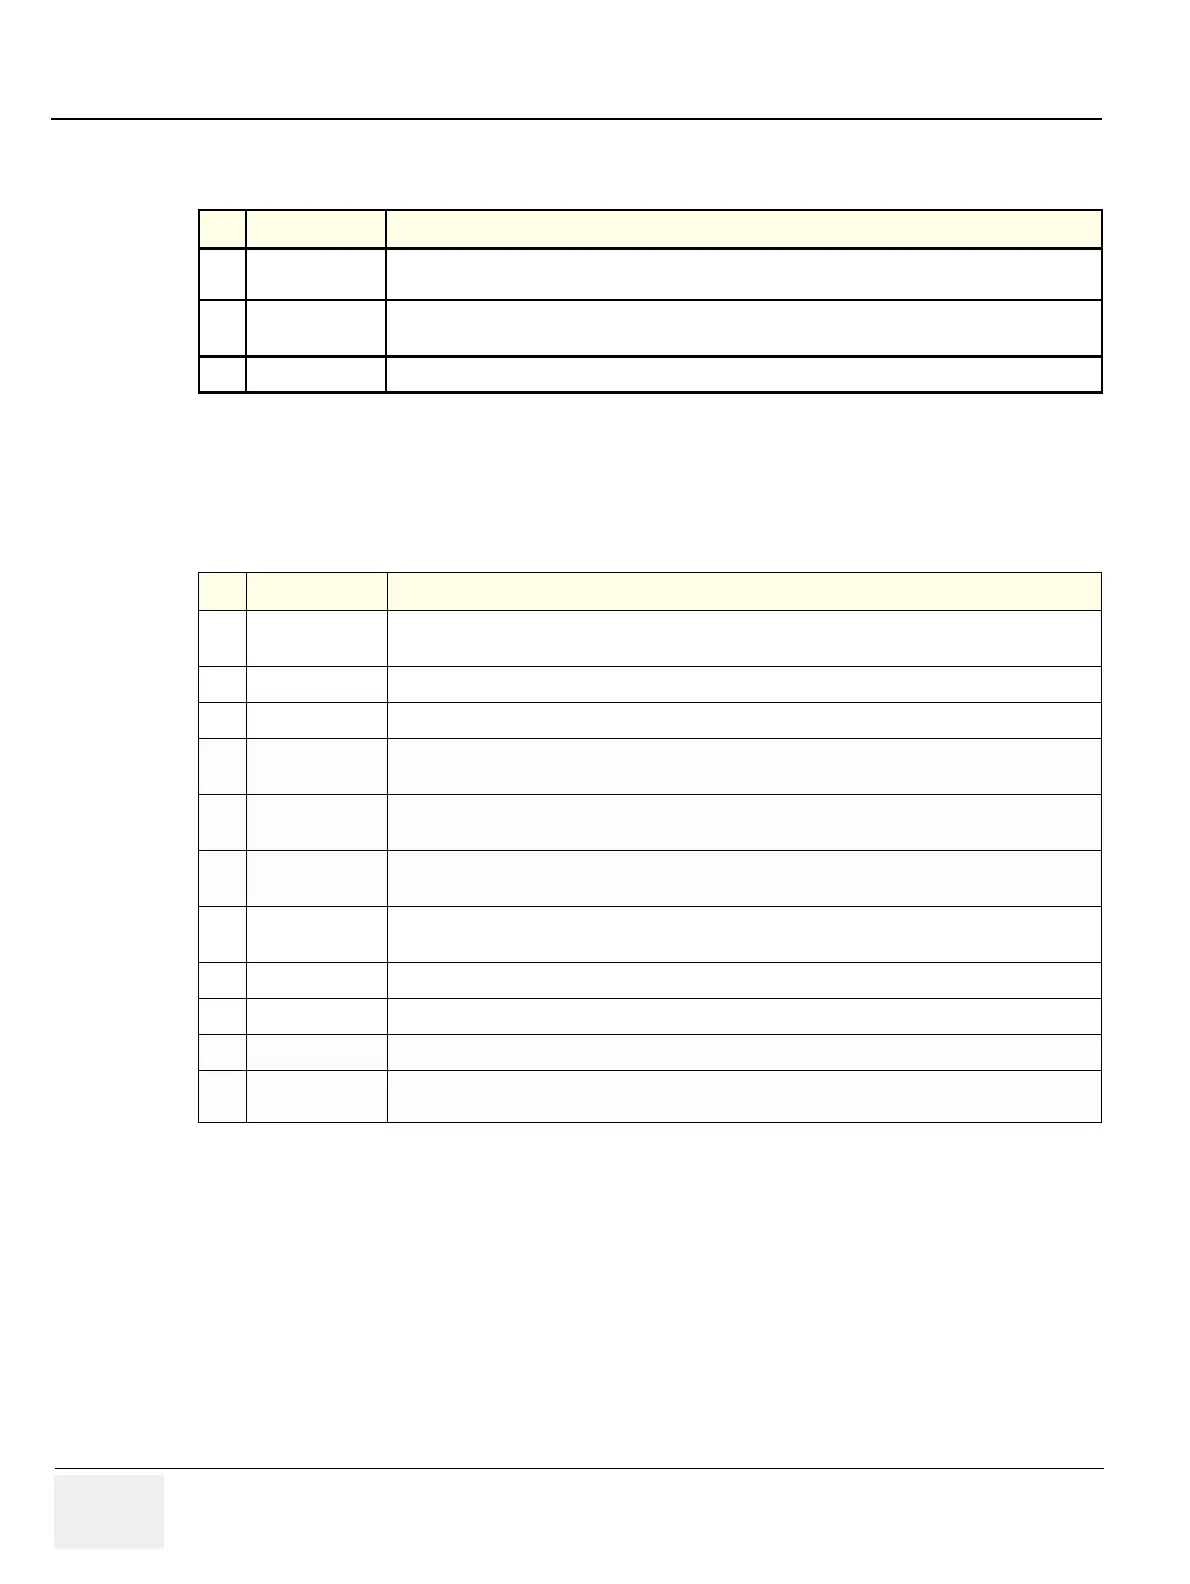
Table 10-11 Air Filter Cleaning - frequency varies with your environment
Step Item Description
1
Remove Filter
Cover
refer to Chapter 8 for air filter location and removal instructions.
2 Clean Filter
The filters can be cleaned in sprinkling water, or they can be dusted with a vacuum cleaner. If the filter
is metal wash and/or vacuum. If the filter is fiber or plastic vacuum or replace.
3 Install Filter
Install the clean filter.
Table 10-12 Physical Checks
Step Item Description
1 Labeling
Verify that all system labeling is present and in readable condition. refer to the LOGIQ™ P6/P6 Pro
User Manual for details.
2 Scratches & Dents
Inspect the console for dents, scratches or cracks.
3 Control Panel
Inspect keyboard and control panel. Note any damaged or missing items.
4
Control Panel
Movement
Verify ease of control panel (Operator I/O Panel) movement in all acceptable directions. Ensure that
it latches in position as required.
5 Wheels & Brakes
Check all wheels and casters for wear and verify operation of foot brake, to stop the unit from moving,
and release mechanism. Check all caster locks and caster swivel locks for proper operation.
6
Cables &
Connectors
Check all internal cable harnesses and connectors for wear and secure connector seating. Pay
special attention to footswitch assembly and probe strain or bend reliefs.
7
Shielding &
Covers
Check to ensure that all EMI shielding, internal covers, air flow panels and screws are in place.
Missing covers and hardware could cause EMI/RFI problems while scanning.
8 External I/O
Check all connectors for damage and verify that the labeling is good.
9 Op Panel Lights
Check for proper operation of all operator panel and TGC lights.
10 Monitor Light
Check for proper operation of any monitor lights if available.
11
External
Microphone
Check for proper operation of any external microphones by recording an audio test.
 Loading...


