Vertical Setups Probe Controls Window
To use
1. Click a Chan <1–4> tab to select the vertical input channel for the attached probe.
2. To set the external attenuation a s a multiplier or ratio, click in the External Atten entry box and use a
multipurpose knob to enter a value.
3. To set the external attenuation as d B values, click in the External Atten (dB) entry box and use a
multipurpose knob to enter a value.
4. To set the external attenuation to the default value, click Set to Unity.
Behavior
Each input channel has its o wn external attenuation settings. The attenuation control is automatically set
to the correct value when you attach a probe with a TekProbe/TekVPI interface
(see page 491) to the
instrument. You can change the external attenuation b y entering a multiplier or ratio in the top control,
or by entering a dB value in the lower control.
When you return the attenuation to the default value, the multiplier returns to 1, and the dB value returns to
zero.
What do you want to do next?
Return to the Vertical Setup control window overview. (see page 481)
Probe C ontrols Window
From the Vertical menu, select Probe Controls.
Overview
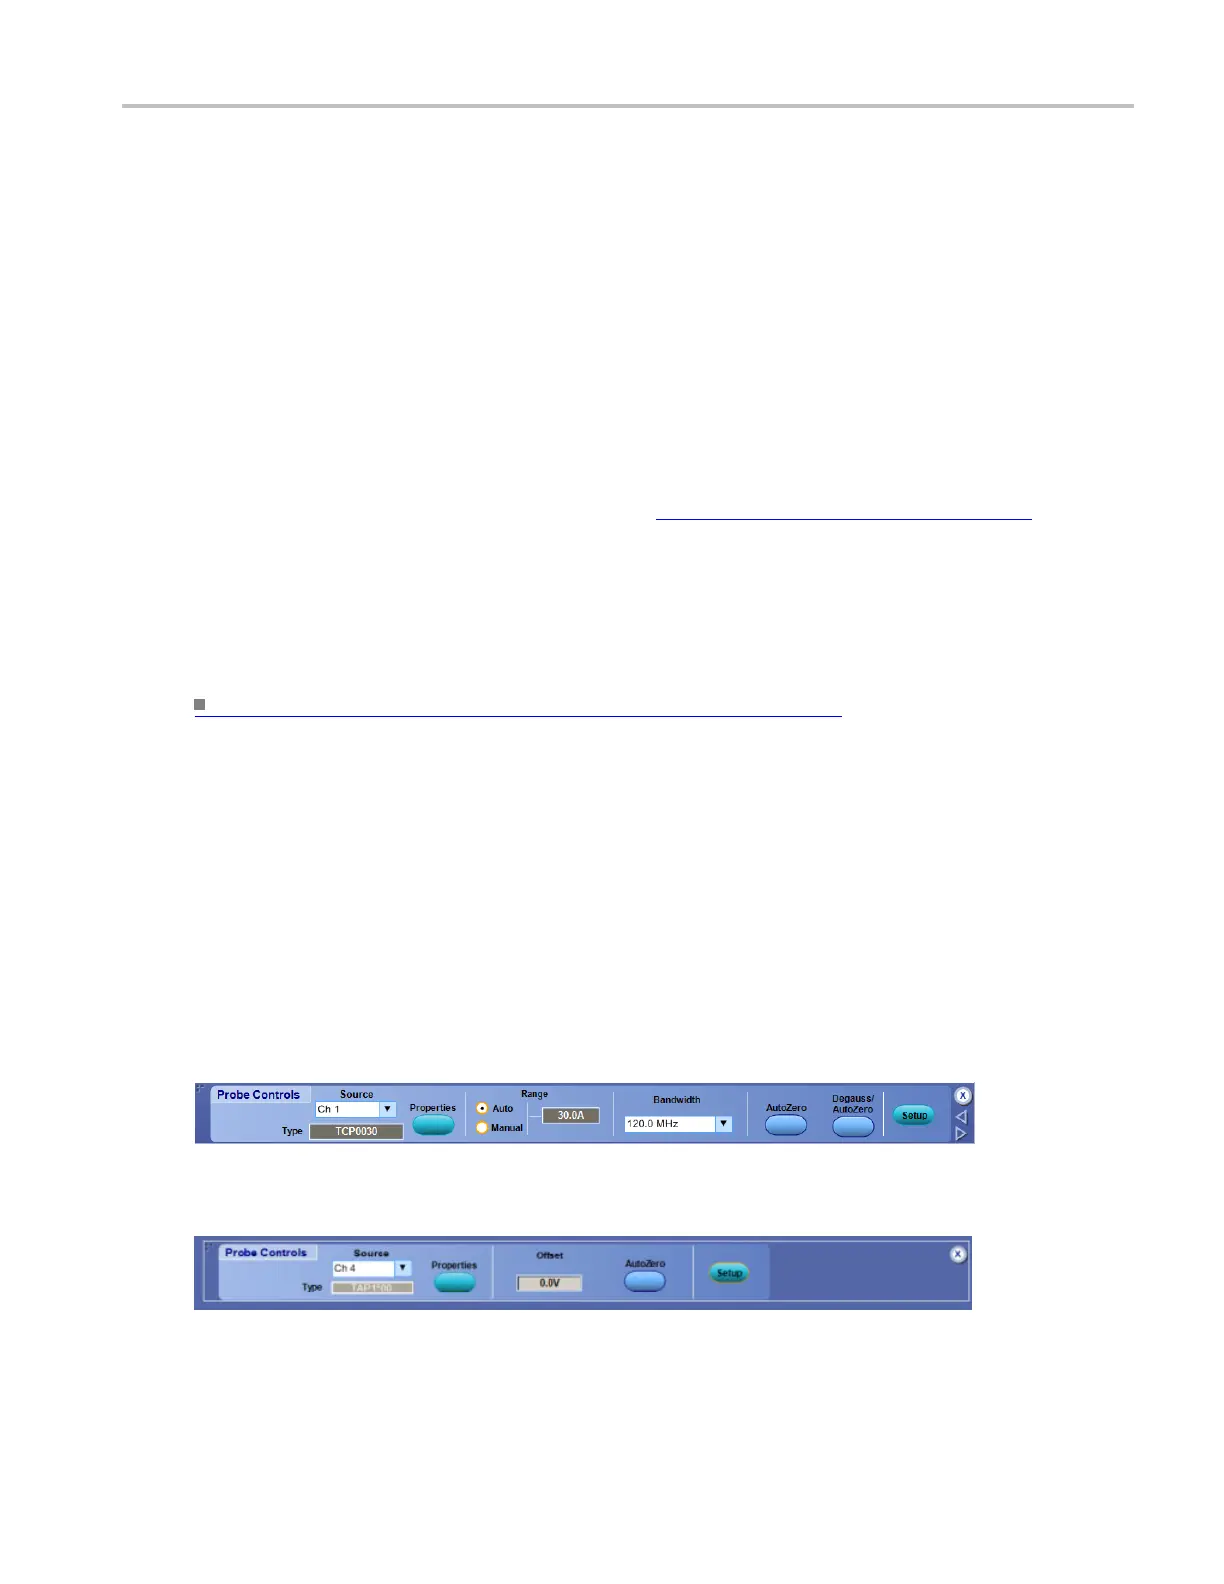
Use the controls in these windows to operate a probe while taking measurements.
The type of probe you connect determines the available controls. For example, the window below contains
controls for a Tektronix current probe.
The following window contains controls for Tektronix TAP1500/TAP2500 type probes.
This window contains controls for Tektronix TriMode probes.
DSA/DPO70000D, MSO/DPO/DSA70000C, DPO7000C, and MSO/DPO5000 Series 507
 Loading...


