PERIODIC MAINTENANCE
3-4
EAS30619
CHECKING THE FUEL LINE
The following procedure applies to all of the fuel,
vacuum and breather hoses.
1. Remove:
• Rider seat
Refer to “GENERAL CHASSIS (1)” on page
4-1.
• Fuel tank top cover
• Fuel tank cover (left)
• Fuel tank cover (right)
• Fuel tank center cover
• Fuel tank front cover
Refer to “GENERAL CHASSIS (4)” on page
4-11.
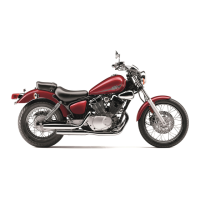
• Rear fuel tank bracket bolts “1”
After removing the rear fuel tank bracket bolts,
lift up the rear of the fuel tank.
ECA20070
When lifting up the fuel tank, be careful not
to pull the fuel tank overflow hose and fuel
tank breather hose.
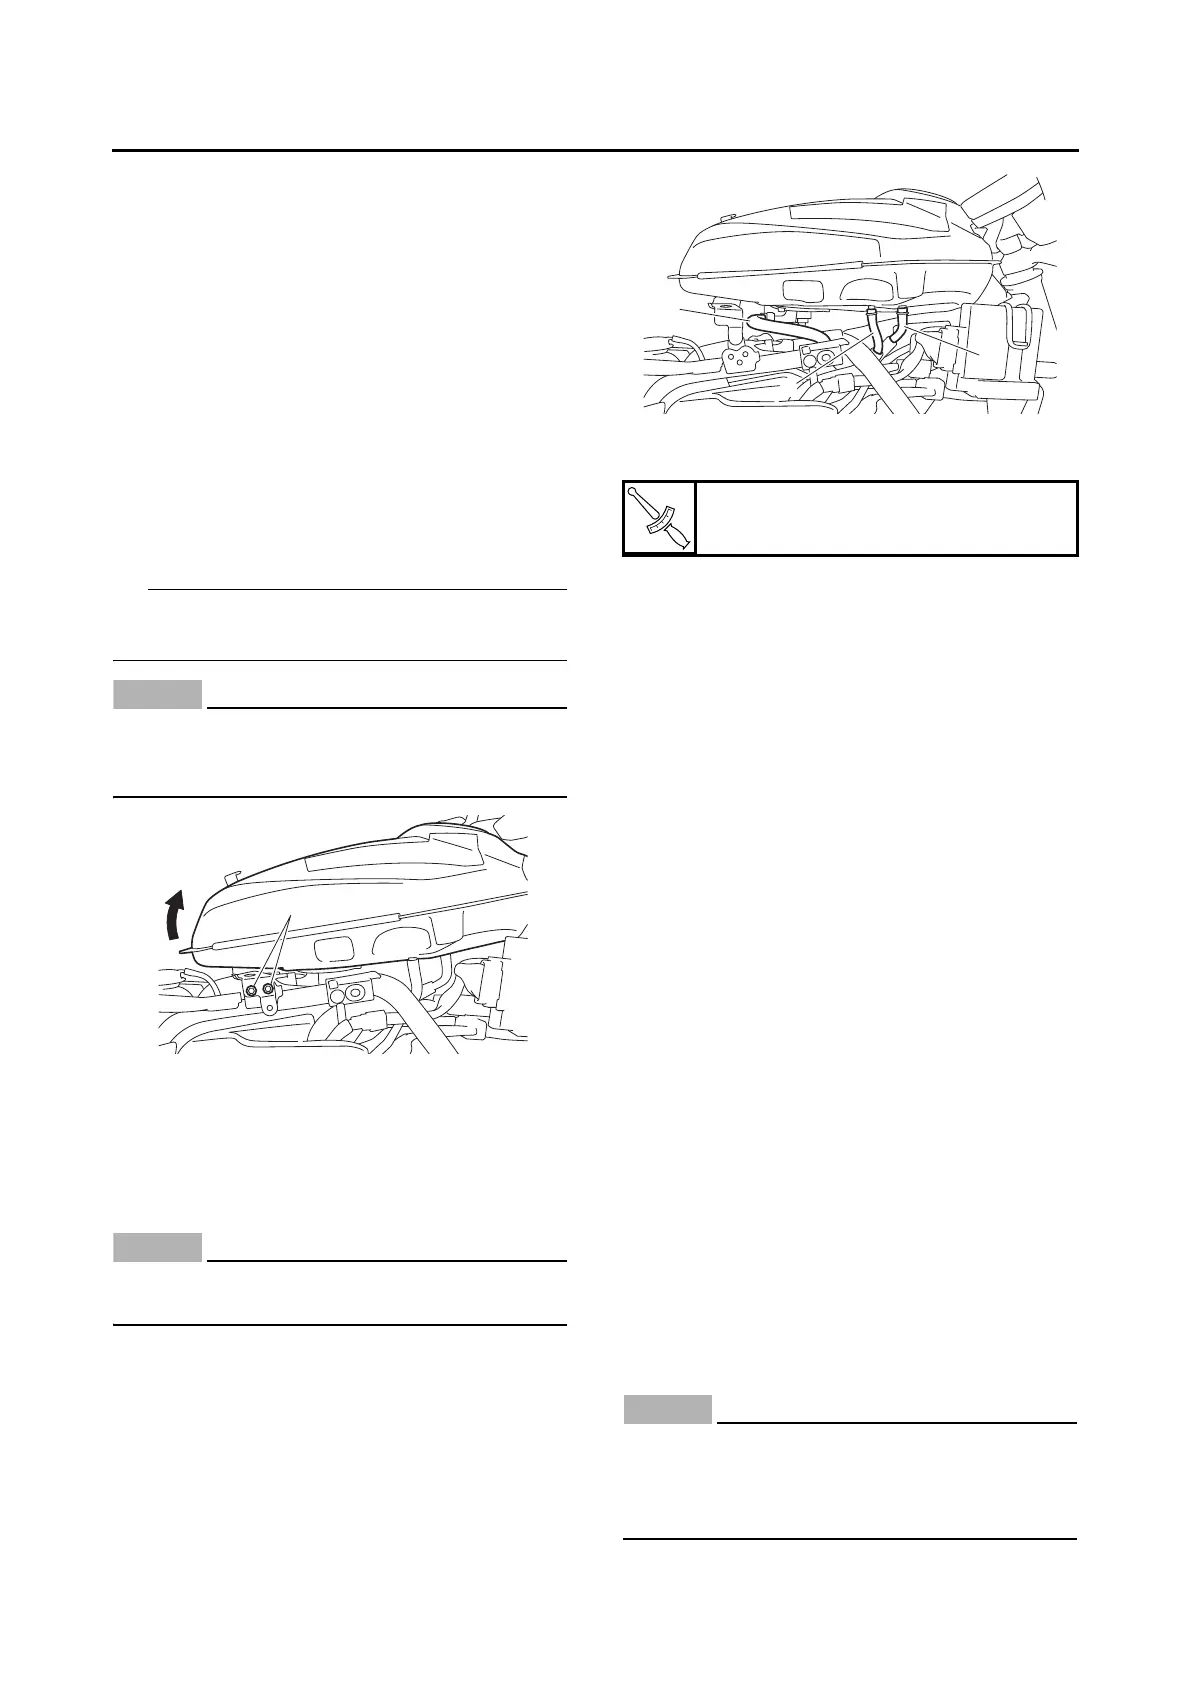
2. Check:
• Fuel hose “1”
• Fuel tank overflow hose “2”
• Fuel tank breather hose “3”
Cracks/damage → Replace.
Loose connection → Connect properly.
ECA16950
Make sure the fuel tank breather/overflow
hose is routed correctly.
3. Install:
• Rear fuel tank bracket bolt
4. Install:
• Fuel tank front cover
• Fuel tank center cover
• Fuel tank cover (left)
• Fuel tank cover (right)
• Fuel tank top cover
Refer to “GENERAL CHASSIS (4)” on page
4-11.
• Rider seat
Refer to “GENERAL CHASSIS (1)” on page
4-1.
EAS30620
CHECKING THE SPARK PLUGS
The following procedure applies to all of the
spark plugs.
1. Remove:
• Rider seat
Refer to “GENERAL CHASSIS (1)” on page
4-1.
• Fuel tank top cover
• Fuel tank cover (left)
• Fuel tank cover (right)
• Fuel tank center cover
• Fuel tank front cover
Refer to “GENERAL CHASSIS (4)” on page
4-11.
• Fuel tank
Refer to “FUEL TANK” on page 7-1.
2. Remove:
• Ignition coils
• Spark plugs
ECA13320
Before removing the spark plugs, blow away
any dirt accumulated in the spark plug wells
with compressed air to prevent it from falling
into the cylinders.
Rear fuel tank bracket bolt
10 Nm (1.0 m·kgf, 7.2 ft·lbf)

 Loading...