FRONT BRAKE
4-46
ECA13540
Brake fluid may damage painted surfaces
and plastic parts. Therefore, always clean up
any spilt brake fluid immediately.
4. Bleed:
• Brake system
Refer to “BLEEDING THE HYDRAULIC
BRAKE SYSTEM (ABS)” on page 3-14.
5. Check:
• Brake fluid level
Below the minimum level mark “a” → Add the
specified brake fluid to the proper level.
Refer to “CHECKING THE BRAKE FLUID
LEVEL” on page 3-15.
6. Check:
• Brake lever operation
Soft or spongy feeling → Bleed the brake sys-
tem.
Refer to “BLEEDING THE HYDRAULIC
BRAKE SYSTEM (ABS)” on page 3-14.
EAS30179
REMOVING THE FRONT BRAKE MASTER
CYLINDER
Before removing the front brake master cylinder,
drain the brake fluid from the entire brake sys-
tem.
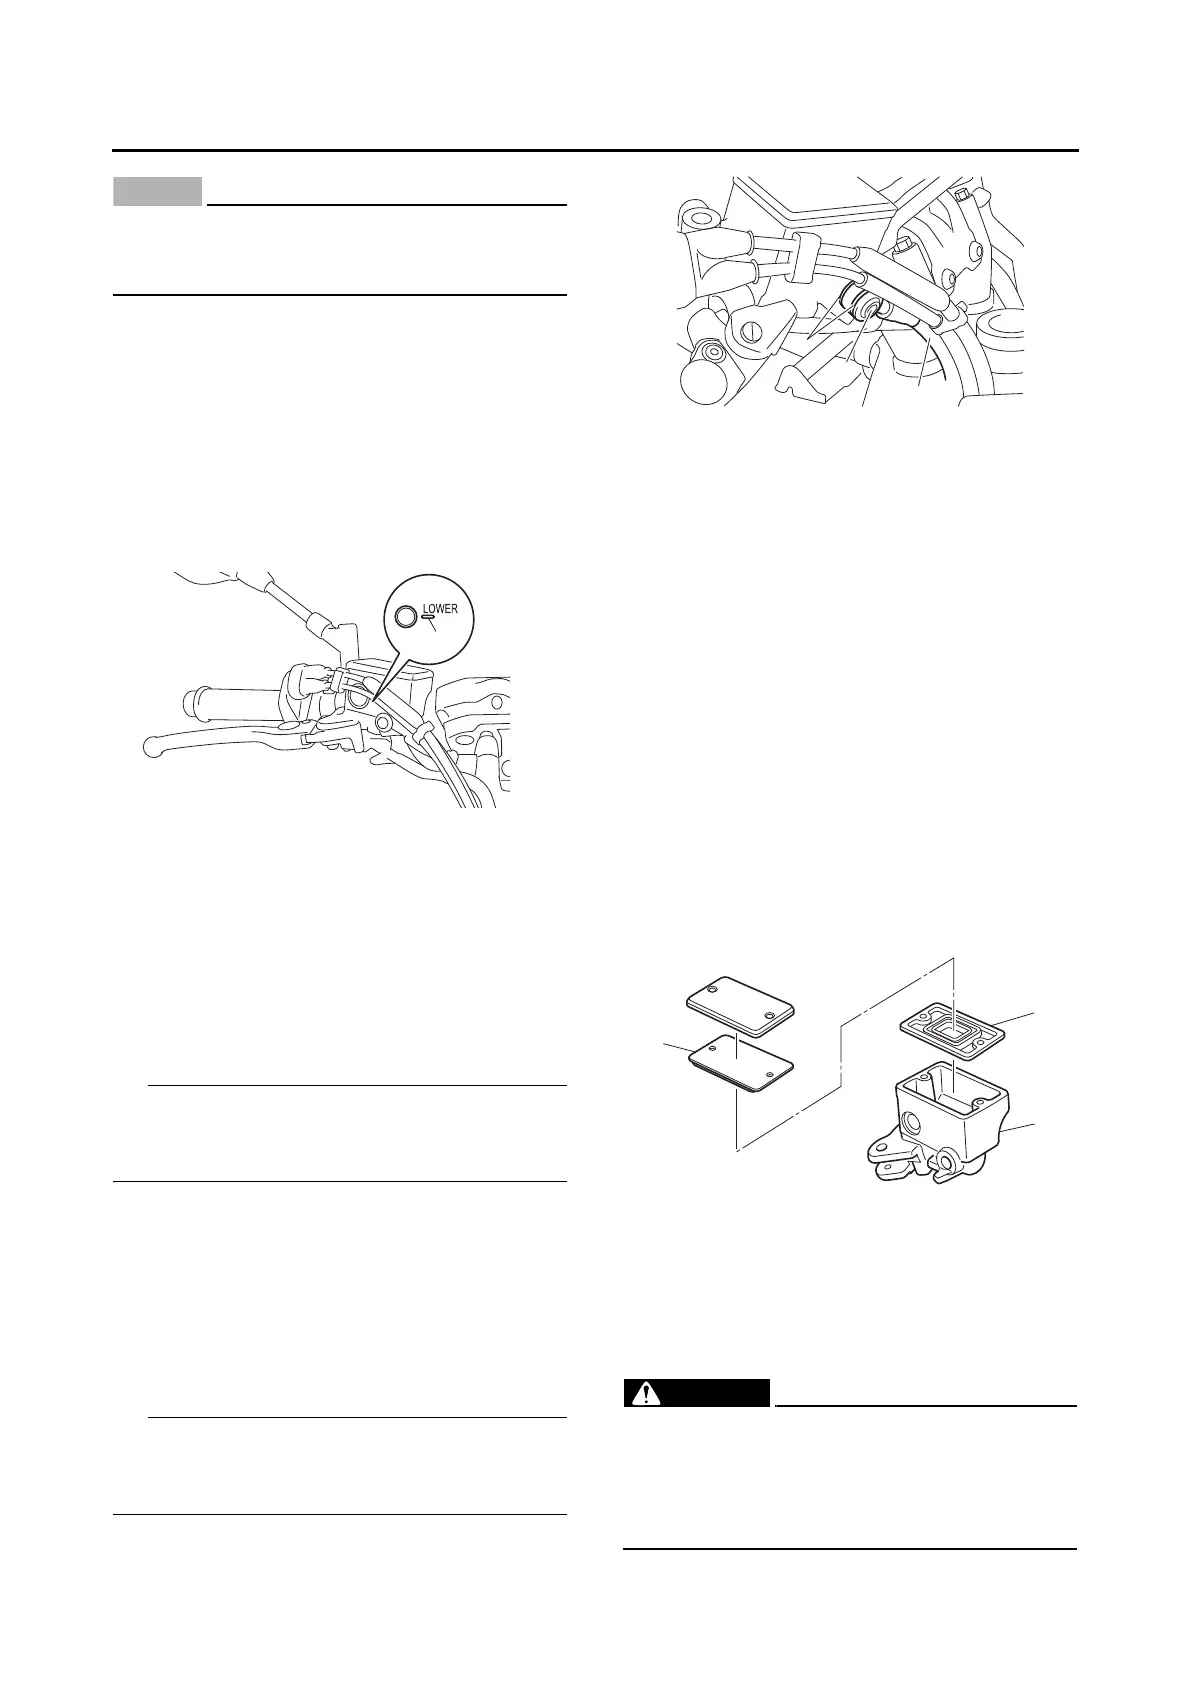
1. Disconnect:
• Brake light switch connectors
(from the front brake light switch)
2. Remove:
• Brake hose union bolt “1”
• Brake hose gaskets “2”
• Brake hose (front brake master cylinder to
hydraulic unit) “3”
To collect any remaining brake fluid, place a
container under the master cylinder and the end
of the brake hose.
EAS30725
CHECKING THE FRONT BRAKE MASTER
CYLINDER
1. Check:
• Brake master cylinder
Damage/scratches/wear → Replace.
• Brake fluid delivery passages
(brake master cylinder body)
Obstruction → Blow out with compressed air.
2. Check:
• Brake master cylinder kit
Damage/scratches/wear → Replace.
3. Check:
• Brake master cylinder reservoir “1”
• Brake master cylinder reservoir diaphragm
holder “2”
Cracks/damage → Replace.
• Brake master cylinder reservoir diaphragm
“3”
Damage/wear → Replace.
4. Check:
• Brake hoses
Cracks/damage/wear → Replace.
EAS30181
ASSEMBLING THE FRONT BRAKE MASTER
CYLINDER
EWA13520
• Before installation, all internal brake com-
ponents should be cleaned and lubricated
with clean or new brake fluid.
• Never use solvents on internal brake com-
ponents.

 Loading...