PERIODIC MAINTENANCE
3-15
d. Place the other end of the hose into a con-
tainer.
e. Slowly apply the brake several times.
f. Fully squeeze the brake lever or fully depress
the brake pedal and hold it in position.
g. Loosen the bleed screw.
Loosening the bleed screw will release the pres-
sure and cause the brake lever to contact the
throttle grip or the brake pedal to fully extend.
h. Tighten the bleed screw and then release the
brake lever or brake pedal.
i. Repeat steps (e) to (h) until all of the air bub-
bles have disappeared from the brake fluid in
the plastic hose.
j. Check the operation of the hydraulic unit.
Refer to “HYDRAULIC UNIT OPERATION
TESTS” on page 4-66.
ECA18060
Make sure that the main switch is turned to
“OFF” before checking the operation of the
hydraulic unit.
k. After operating the ABS, repeat steps (e) to
(i), and then fill the brake master cylinder res-
ervoir or brake fluid reservoir to the proper
level with the specified brake fluid.
l. Tighten the bleed screw to specification.
m. Fill the brake master cylinder reservoir or
brake fluid reservoir to the proper level with
the specified brake fluid.
Refer to “CHECKING THE BRAKE FLUID
LEVEL” on page 3-15.
EWA13110
After bleeding the hydraulic brake system,
check the brake operation.
▲▲▲▲ ▲ ▲▲▲▲▲▲▲▲▲ ▲ ▲▲▲▲ ▲ ▲▲▲▲ ▲ ▲▲▲▲ ▲▲▲
EAS30632
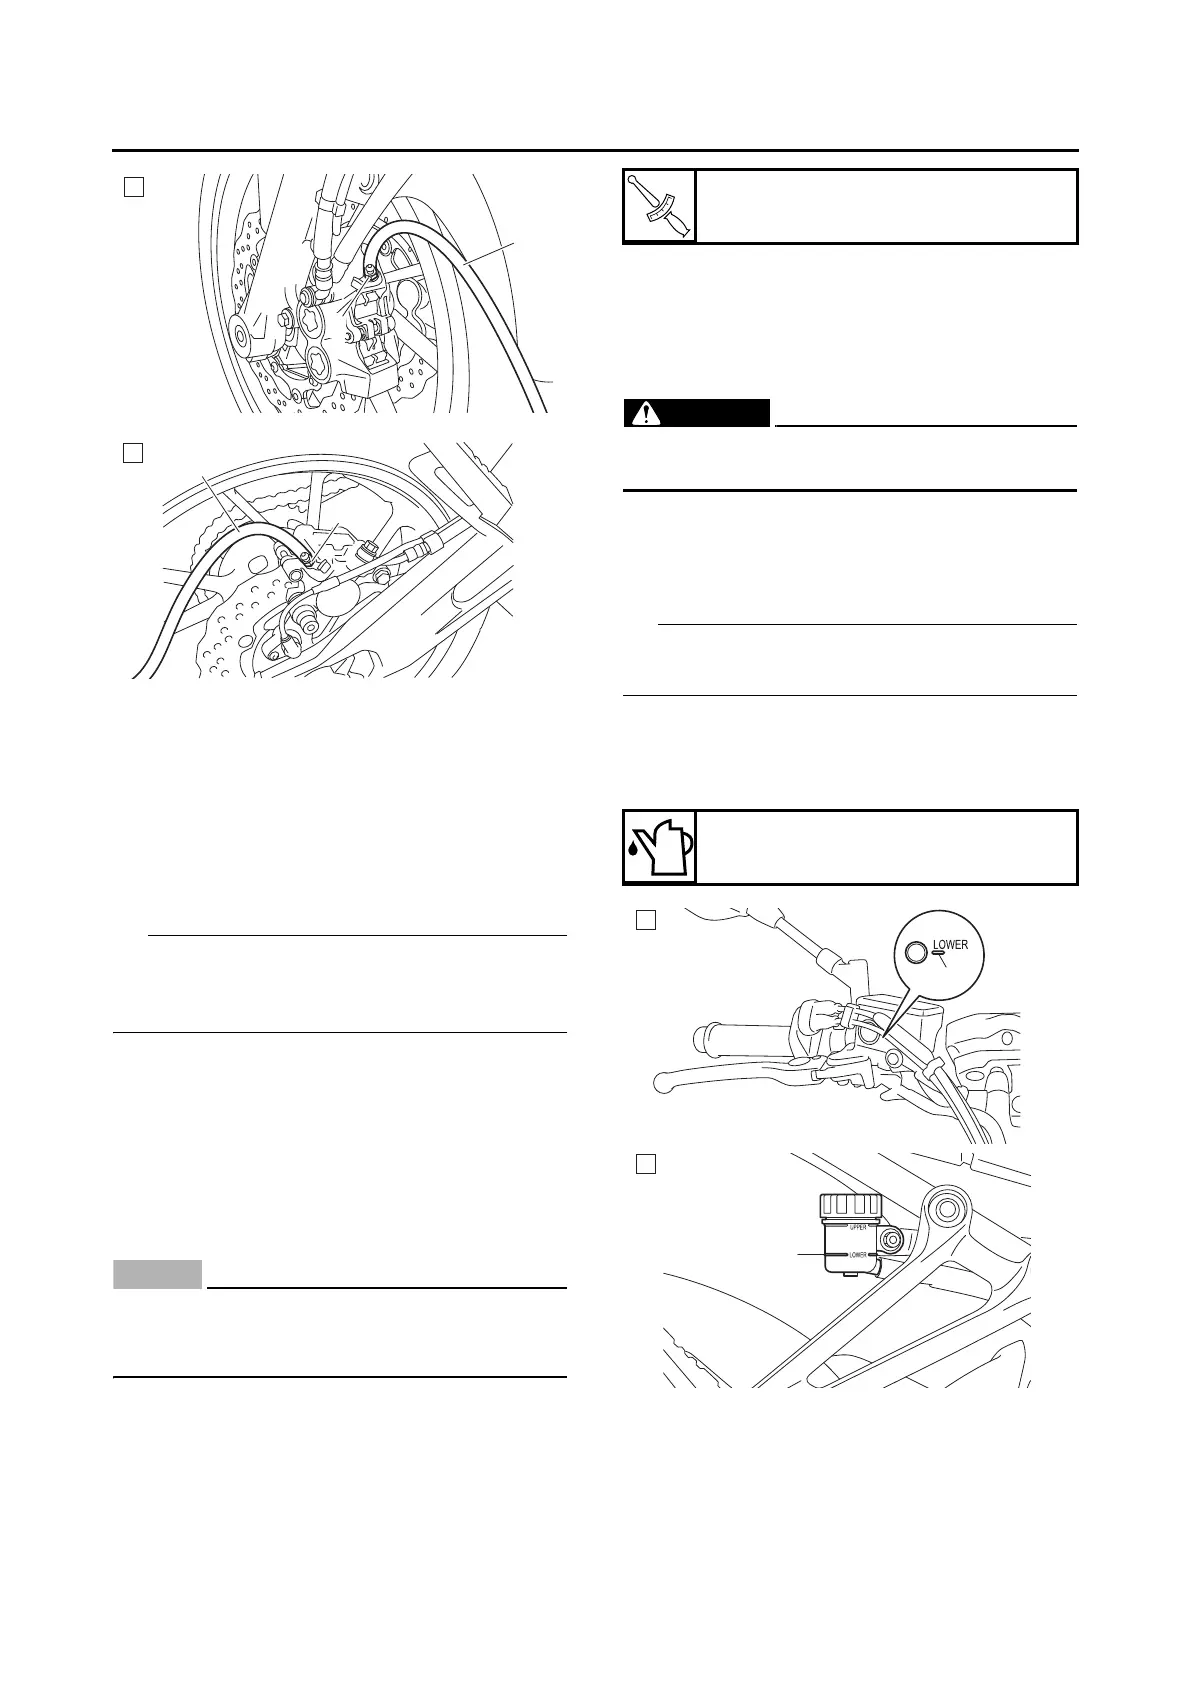
CHECKING THE BRAKE FLUID LEVEL
1. Stand the vehicle on a level surface.
• Place the vehicle on a suitable stand.
• Make sure the vehicle is upright.
2. Check:
• Brake fluid level
Below the minimum level mark “a” → Add the
specified brake fluid to the proper level.
A. Front brake caliper
B. Rear brake caliper
Brake caliper bleed screw
5 Nm (0.5 m·kgf, 3.6 ft·lbf)
Specified brake fluid
DOT 4
A. Front brake
B. Rear brake

 Loading...