6 - 15
F
RADIATOR INSTALLATION
RADIATOR
Install:
Once each individual part has been checked, proceed to install
the radiator following the removal steps in reverse order.
• the screws to fasten the radiator to the bracket on the
frame, tightening to the following torque:
T
.
R
.
Torque 10 N*m
• The bands must always be replaced once they have been
opened.
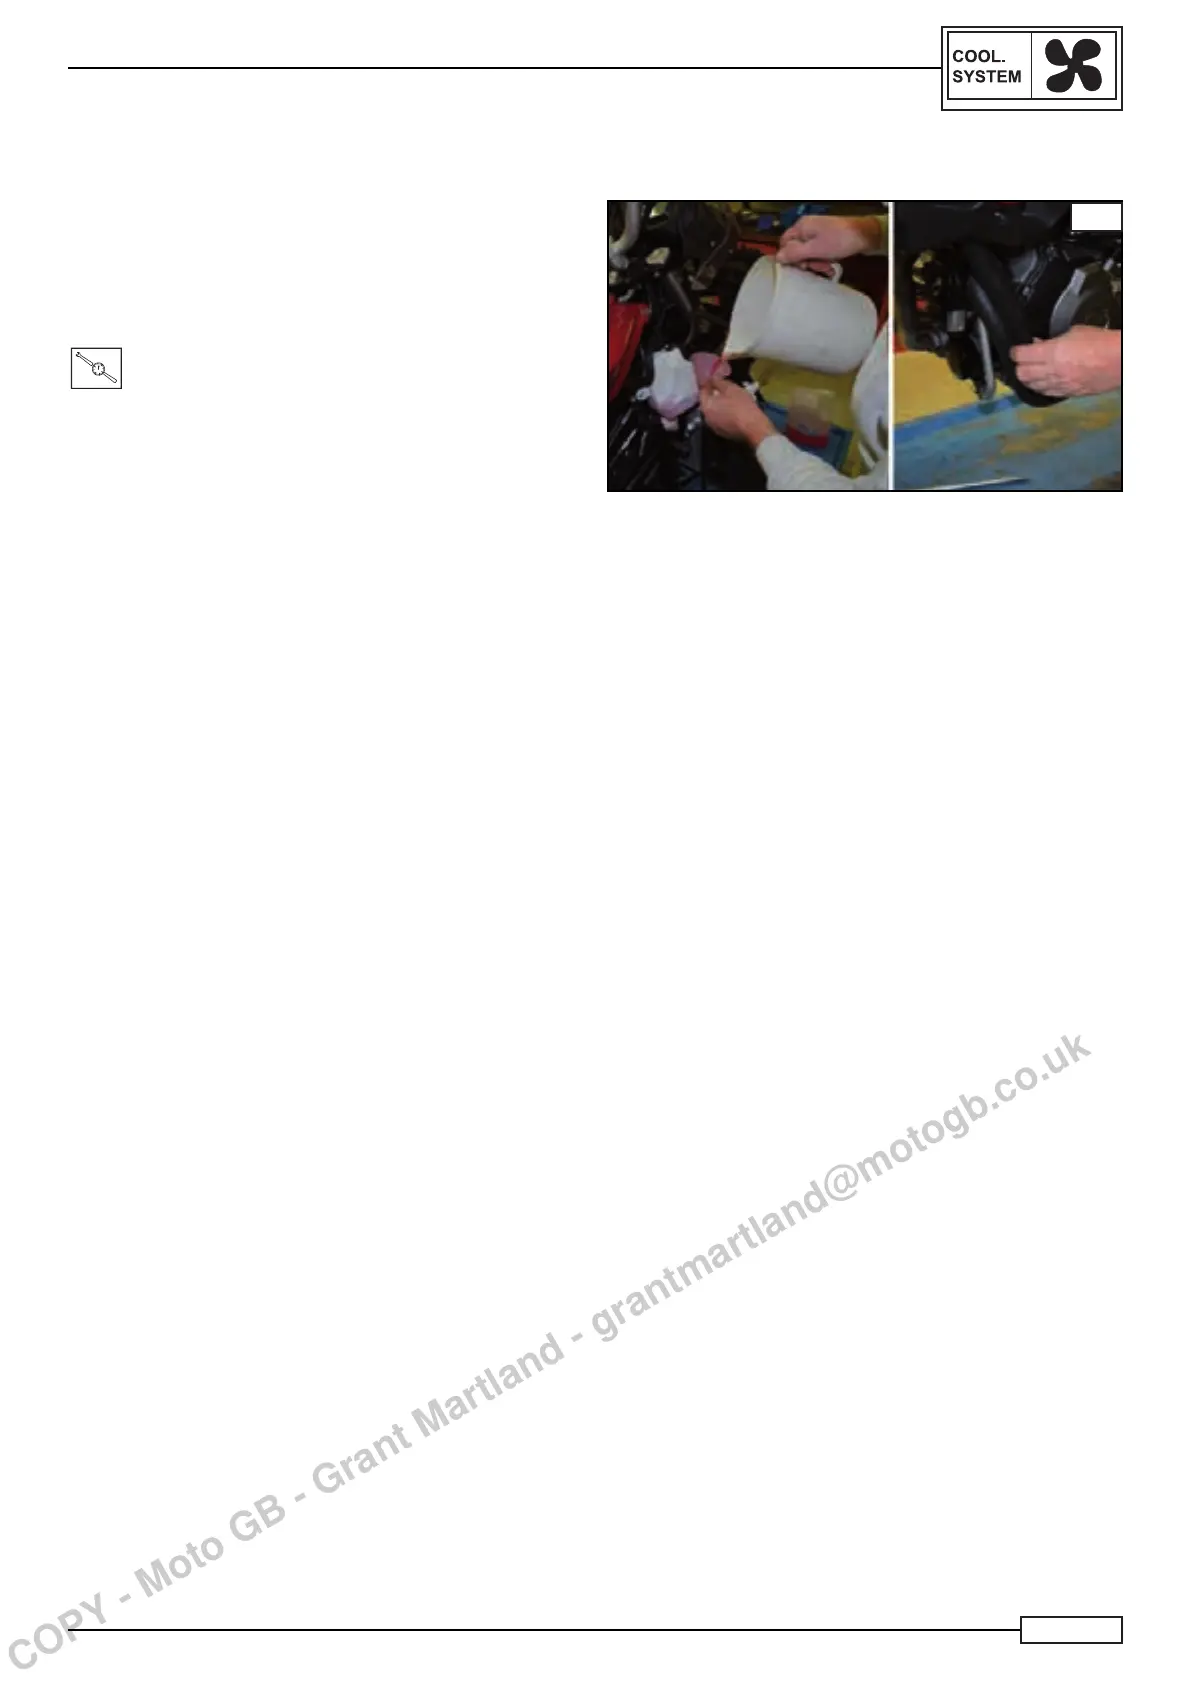
• Once the parts have been assembled, connect the wiring to
the radiator bulb and fan and proceed to fi ll the circuit, Fig. F
NOTE:________________________________
While fi lling, pinch the manifold close to the fl uid inlet mani-
fold in order to eliminate any air bubbles, Fig. F.
COPY - Moto GB - Grant Martland - grantmartland@motogb.co.uk

 Loading...