331
FX3UC Series Programmable Controllers
User’s Manual - Hardware Edition
10 Display Module (Only FX3UC-32MT-LT)
10.5 Monitor/Test Mode [Excluding User-Registered Devices]
1
Outline
2
External
Dimensions
3
Generic
Specifications
4
Power Supply
Specifications
5
Input
Specifications
6
Output
Specifications
7
Examples of
Wiring for
Various Uses
8
Terminal Block
9
CC-Link/LT
Master FX
3UC
(LT only)
10
Display module
FX
3UC
(LT only)
3. Output [Y]/auxiliary relay [M]/special auxiliary relay [M]/state [S]
Forced ON/OFF operations are possible for the output [Y]/auxiliary relay [M]/special auxiliary relay [M]/state
[S] contacts.
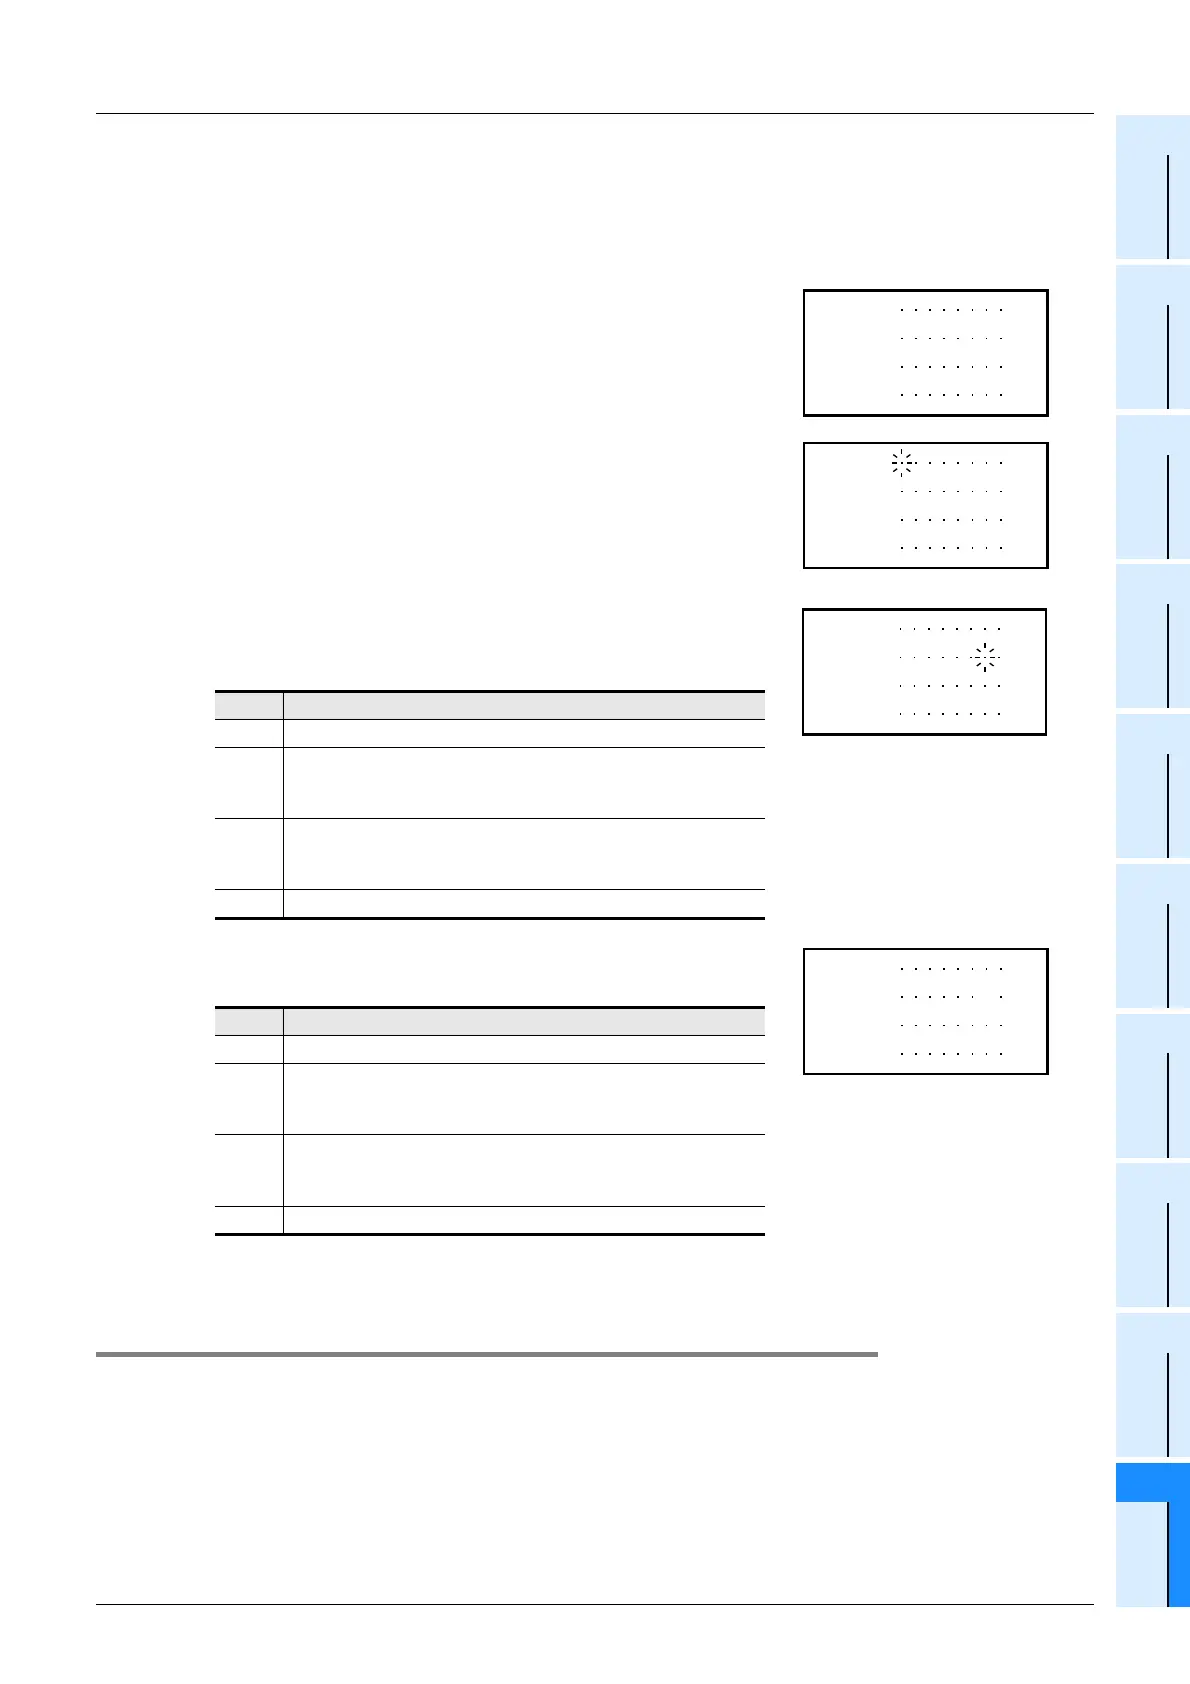
1) Perform a monitor mode operation to display the device whose ON/
OFF status is to be changed.
→ Refer to Subsection 10.5.2 for monitor function operation.
2) Hold the [OK] button for 1 second or longer to switch to the test
mode. The device then begins blinking (refer to figure at right).
To cancel the operation and return to the "test subject selection
screen", press [ESC].
3) Use the [+]/[-] buttons to move the blinking position to the device
where a forced ON/OFF is desired.
To cancel the operation and return to the "monitor screen", press
[ESC].
4) Press the [OK] button to highlight the contact’s ON/OFF status.
To cancel the operation and return to the "monitor screen", press
[ESC].
5) Press [ESC] to return to the monitor screen.
10.5.5 Test mode operation notes
When using multiple same-number timers (T) and counters (C).
Operation occurs as follows if multiple timers [T] and counters [C] are used in programs which contain CJ
instructions and step ladders.
• When a setting change is performed after switching from the device monitor to the test function mode, the
setting change is applied to the timer [T] or counter [C] which is nearest to Step 0.
• When changing the setting values for same-number timers [T] and counters [C], use the programming tool
to change the program.
Button Operation Description
ESC Cancels the operation and returns to the "monitor screen".
-
Moves in the lower device No. direction (for forced ON/OFF
subject selection).
Hold for 1 second or longer for high-speed scrolling.
+
Moves in the higher device No. direction (for forced ON/OFF
subject selection).
Hold for 1 second or longer for high-speed scrolling.
OK Highlights the contact’s ON/OFF status.
Button Operation Description
ESC Cancels the operation and returns to the "monitor screen".
-
Moves in the lower device No. direction (for forced ON/OFF
subject selection).
Hold for 1 second or longer for high-speed scrolling.
+
Moves in the higher device No. direction (for forced ON/OFF
subject selection).
Hold for 1 second or longer for high-speed scrolling.
OK Highlights the contact ON/OFF status.
Y00
Y10
Y20
Y30
0
0
0
0
Y00
Y10
Y20
Y30
0
0
0
0
Y00
Y10
Y20
Y30
0
0
0
0
Y00
Y10
Y20
Y30
0
0
0
0
6

 Loading...
