347
FX3UC Series Programmable Controllers
User’s Manual - Hardware Edition
10 Display Module (Only FX3UC-32MT-LT)
10.14 Scan Time (Scan Time Display)
1
Outline
2
External
Dimensions
3
Generic
Specifications
4
Power Supply
Specifications
5
Input
Specifications
6
Output
Specifications
7
Examples of
Wiring for
Various Uses
8
Terminal Block
9
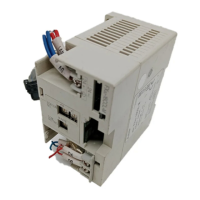
CC-Link/LT
Master FX
3UC
(LT only)
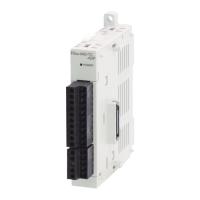
10
Display module
FX
3UC
(LT only)
10.14 Scan Time (Scan Time Display)
The scan time’s current value, minimum value, and maximum value can be displayed from the "ScanTime"
menu.
10.14.1 Scan time display operation
1) At the menu screen, use the [+]/[-] buttons to move the cursor to the
"ScanTime" item, then press [OK] to display the "scan time screen".
To cancel the operation and return to the "Main unit I/O operation
display", press [ESC].
2) Press [OK] or [ESC] to return to the "menu screen".
10.15 Cassette (Memory Cassette Transfers)
Data transfers (and consistency checks) between the internal RAM memory and a connected memory
cassette can be performed from the "Cassette" menu when the PLC is in a STOP state.
This menu is disabled, however, if an entry code is registered in the internal RAM. In this case, remove the
memory cassette and use the programming tool to cancel the internal RAM’s entry code.
10.15.1 Transfer from internal RAM to memory cassette (Cassette <- RAM)
1) At the menu screen, use the [+]/[-] buttons to move the cursor to the
"Cassette" item, then press [OK] to display the "memory cassette
transfer screen".
To cancel the operation and return to the "Main unit I/O operation
display", press [ESC].
2) Use the [+]/[-] buttons to move the cursor to the "Cassette ← RAM"
item, then press [OK] to display the screen shown to the right.
To cancel the operation and return to the "memory cassette transfer
screen", press [ESC].
3) Press [OK] to begin the transfer.
Or, press [ESC] to cancel the operation.
• Caution:
Do not turn the PLC power off or perform writing from the programming tool while a program is being
transferred by a "memory cassette transfer" menu operation, as these actions could destroy the program,
causing incorrect operation of the PLC.
4) Press [OK] or [ESC] to return to the "memory cassette transfer screen".
Item Operation Description
Cassette ← RAM Copies internal program memory (RAM) data to a connected memory cassette.
Cassette → RAM Copies data from a connected memory cassette to the internal program memory (RAM).
Cassette : RAM
Performs a consistency check of the connected memory cassette data and the internal
program memory (RAM) data.
Button Operation Description
ESC
Cancels the operation and returns to the "memory
cassette transfer screen".
- Disabled
+ Disabled
OK Executes the transfer.
SncTima
:ms.70
:ms.65
:ms.60
e
rCru
xMa
nMi
Mem r yo
RAM
RAM
RAM:
Cas e t tse
Cas e t tse
Cas e t tse
Cas e t tse
()
RAMCas e t tse
Wr i et
O
aC
K
nce
EC
S
Ex c tuee
l
()
RAMCas e t tse
Wr i et
Plea e awist...
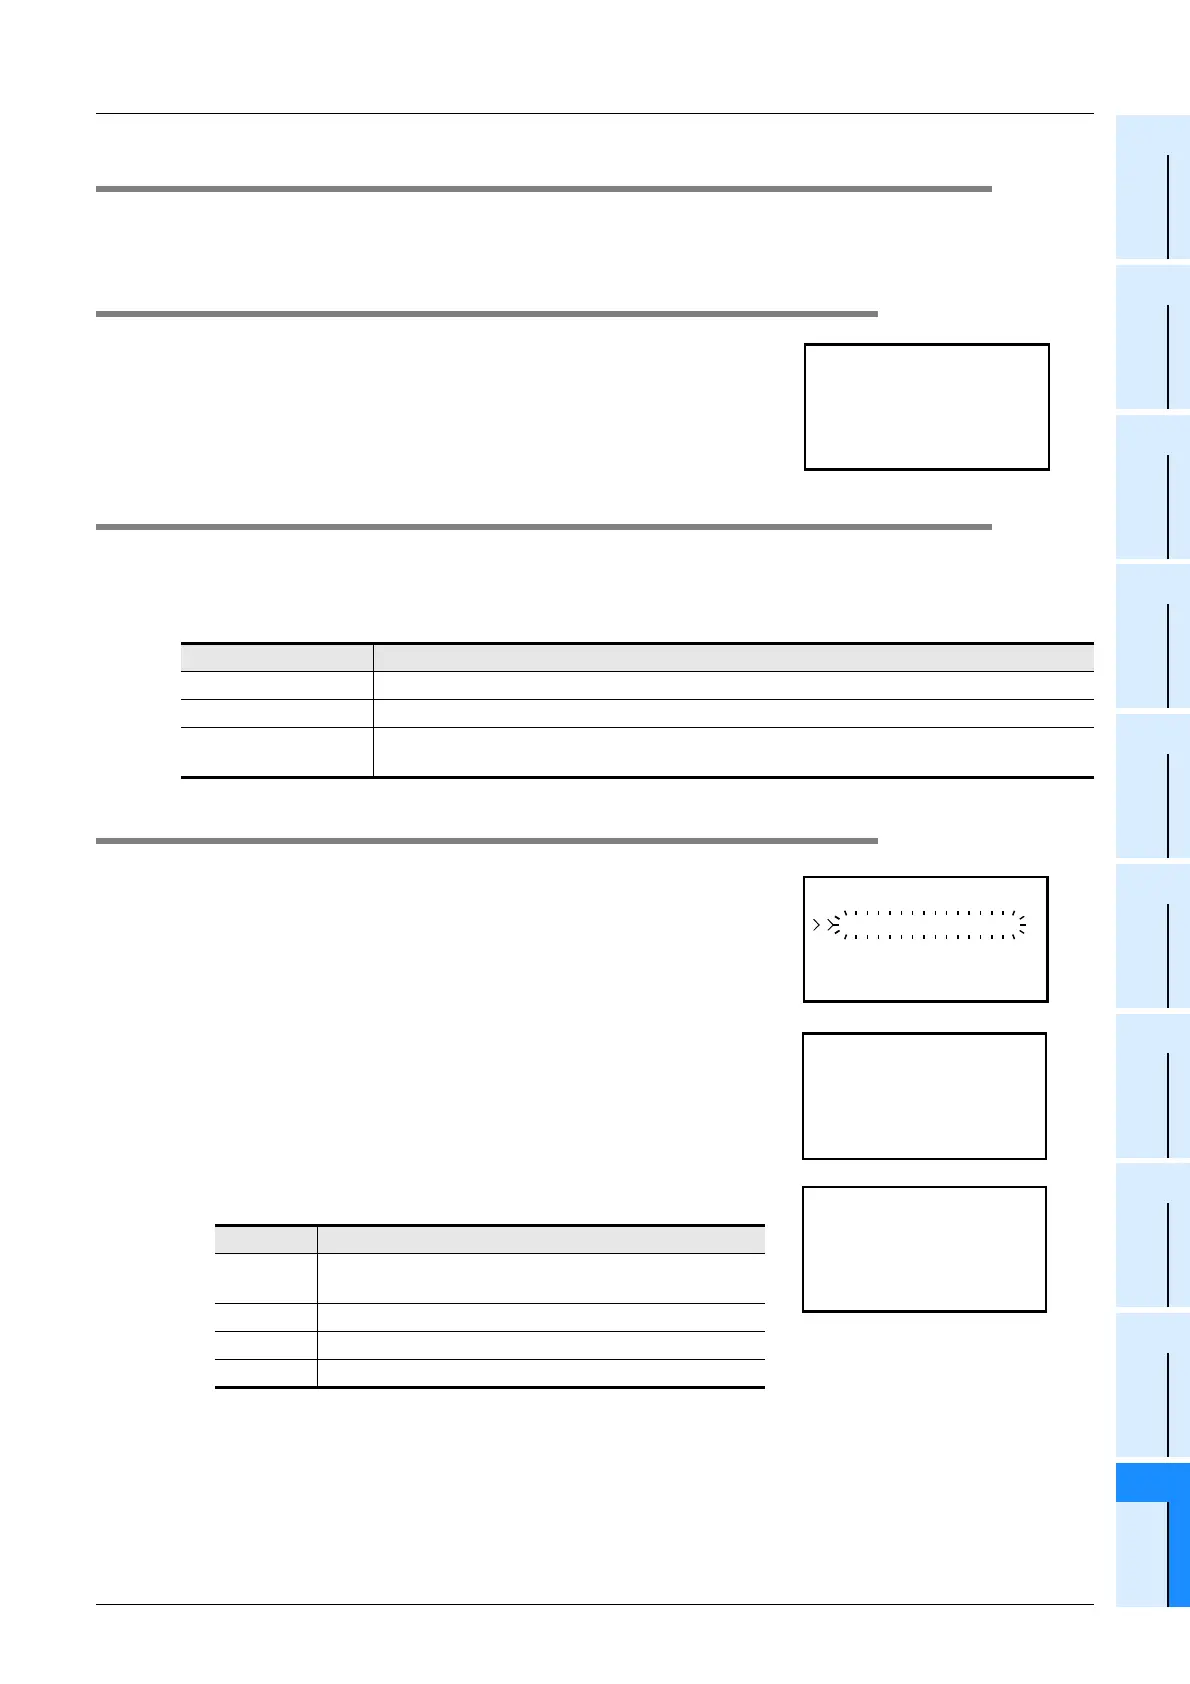 Loading...