180 Rockwell Automation Publication 2711P-UM008I-EN-P - February 2022
Chapter 6
Plug-and-Play Installation
To install a plug-and-play printer from the Windows desktop, follow these
steps. For manual printer installation, see Manual Printer Installation
on
page 181.
1. Connect the printer to a USB host port on the terminal.
2. Plug the power cord of the printer into an outlet and turn on the printer.
Windows automatically detects your plug-and-play printer, and in most
cases, without requiring you to make any selections.
The printer is ready to print.
3. Verify printer installation from the desktop control panel by opening the
Printers application.
Notice the icon for the Deskjet 5650C printer. The check mark
indicates that this printer is the default.
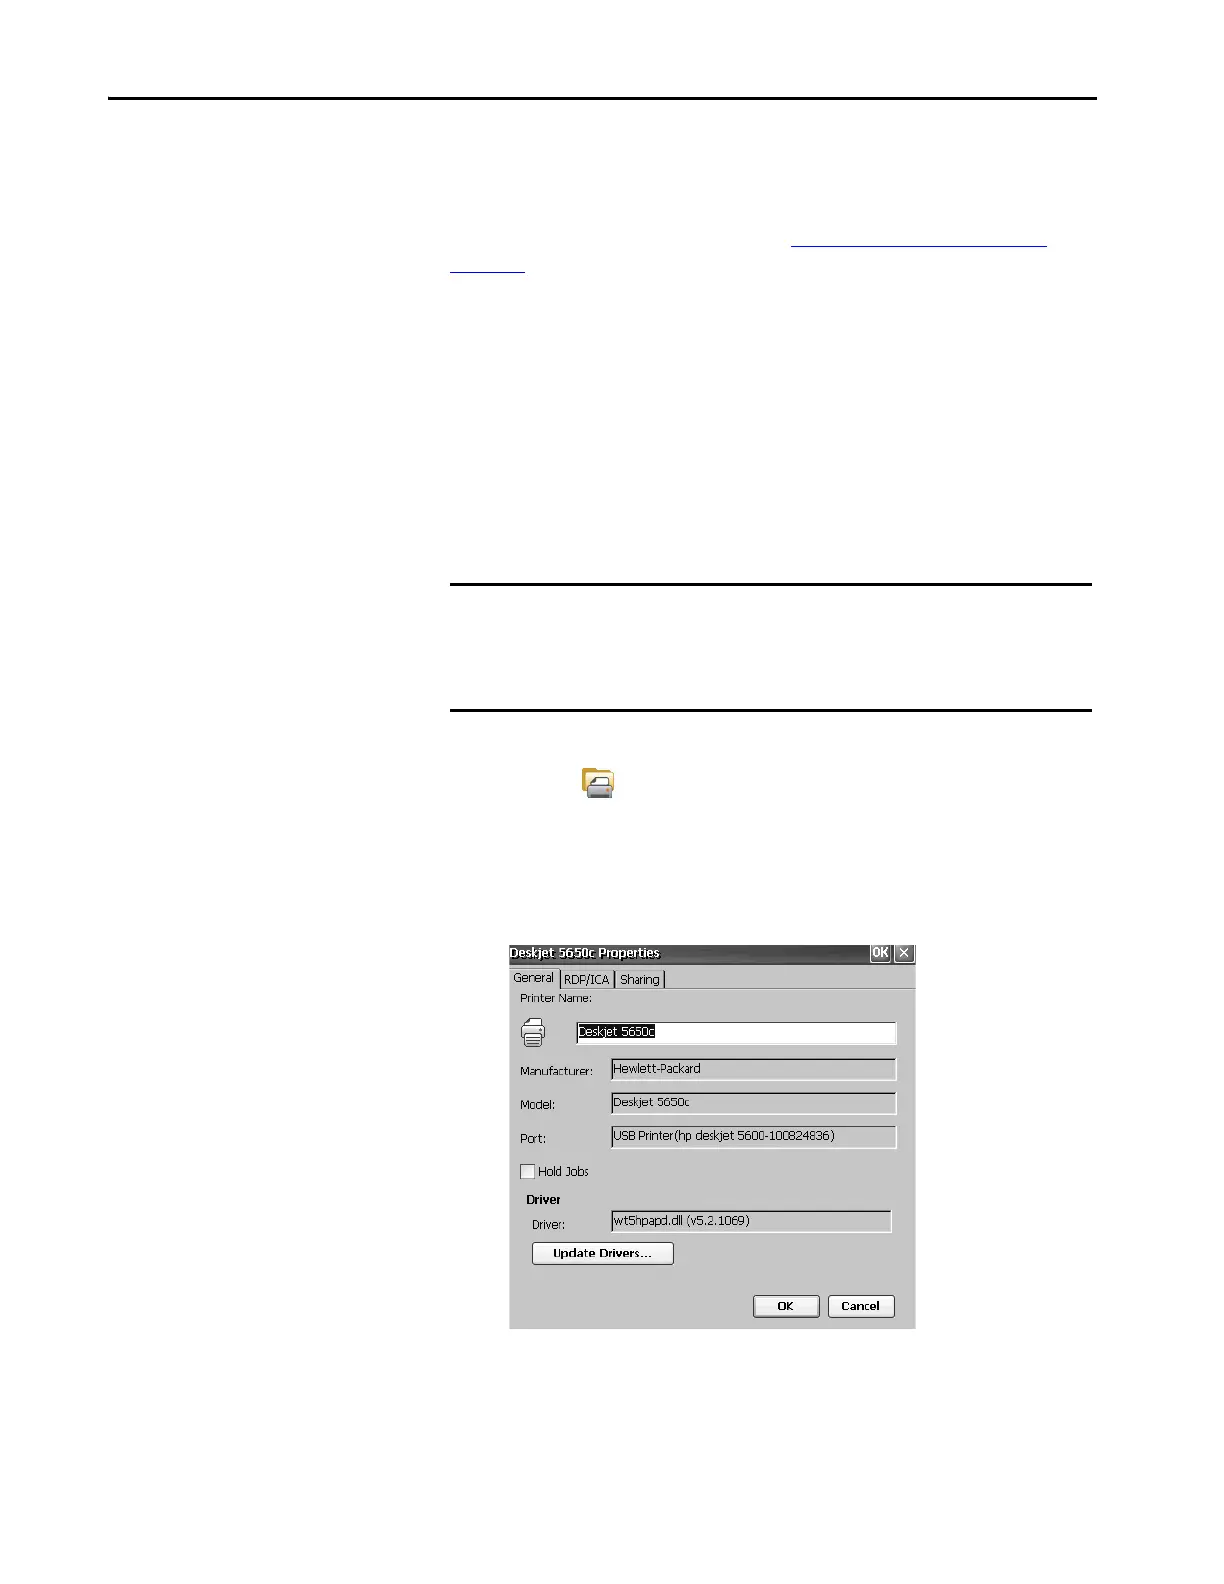
4. From the File menu, choose Properties to view the properties of the
printer.
Printer properties include the printer name, manufacturer and model,
print driver, and port-specific parameters.
TIP This procedure shows a plug-and-play installation for the Hewlett Packard
HP Deskjet 5650 printer.
IMPORTANT If automatic plug-and-play installation is not supported for a printer, this
error is logged to the System Event log in the Hardware Monitor.
For example, JETCET PRINT was unable to auto-configure printer. To manually
configure printer, go to the Printers folder from the Control Panel.
 Loading...