xStack® DGS-3120 Series Layer 3 Managed Gigabit Ethernet Switch Web UI Reference Guide
170
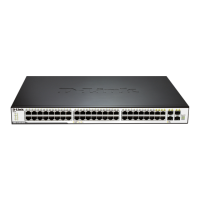
After clicking the Edit button, the following page will appear:
Figure 5-15 Policy Route Settings window
The fields that can be configured are described below:
Parameter Description
Policy Route Name
Enter a name of no more than 32 alphanumeric characters that will be used to identify
Profile ID (1-6)
Enter the Profile ID number of the Access Profile, previously created, which will be used
to identify packets as following this Policy Route. This access profile, along with the
access rule, must first be constructed before this policy route can be created.
Access ID (1-256)
Enter the Access ID number of the Access Rule, previously created, which will be used
to identify packets as following this Policy Route. This access rule, along with the
access profile, must first be constructed before this policy route can be created.
Next Hop IPv4 Address
This is the IP address of the Next Hop router that will have a direct connection to the
Gateway router connected to the Internet.
Use the pull-down menu to enable or disable this Policy Route.
Click the Apply button to accept the changes made.
Click the <<Back button to discard the changes made and return to the previous page.
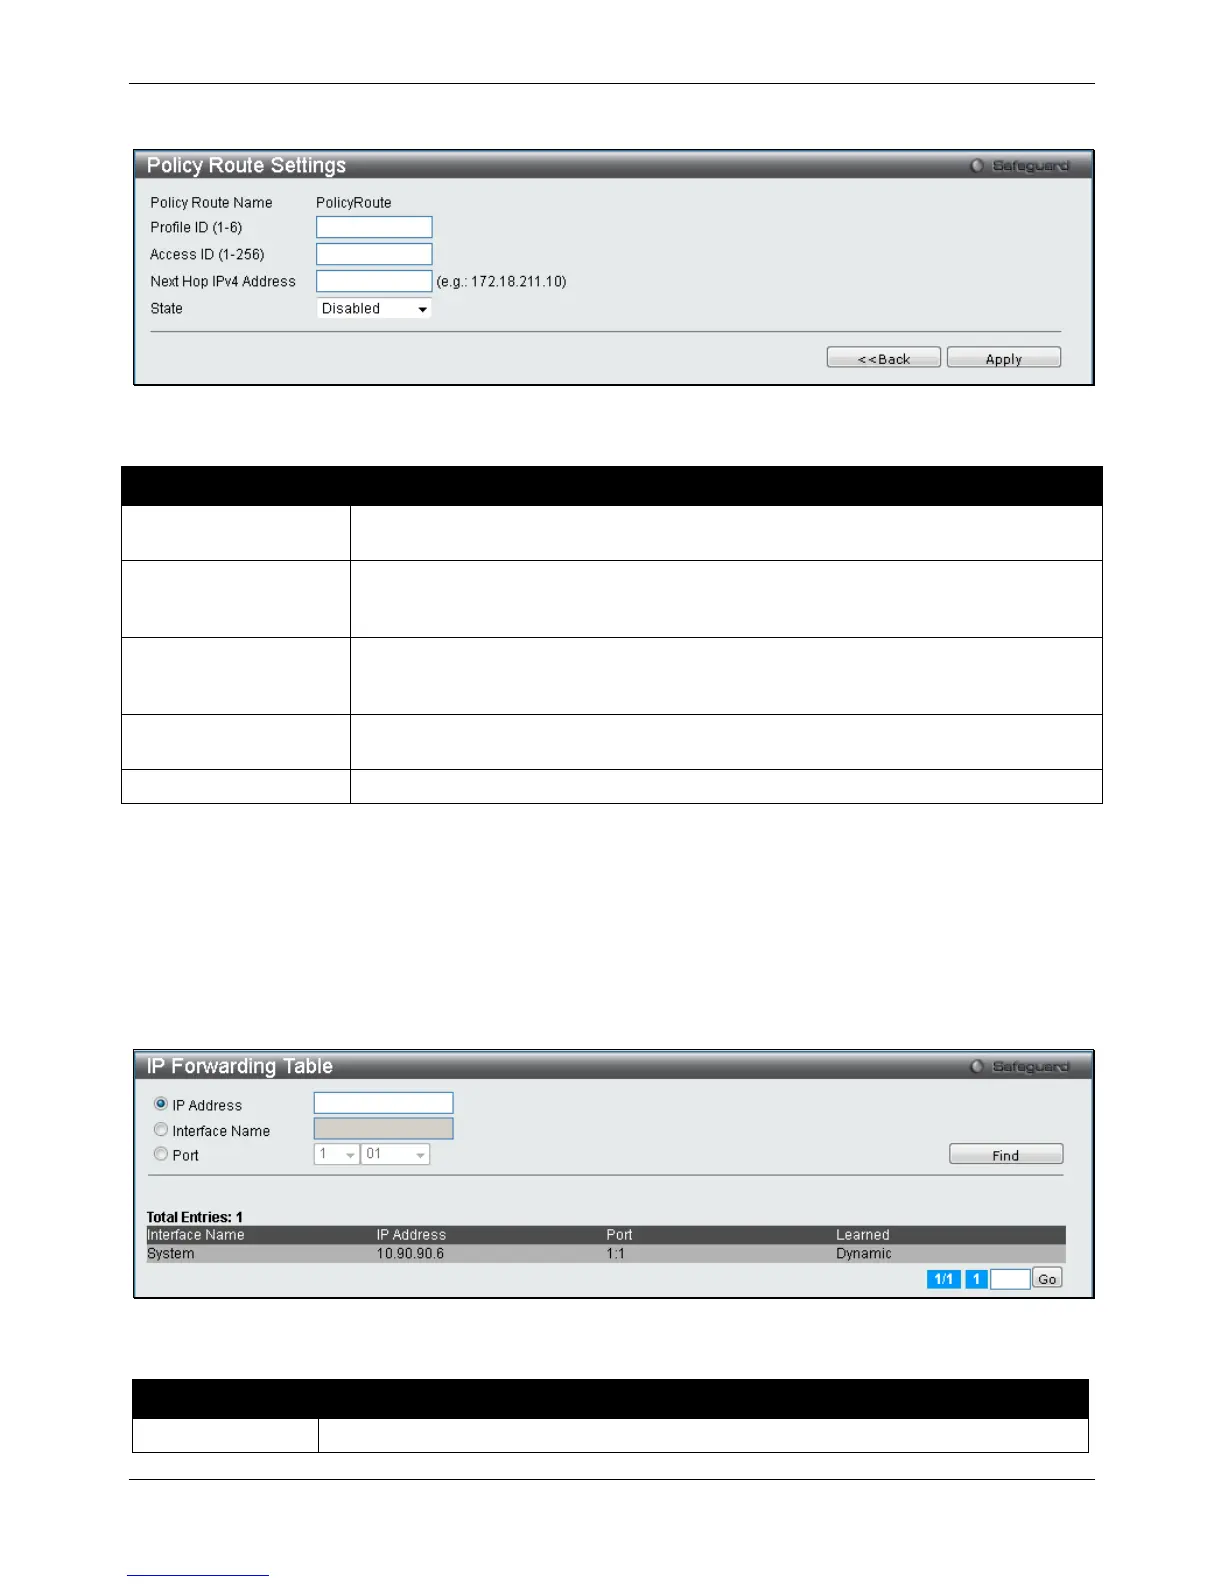
IP Forwarding Table
The IP forwarding table stores all the direct connected IP information. This window is used to view all the direct
connected IP information. To view the following window, click L3 Features > IP Forwarding Table, as shown
below:
Figure 5-16 IP Forwarding Table
The fields that can be configured are described below:
Parameter Description
Click the radio button and enter the IP address.
 Loading...