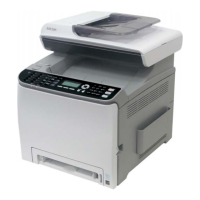
Scanning to a computer or flash drive
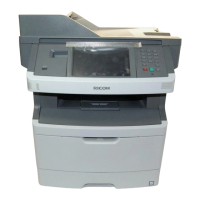
ADF Scanner glass
Use the ADF for multiple-page documents. Use the scanner glass for single pages, small items (such as postcards or photos),
transparencies, photo paper, or thin media (such as magazine clippings).
Scanning to a computer
1 Type the printer IP address into the address field of your Web browser.
Note: If you do not know the IP address of the printer, then print a network setup page and locate the IP address
in the TCP/IP section.
2 Click Scan Profile.
Note: In order to use the Scan Profile function, you must have Java installed on your computer.
3 Click Create Scan Profile.
4 Select your scan settings, and then click Next.
5 Select a location on your computer where you want to save the scanned output file.
6 Enter a scan name.
The scan name is the name that appears in the Scan Profile list on the display.
7 Click Submit.
8 Review the instructions on the Scan Profile screen.
A shortcut number was automatically assigned when you clicked Submit. You can use this shortcut number when
you are ready to scan your documents.
a Load an original document faceup, short edge first into the ADF or facedown on the scanner glass.
Note: Do not load postcards, photos, small items, transparencies, photo paper, or thin media (such as magazine
clippings) into the ADF. Place these items on the scanner glass.
b If you are loading a document into the ADF, then adjust the paper guides.
Scanning to a computer or flash drive
147
 Loading...