Starting System: 1I-4
• Tighten the starter motor mounting bolts (1) with the
engine ground lead wire (2) and starter motor lead
wire mounting nut (3) to the specified torque. Refer to
“Wiring Harness Routing Diagram in Section 9A
(Page 9A-8)”.
Tightening torque
Starter motor mounting bolt (a): 10 N·m (1.0 kgf-
m, 7.0 lb-ft)
Starter motor lead wire mounting nut (b): 7 N·m (
0.7 kgf-m, 5.0 lb-ft)
Starter Motor Disassembly and Assembly
B827H11906003
Refer to “Starter Motor Removal and Installation
(Page 1I-3)”.
Disassembly
Disassemble the starter motor as shown in the starter
motor components diagram. Refer to “Starter Motor
Components (Page 1I-3)”.
Assembly
Reassemble the starter motor in the reverse order of
removal. Pay attention to the following points:
CAUTION
!
Replace the O-rings with new ones to prevent
oil leakage and moisture.
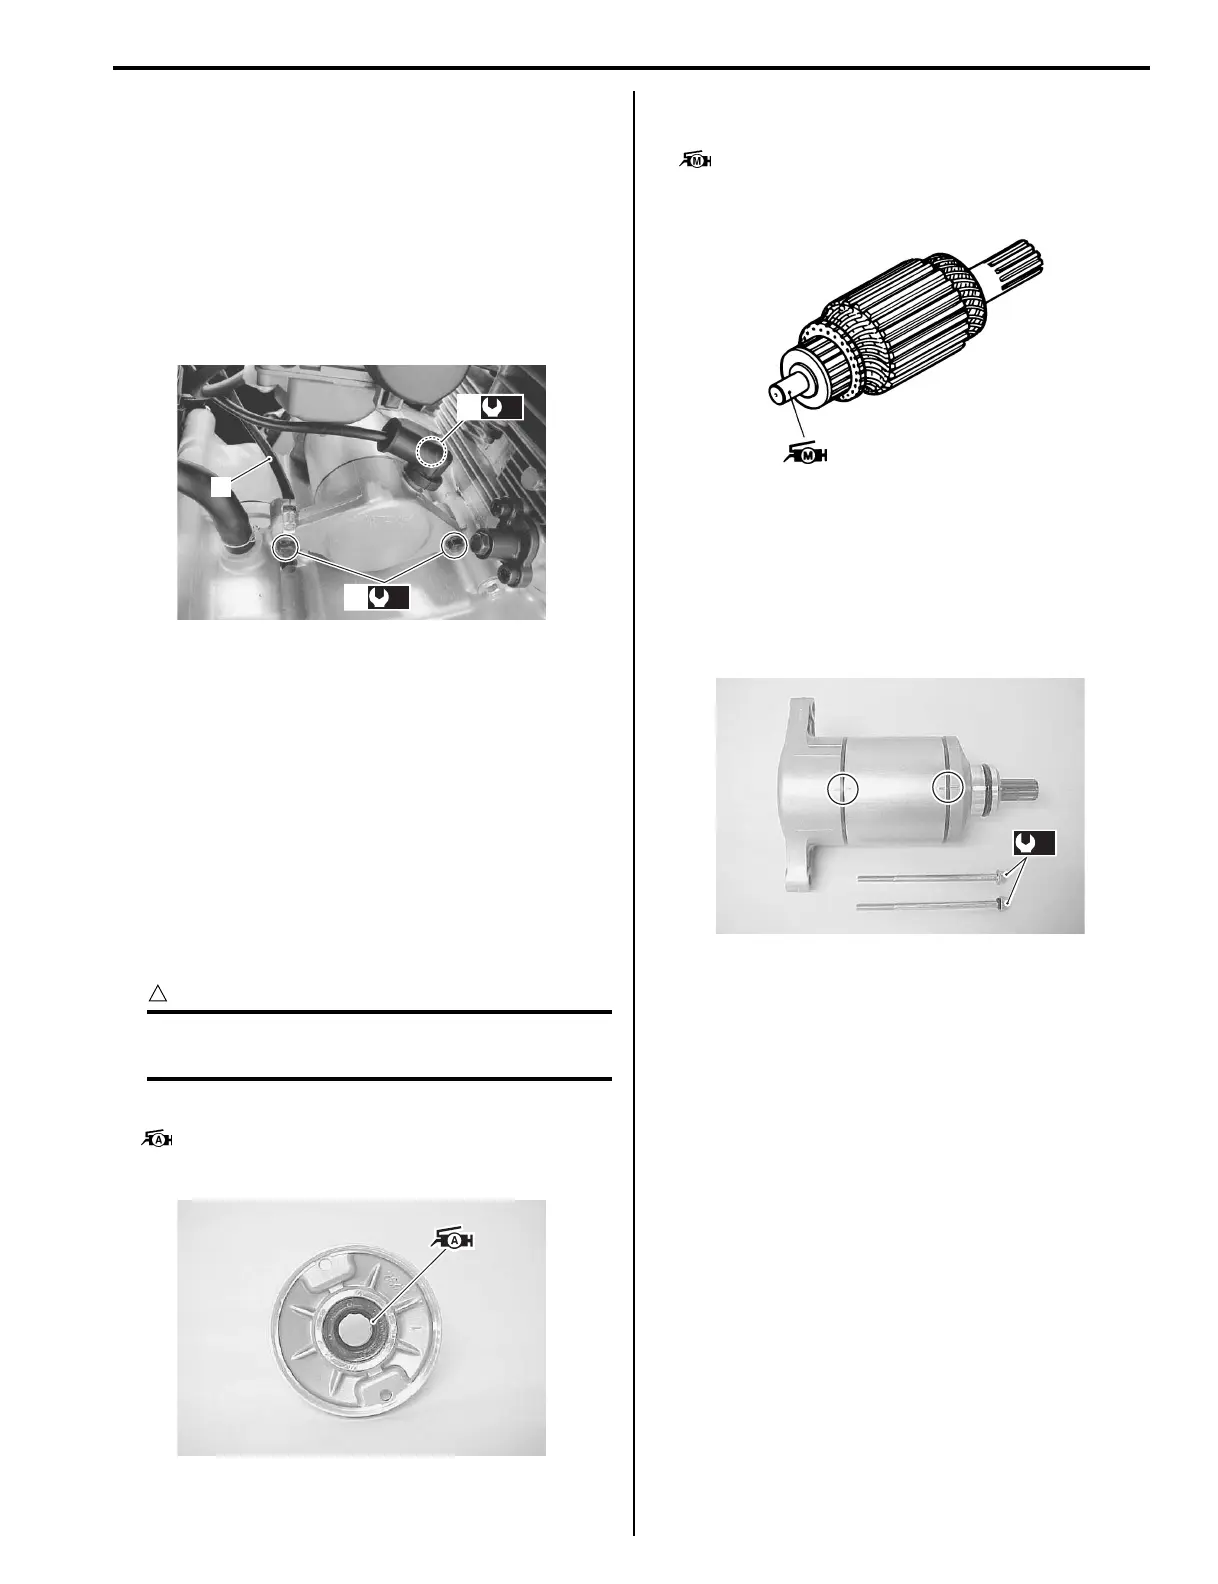
• Apply grease to the lip of the oil seal.
: Grease 99000–25010 (SUZUKI SUPER
GREASE A or equivalent)
• Apply a small quantity of moly paste to the armature
shaft.
: Moly paste 99000–25140 (SUZUKI Moly
paste or equivalent)
• Align the match mark on the starter motor case with
the match mark on the housing end.
• Tighten the starter motor housing bolts.
Tightening torque
Starter motor housing bolt (a): 3.5 N·m (0.35 kgf-
m, 2.5 lb-ft)
Starter Motor Inspection
B827H11906004
Refer to “Starter Motor Disassembly and Assembly
(Page 1I-4)”.
(a)
1
2
(b)
3
I827H1190005-01
I827H1190006-01
I827H1190008-01
(a)
I827H1190007-01
 Loading...


