3C-17 Transfer:
Installation
Install the gear position switch in the reverse order of
removal. Pay attention to the following points:
• Apply bond lightly to the gear position switch lead wire
grommet (1).
: Sealant 99000–31140 (SUZUKI BOND
No.1207B or equivalent)
• Route the gear position switch lead wire. Refer to
“Wiring Harness Routing Diagram in Section 9A
(Page 9A-8)”.
• Install the V-belt inner cover. Refer to “Clutch Shoe
Removal and Installation in Section 5A (Page 5A-16)”.
• Install the drive V-belt. Refer to “V-belt Type
Continuously Variable Automatic Transmission
Removal and Installation in Section 5A (Page 5A-7)”.
Gear Position (GP) Switch Removal and
Installation (LT-F400/F)
B827H13306023
Refer to “Gear Position (GP) Switch Removal and
Installation (LT-F400/F) in Section 5B (Page 5B-7)”.
Transfer Gearshift Shaft No. 2 / Gearshift Cam
Plate Removal and Installation (LT-A400/F)
B827H13306014
Removal
1) Drain engine oil. Refer to “Engine Oil and Filter
Replacement in Section 0B (Page 0B-7)”.
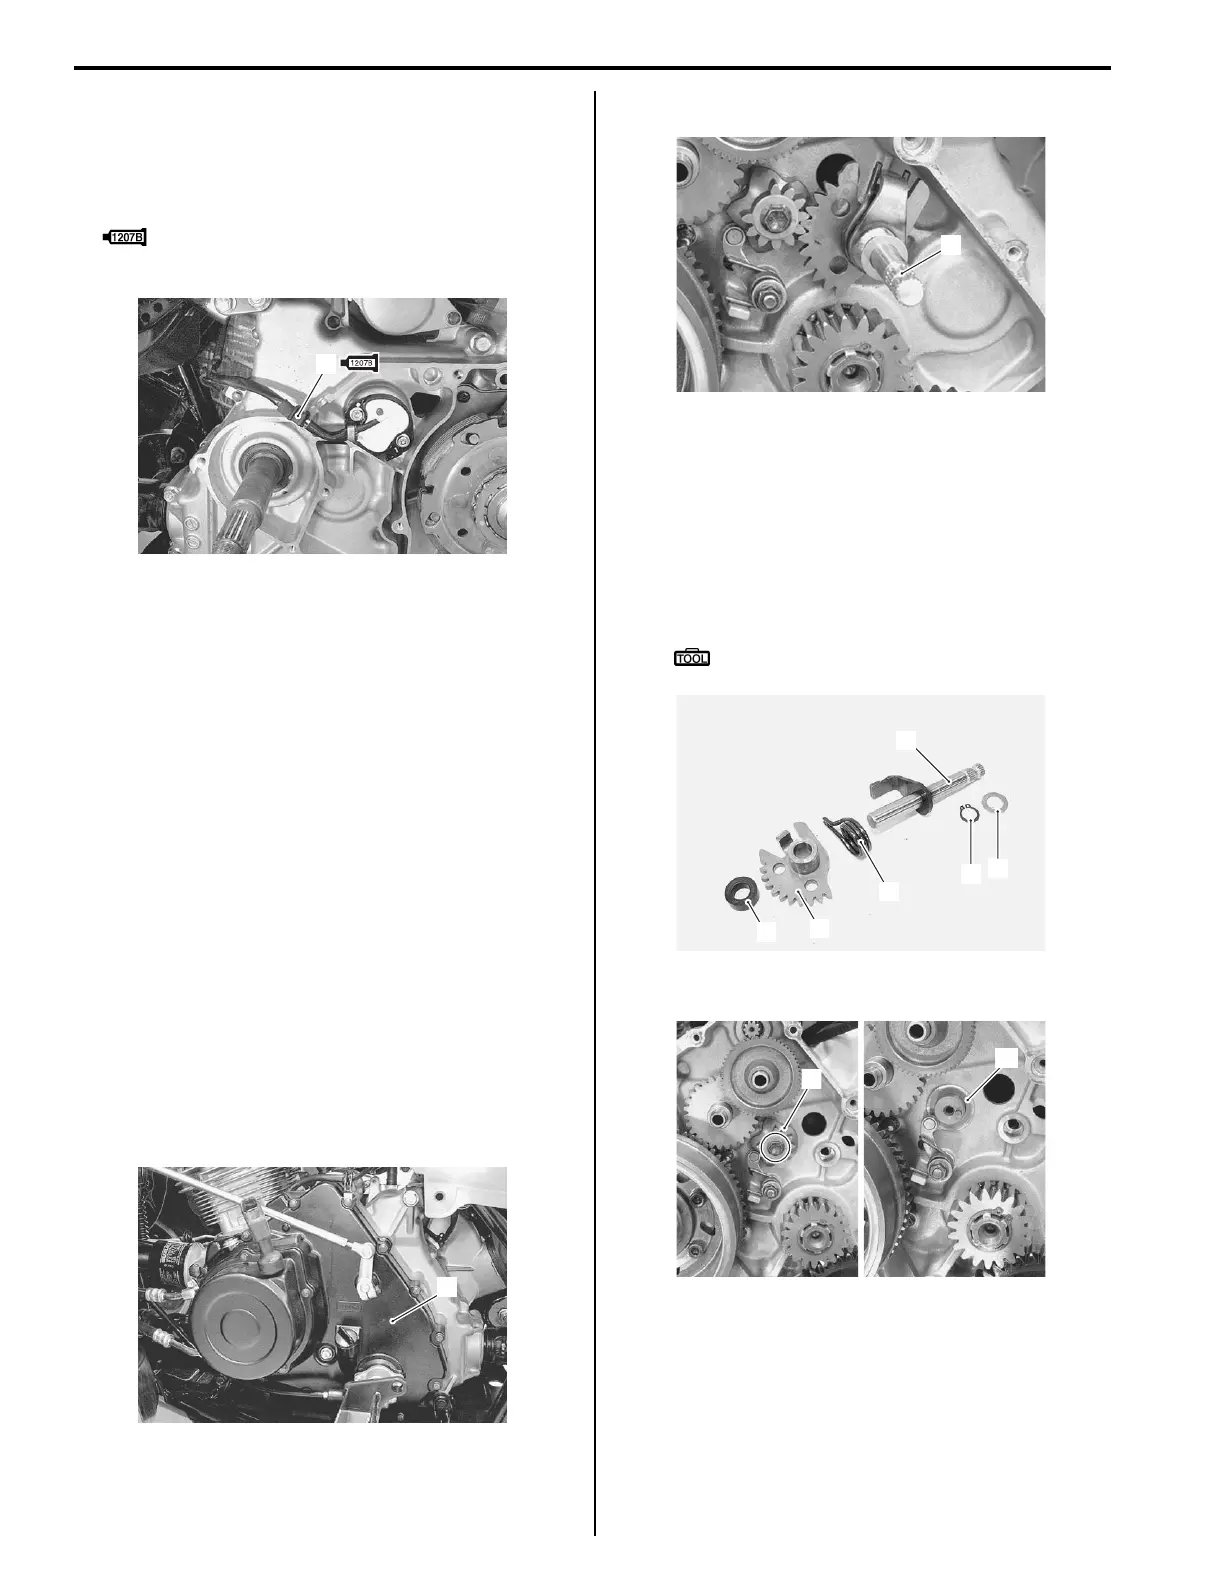
2) Remove the generator cover (1). Refer to “Generator
Removal and Installation in Section 1J (Page 1J-5)”.
3) Remove the gearshift shaft assembly (2).
4) Remove the following parts from the gearshift shaft
(3).
• Spacer (4)
• Transfer shift gear (5)
• Return spring (6)
• Snap ring (7)
• Washer (8)
Special tool
: 09900–06107 (Snap ring pliers)
5) Remove the gearshift cam plate (9) and washer (10).
1
I827H1330035-03
1
I827H1330036-02
2
I827H1330050-01
3
4
5
6
7
8
I827H1330037-02
10
9
I827H1330038-02

 Loading...
