Front Brakes: 4B-6
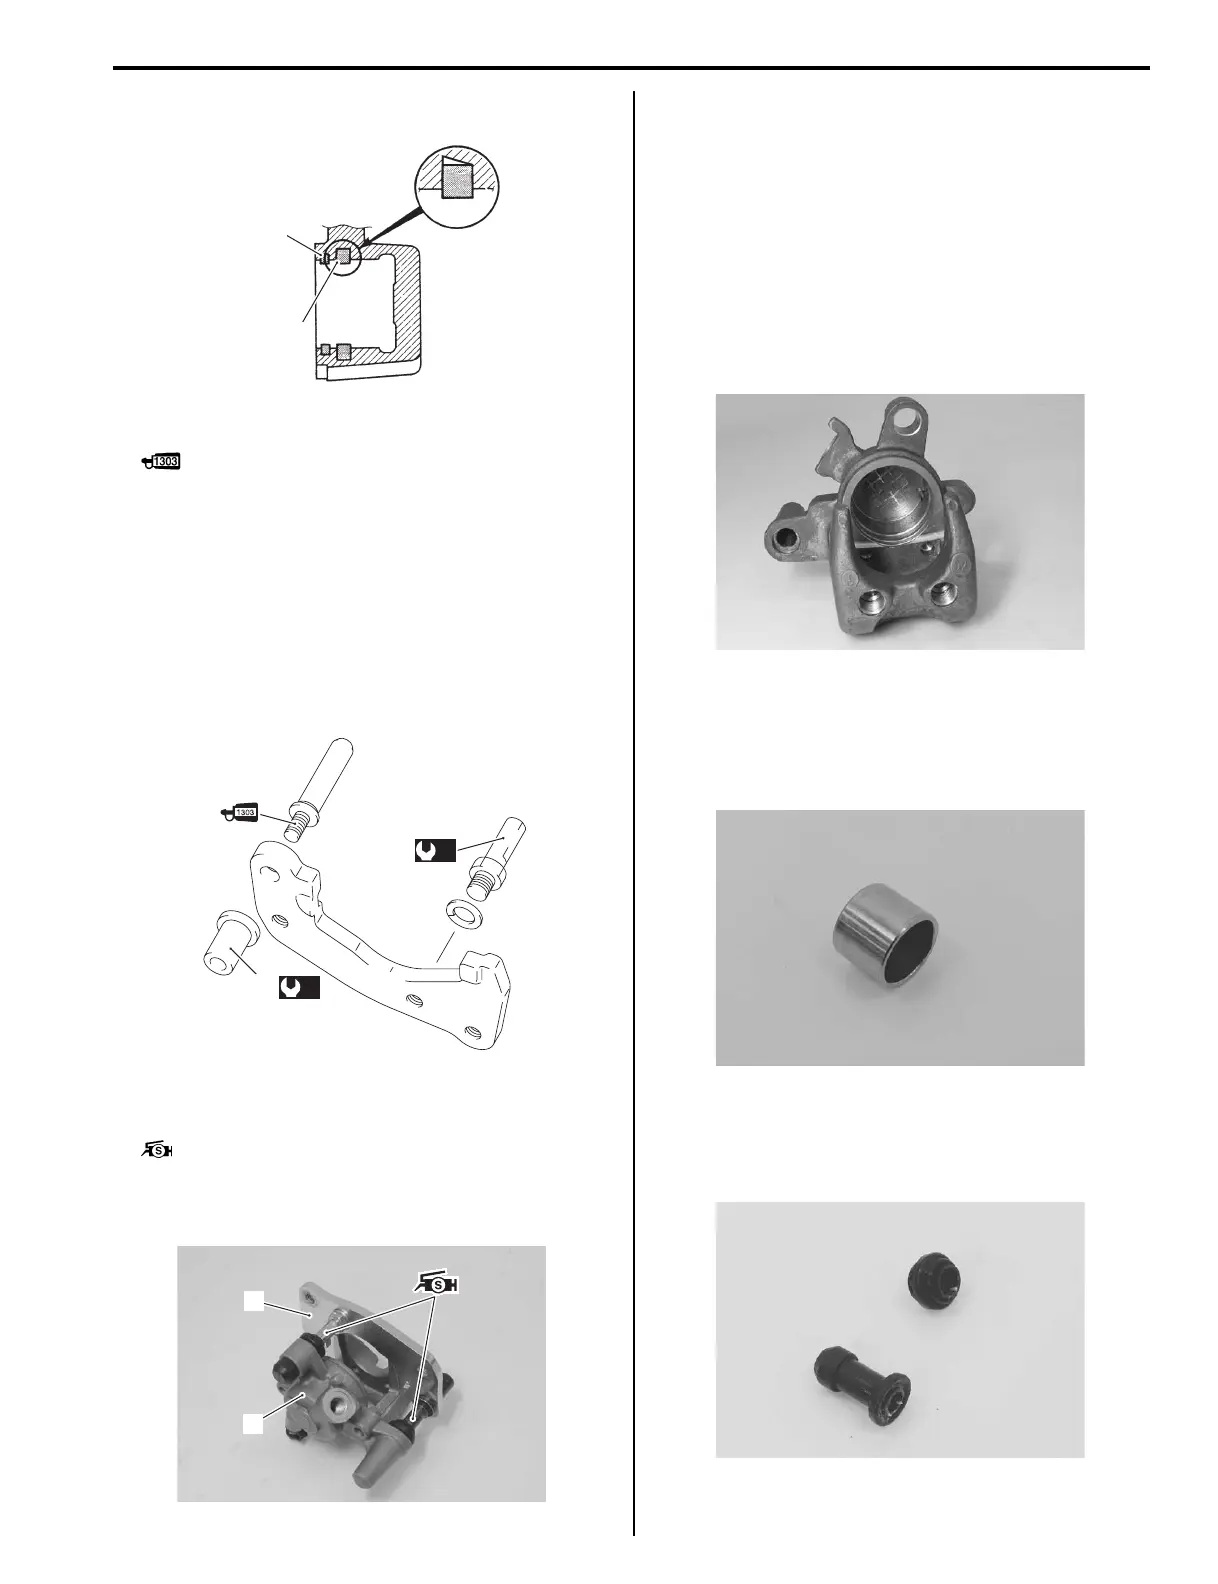
• Install the piston seal as shown in the figure.
• Apply thread lock to the caliper holder slide pin (3).
: Thread lock cement 99000–32030
(THREAD LOCK CEMENT SUPER 1303 or
equivalent)
• Tighten the caliper holder slide pin nut (4) and caliper
holder pin (5) to the specified torque.
Tightening torque
Caliper holder slide pin nut (a): 23 N·m (2.3 kgf-
m, 16.5 lb-ft)
Caliper holder pin (b): 18 N·m (1.8 kgf-m, 13.0 lb-
ft)
• Set the rubber boots to the caliper.
• Apply silicon grease to the two pins.
: Grease 99000–25100 (SUZUKI SILICONE
GREASE or equivalent)
• Install the caliper holder (6) to the brake caliper (7).
• Install the brake pads. Refer to “Front Brake Pad
Replacement (Page 4B-2)”.
Front Brake Caliper Parts Inspection
B827H14206006
Refer to “Front Brake Caliper Disassembly and
Assembly (Page 4B-4)”.
Brake Caliper Cylinder
Inspect the brake caliper cylinder wall for nicks,
scratches or other damage. If any damage is found,
replace the caliper with a new one.
Brake Caliper Piston
Inspect the brake caliper piston surface for any
scratches or other damage. If any damage is found,
replace the piston with a new one.
Boots
Inspect the boots for damage or wear. If any defects are
found, replace them with new ones.
1
2
I649G1420013-02
3
(a)
4
(b)
5
I827H1420013-01
6
7
I827H1420014-01
I827H1420015-01
I827H1420016-01
I827H1420017-01
 Loading...


