4D-2 Parking Brake:
Parking / Rear Brake Lever Removal and
Installation
B827H14406004
Removal
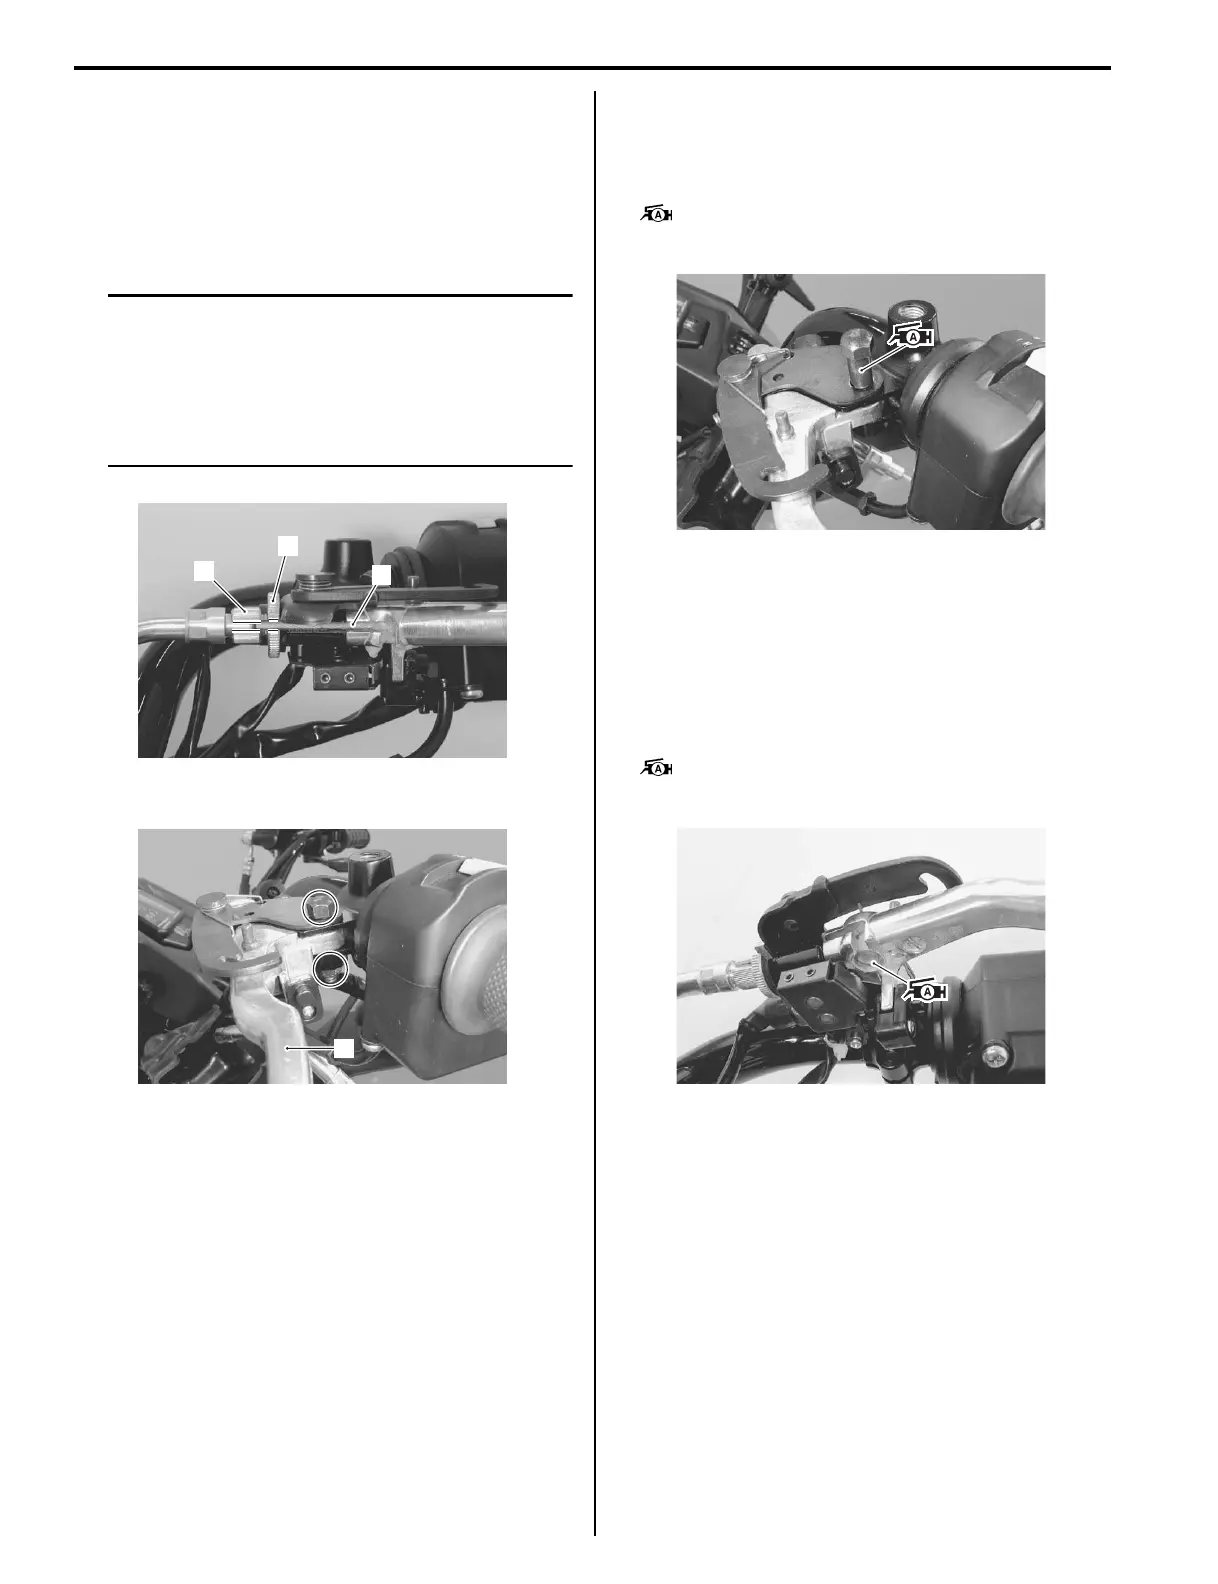
1) Disconnect the brake cable (1) from the brake lever.
NOTE
• Align the slit of lock-nut (2) with the slit of
adjuster (3).
• Loosen the adjuster nut, if necessary.
Refer to “Rear Brake Pedal / Rear Brake
(Parking Brake) Lever Inspection and
Adjustment in Section 0B (Page 0B-16)”.
2) Remove the rear brake lever (4).
Installation
Install the rear brake lever in the reverse order of
removal. Pay attention to the following points:
• Apply grease to the brake lever pivot bolt.
: Grease 99000–25010 (SUZUKI SUPER
GREASE A or equivalent)
• Tighten the pivot bolt and lock-nut to the specified
torque.
Tightening torque
Brake lever pivot bolt: 6 N·m (0.6 kgf-m, 4.5 lb-ft)
Brake lever pivot bolt lock-nut: 6 N·m (0.6 kgf-m,
4.5 lb-ft)
• Apply grease to the brake cable end.
: Grease 99000–25010 (SUZUKI SUPER
GREASE A or equivalent)
• After installing the brake lever, check the rear brake
lever play. Refer to “Rear Brake Pedal / Rear Brake
(Parking Brake) Lever Inspection and Adjustment in
Section 0B (Page 0B-16)”.
1
3
2
I827H1440002-01
4
I827H1440003-01
I827H1440004-01
I827H1440005-01
 Loading...


