– Apply silicone sealant bead as shown to the clean sealing
surface of sealing flange.
– Install sealing flange immediately and tighten all bolts lightly.
Note
When fitting sealing flange with oil seal installed use guide
sleeve -T10053/1-.
– Tighten securing bolts for sealing flange to 15 Nm using al-
ternate and diagonal sequence.
– Remove excess sealant.
– Install sump ⇒ Page 244.
Note
Sealing compound must dry for approx. 30 minutes after instal-
lation. Only then fill with engine oil.
Install crankshaft pulley. To do this, lock toothed belt pulley us-
ing counterhold -3415-.
Tighten new central bolt to 120 Nm and
1
/
4
turn (90°) further
(turning further can be done in several stages).
Note
Thread and shoulder must be free of oil and grease.
– How to install and tension toothed belt ⇒ Page 210.
2.4 Assembly overview - sealing flanges
and flywheel
WARNING
Always adhere to the following instructions.
◆ The repair work described in this chapter must be
carried out in a Volkswagen dealership only.
◆ If these instructions are not adhered to and damage
results, Volkswagen is exempt from any liability and
warranty claims.
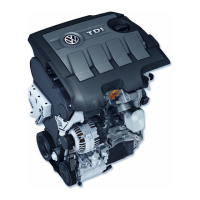
Industriemotoren - Industrial Engines 2009 ▶
Workshop Manual for Diesel Engine (2.0 l/36-75 kW_EA 189) 05.2015
3
2 Removing and installing sealing flange and flywheel
167
 Loading...