GE Healthcare Senographe DS
Revision 1 Service Information and Procedures Class A 2385072-16-8EN
Job Card D/R A255 - Bucky
Page no. 1339 Chapter 9
JC-DR-A-255.fm
Job Card D/R A255 - Bucky Chapter 9
1SUPPLIES
Bucky
2TOOLS
Standard Tool Box
3 REQUIRED EFFORT
Personnel: 1 Field Engineer
Time: 35 minutes
4 SAFETY PRECAUTIONS
Not applicable
5 PREREQUISITES
Before installing the new Bucky, make sure that the Bucky is placed for at least 30 minutes in a dry
room whose temperature is greater than or equal to 20
°C (68°F).
!
Notice:
Never put the Bucky onto a hot surface to speed up this process.
6 PROCEDURE
6-1 Principle
Bad repositioning of the Bucky during gain calibration or during acquisitions result in vertical artifacts on
the image (perpendicular to the grid lines).
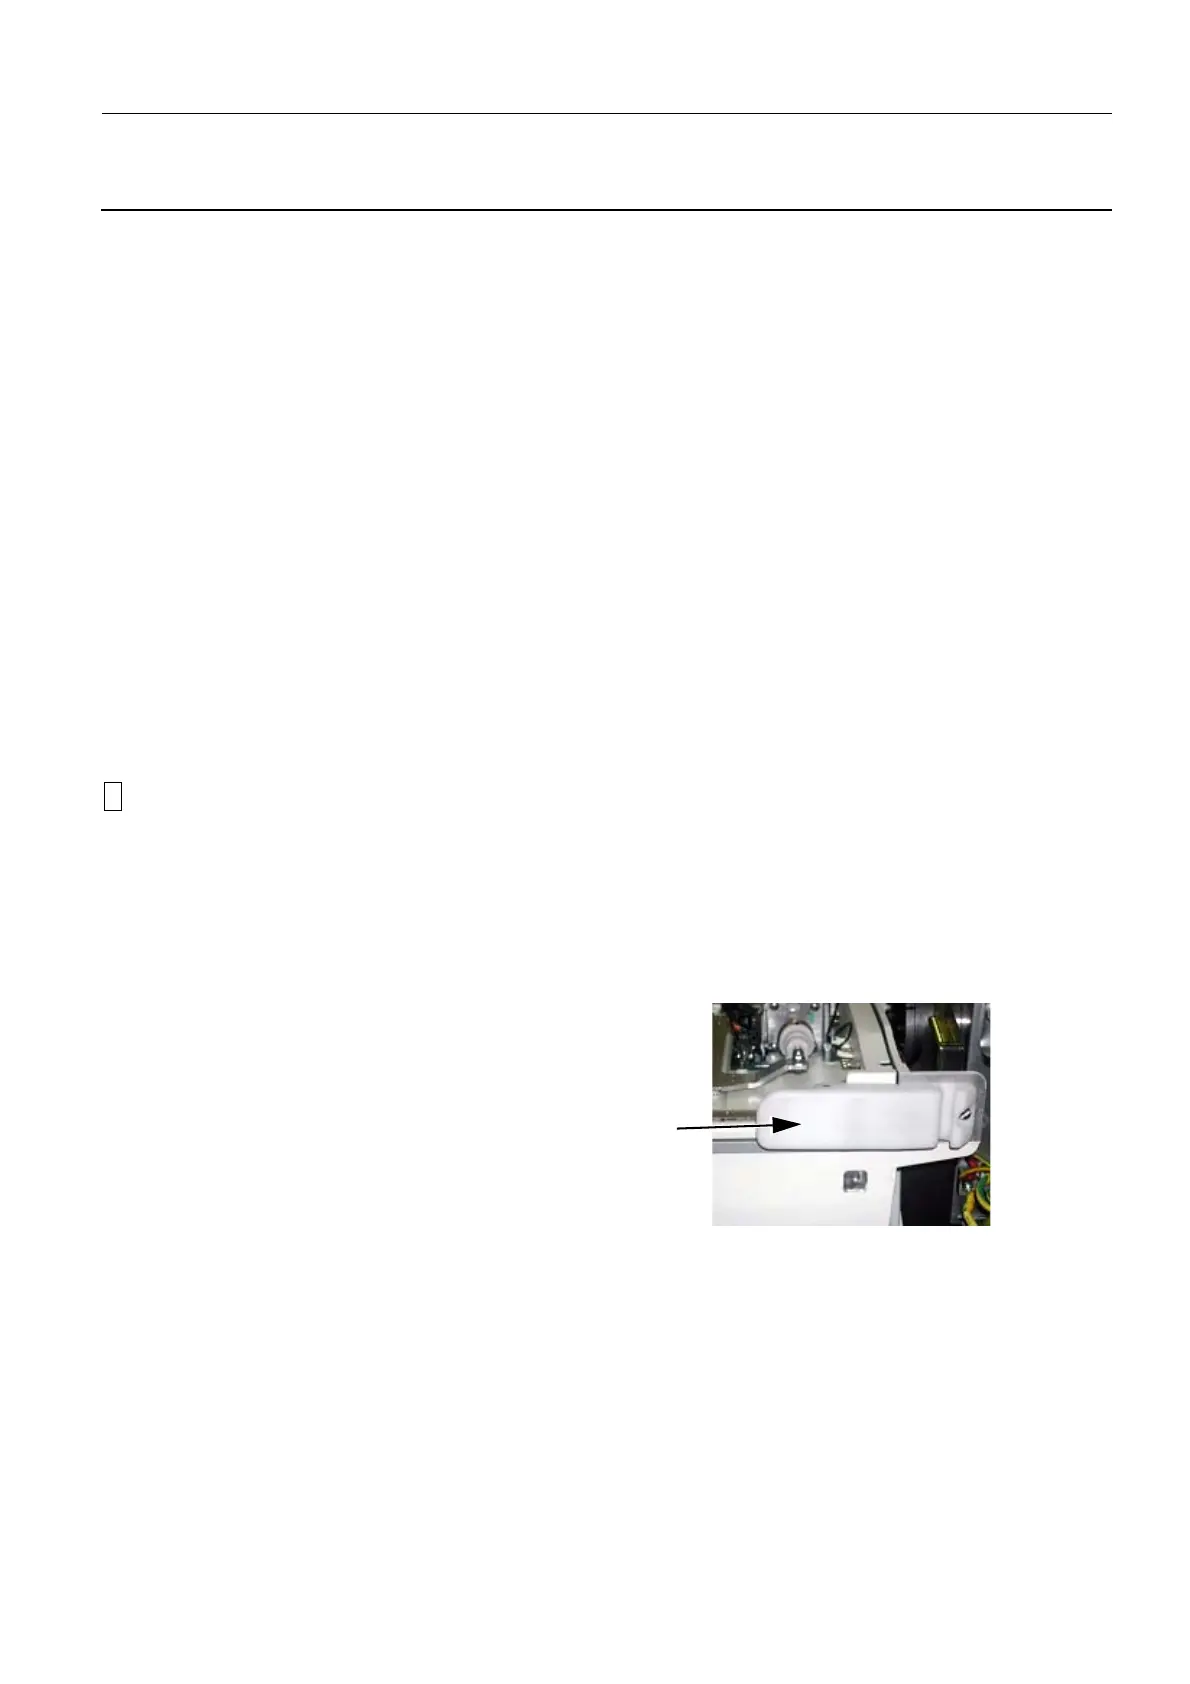
6-2 Installation of New Bucky
To ensure a correct positioning of the Bucky, the following procedure must be followed:
The correct Bucky position is ensured by the proper
tightening of the two latches, one each side of the
Bucky.
 Loading...


