Diagnostics
Introduction
This subsection describes the use of the diagnostics software that is
used to isolate faults in the 7356 Scanner. The diagnostic software
enables access to the diagnostic routines contained in the Scanner.
8830 DDS: Refer to the 8830 DDS Service Manual Section 6
ES8150/XPC: in the case of System Interconnection Modules (SIM),
the diagnostic software is already loaded into the control computer of the
SIM as part of the user interface (Ul) software. No additional installation
is required. To use the diagnostics, the SCSI port of the Scanner must
first be disconnected from the SCSI port of the VME module in the SIM
and connected directly to the SCSI port of the control computer inside
the SIM.
In the case of Scanners used in standalone and third-party systems, the
diagnostics software is either loaded onto a laptop computer brought to
the customer's site by the customer service representative, or run from a
floppy disk inserted into the customer's computer that controls the
Scanner. The laptop contains the diagnostic software and the Microsoft
Windows operating system under which the software runs.
Installation of Diagnostic Software - Laptop
Computer
Perform the following steps to install the diagnostic software on the
computer used to control the Scanner.
1. Ensure that the computer is running Microsoft Windows 3.1,3.1.1,
or Windows 95. MS-DOS 6.2 or better must also be present. The
diagnostic software will only operate under one of these operating
systems.
2. Close any applications running under Windows at the time.
3. Insert the floppy disk that contains the diagnostic software into the
floppy disk drive.
4. (Figure 6-1): Open the Program Manager in Windows, and choose
RUN from the File Menu.
5. Type A: Setup and press the <Enter> key.
6. Follow the directions on the screen to complete the installation.
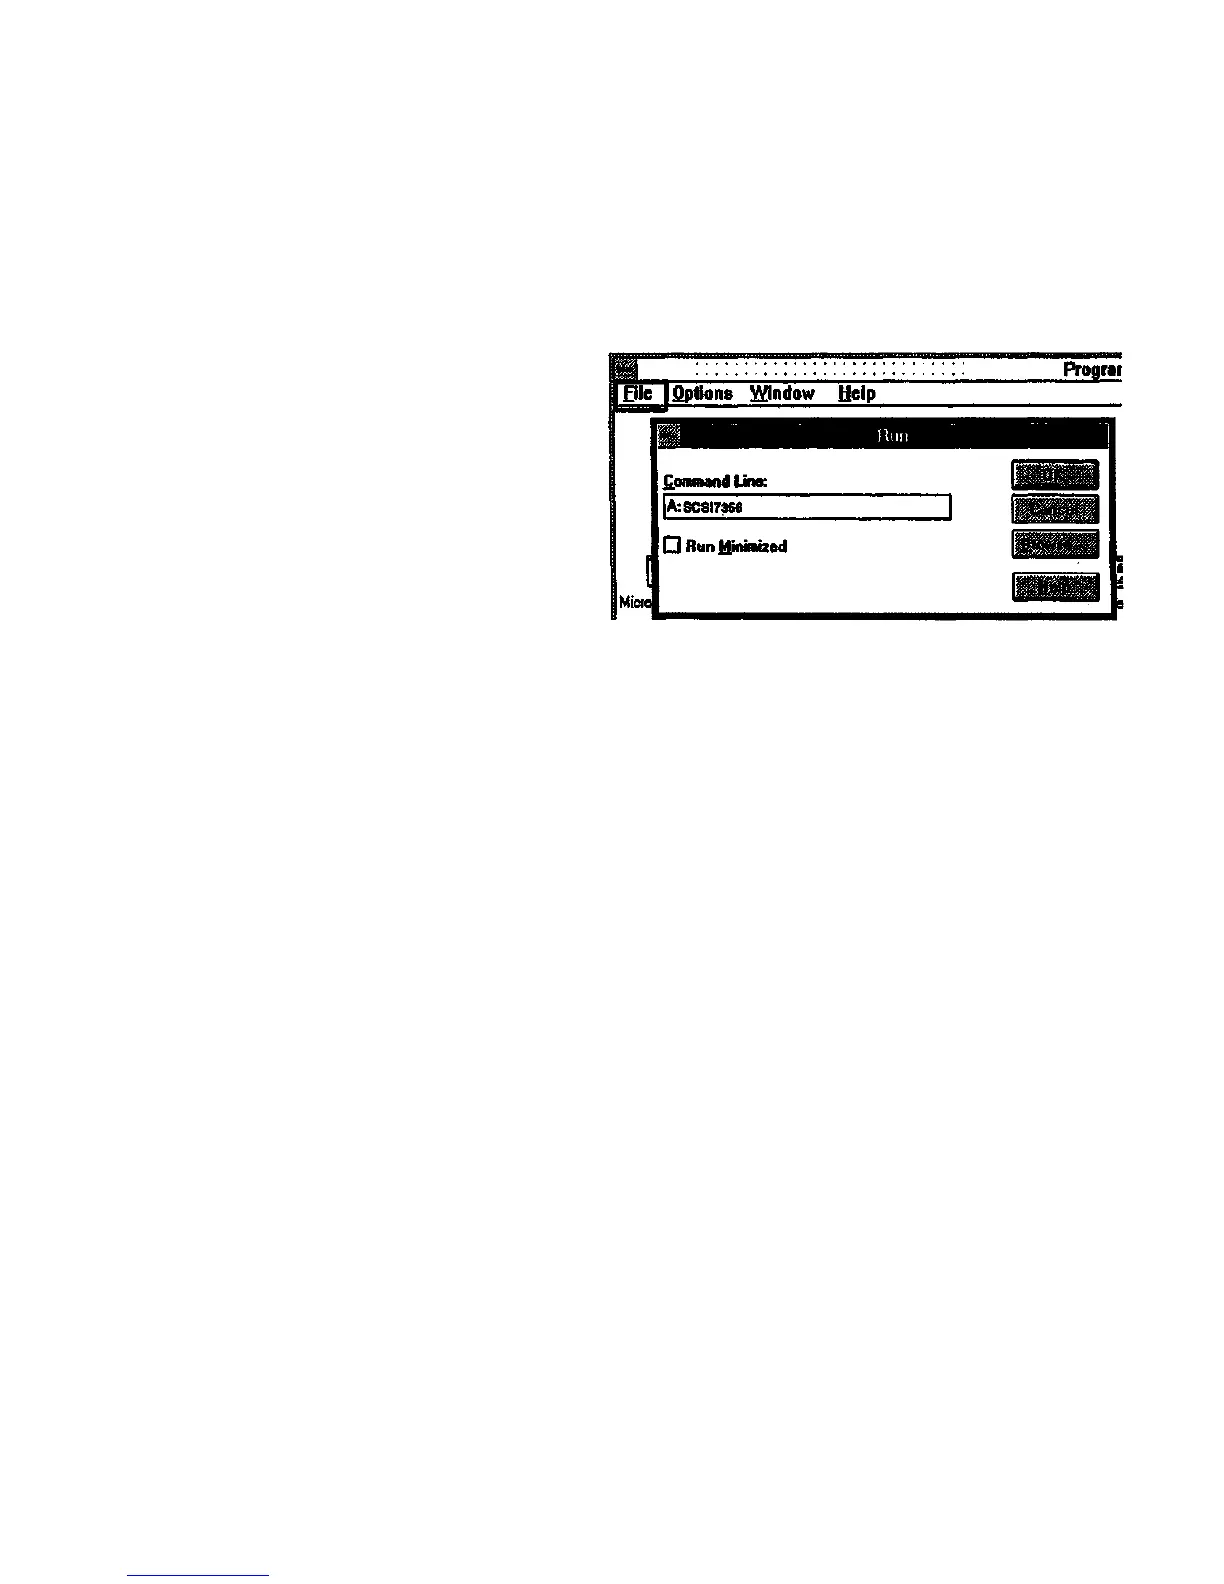
Figure 6-1. Running the Setup Program
Starting the Diagnostic Software from a Floppy
Disk
1. Ensure that the computer is running Microsoft Windows 3.1,3.1.1,
or Windows 95. MS-DOS 6.2 or better must also be present. The
diagnostic software will only operate under one of these operating
systems.
2. Close the Windows Program Manager.
3. Switch off the computer and the Scanner.
4. Connect the SCSI cable from the Scanner to the SCSI port of the
computer on which the diagnostics will be run.
5. Switch on the Scanner.
6. Switch on the computer, allow it to boot, and type WIN to start
Windows.
7. Insert the SCSI7356 floppy disk into the floppy disk drive.
8. Open the Program Manager in Windows, and choose RUN from the
File Menu.
9. Type A: SCSI7356 and press the <Enter> key.
• The software starts. Enter the password ES8150 and press the
<Enter> key on the keyboard. Then select the Begin button.
Refer to Using the Diagnostic Software for further instructions.
Diagnostics
4/97
6-2
7356 Scanner
 Loading...


