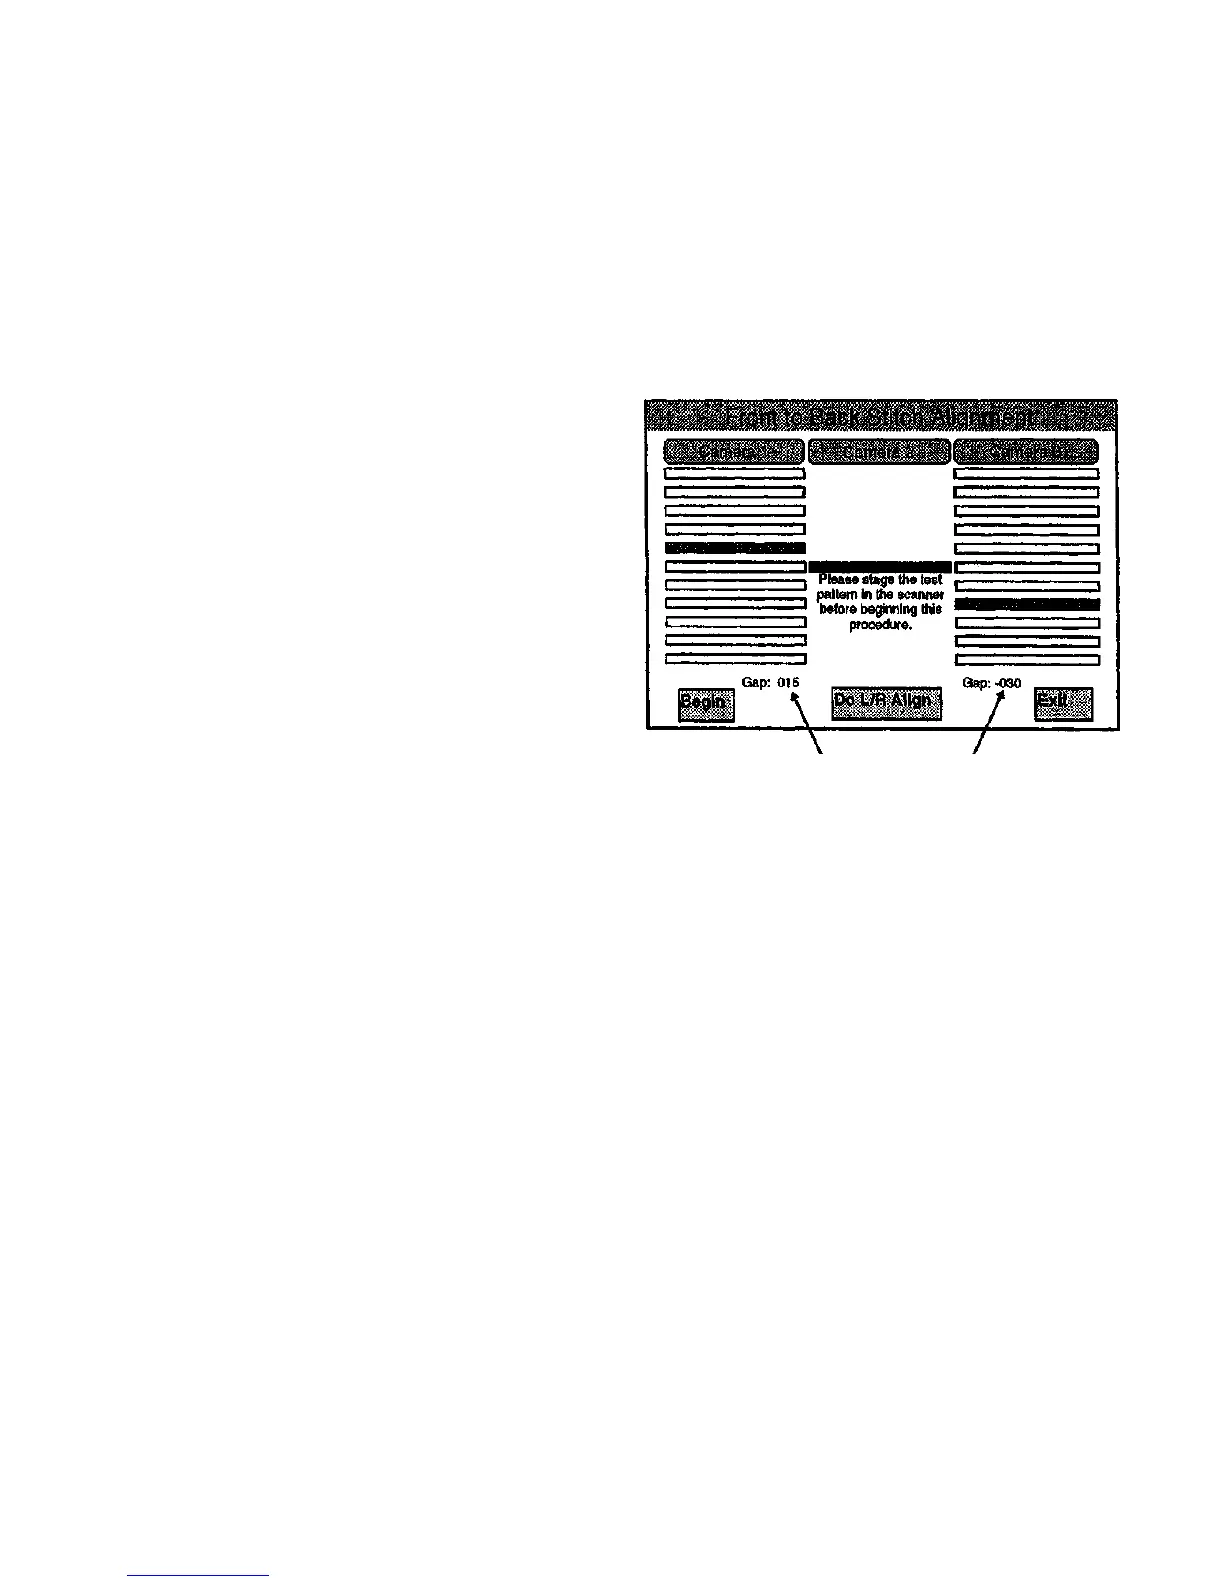
Front to Back Stitch Alignment
(Figure 6-15): This test evaluates the front to back stitch alignment of the
three cameras. If the alignment is not correct, a mechanical adjustment
must be made. Go to ADJ 4.1.3, Section 4 of this service manual for
detailed instructions on this adjustment.
The screen indicates that both Camera 1 and Camera 3 are not aligned
correctly. Camera 1 must be adjusted toward the back of the scanner to
eliminate the 15 pixel alignment difference (front to back gap) between
Camera 1 and Camera 2, and Camera 3 needs to be adjusted 30 pixels
toward the front of the scanner to properly align it with Camera 2.
• Insert the required test pattern face down in the Scanner.
• Select the Camera 1 button, and select the Begin Button.
Note: The Begin button becomes the Halt button after selection.
• Turn the Camera 1 Adjustment Screw until the alignment bar for
Camera 1 is in line with the Reference Bar for Camera 2.
• Select the Halt button.
• Select the Camera 3 button and adjust the Camera 3 alignment
screw until the alignment bar for Camera 3 is in line with the
Reference Bar for Camera 2.
When the alignment bars of both cameras are in line with the reference
bar for Camera 2, the test Is complete.
• The Begin button starts the selected camera alignment. Once
selected, the label changes to Halt.
• The Do L/R Align button returns to the Left to Right Stitch
Alignment screen.
• The Exit button displays the Main Diagnostic Menu screen.
The Gap number
equals zero when
there is no stitch
error.
Figure 6-15. Front to Back Stitch Alignment Screen
Diagnostics
4/97
6-14
7356 Scanner
 Loading...


