4-102
SWINGARM
EAS30226
REMOVING THE SWINGARM
1. Stand the vehicle on a level surface.
EWA13120
Securely support the vehicle so that there is
no danger of it falling over.
Place the vehicle on the centerstand so that the
rear wheel is elevated.
2. Measure:
• Swingarm side play
• Swingarm vertical movement
a. Measure the tightening torque of the drive
pulley assembly bolts, swingarm bolts and
pivot shaft nut.
b. Check the swingarm side play “A” by mov-
ing the swingarm from side-to-side.
c. If the swingarm has side-to-side play, check
the bearings.
d. Check the swingarm vertical movement “B”
by moving the swingarm up and down.
If swingarm vertical movement is not
smooth or if there is binding, check the
bearings.
3. Remove:
• Drive belt
Refer to “BELT DRIVE” on page 4-94.
4. Remove:
• Drive pulley assembly bolt
• Swingarm bolt
• Pivot shaft nut
EAS30227
CHECKING THE SWINGARM
1. Check:
• Swingarm (left)
• Swingarm (right)
Bends/cracks/damage Replace.
2. Check:
• Drive pulley assembly bolt
• Swingarm bolt
Damage/wear Replace.
EAS30228
INSTALLING THE SWINGARM
1. Lubricate:
• Taper roller bearing
Lubricate the space in the swingarm with lithium-
soap-based grease before installing the taper
roller bearing.
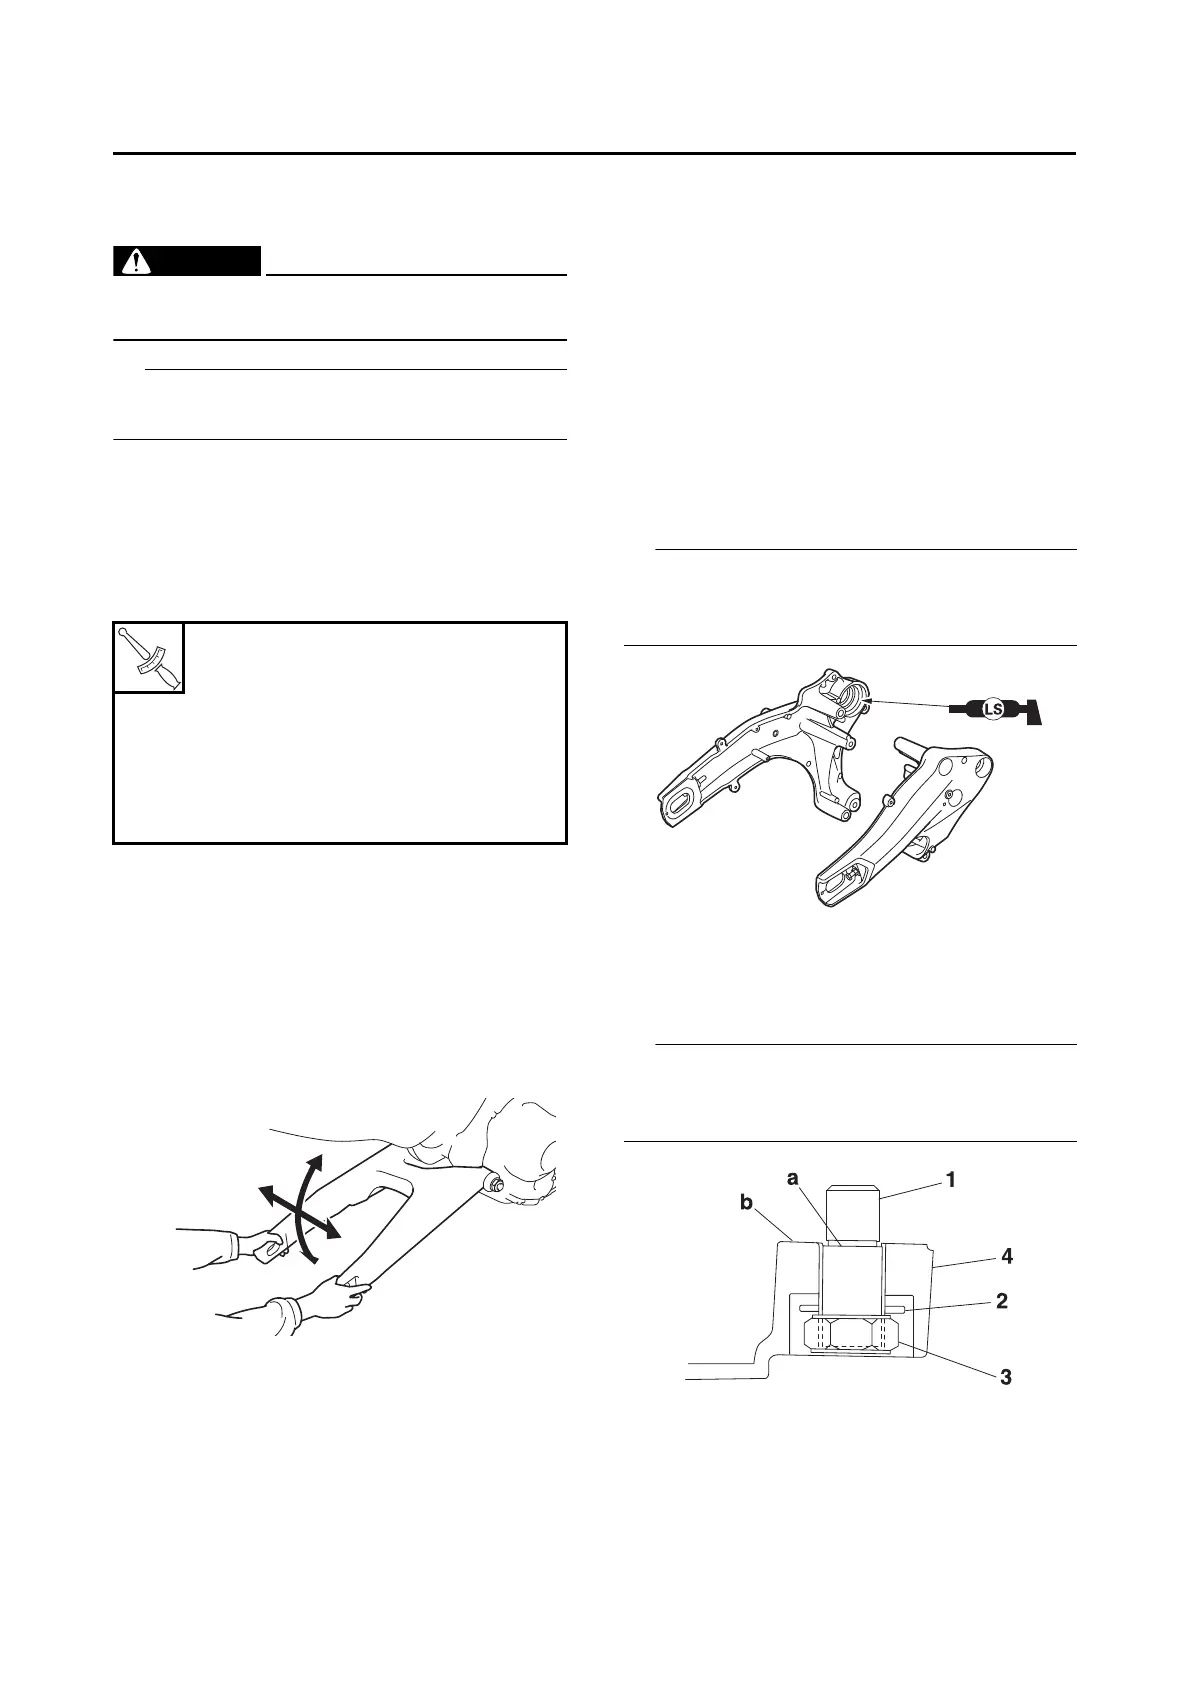
2. Install:
• Pivot shaft “1”
• Washer “2”
• Pivot shaft nut “3”
Install the parts to the swingarm “4” temporarily,
making sure that the portion “a” of the pivot shaft
does not protrude past the swingarm surface “b”.
3. Install:
• Dowel pin
• Swingarm
• Swingarm bolt
• Drive pulley assembly
• Drive pulley assembly bolt
Drive pulley assembly bolt
48 N·m (4.8 kgf·m, 35 lb·ft)
Swingarm bolt
40 N·m (4.0 kgf·m, 30 lb·ft)
Pivot shaft
6 N·m (0.6 kgf·m, 4.4 lb·ft)
Pivot shaft nut
100 N·m (10 kgf·m, 74 lb·ft)

 Loading...