5-21
CYLINDER HEAD
EAS30276
REMOVING THE CYLINDER HEAD
1. Remove:
• Cylinder head bolt
• Cylinder head nut
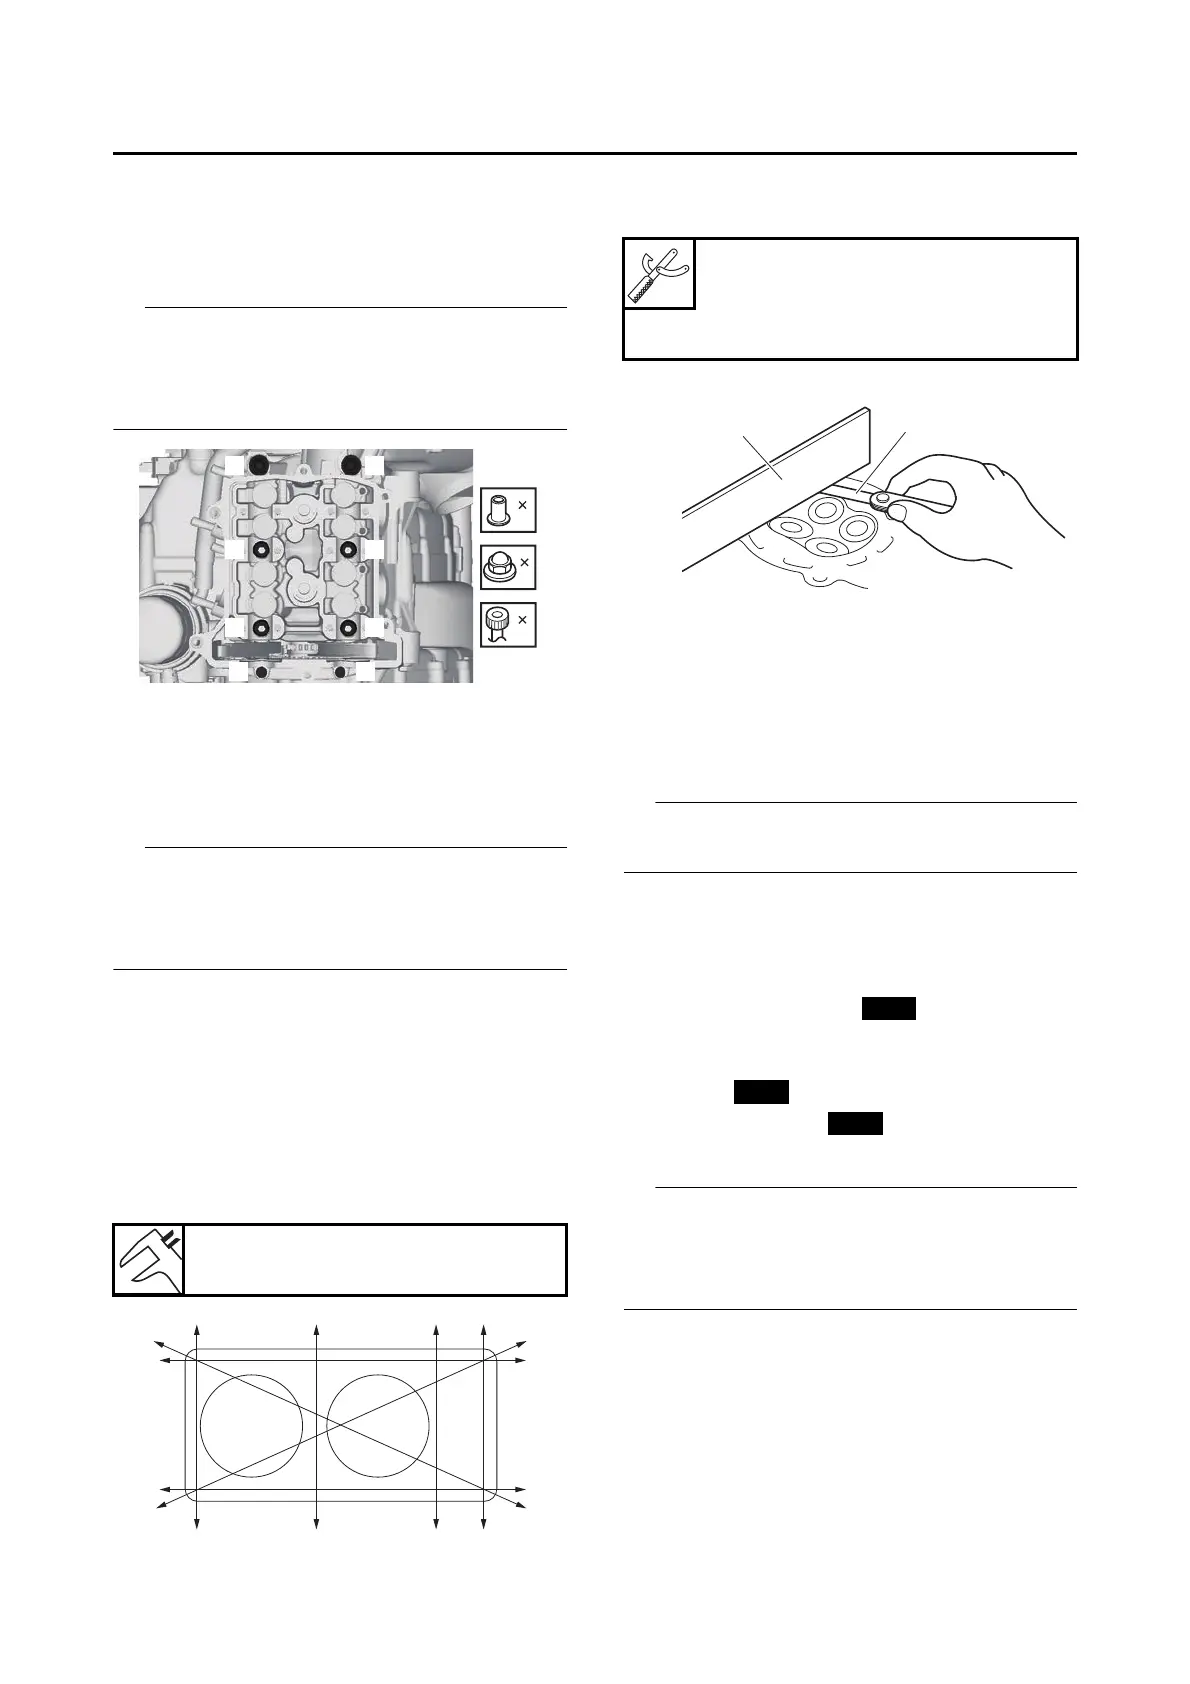
• Loosen the bolts and nuts in the proper se-
quence as shown.
• Loosen each nut 1/2 of a turn at a time. After all
of the nuts are fully loosened, remove them.
EAS30277
CHECKING THE CYLINDER HEAD
1. Eliminate:
• Combustion chamber carbon deposit
(with a rounded scraper)
Do not use a sharp instrument to avoid damag-
ing or scratching:
• Spark plug bore thread
• Valve seat
2. Check:
• Cylinder head
Damage/scratches Replace.
• Cylinder head water jacket
Mineral deposits/rust Eliminate.
3. Measure:
• Cylinder head warpage
Out of specification Resurface the cylinder
head.
a. Place a straightedge “1” and a thickness
gauge “2” across the cylinder head.
b. Measure the warpage.
c. If the limit is exceeded, resurface the cylin-
der head as follows.
d. Place a 400–600 grit wet sandpaper on the
surface plate and resurface the cylinder
head using a figure-eight sanding pattern.
To ensure an even surface, rotate the cylinder
head several times.
EAS30282
INSTALLING THE CYLINDER HEAD
1. Install:
• Dowel pin
• Cylinder head gasket
2. Install:
• Cylinder head
• Washer
• Cylinder head nut
• Cylinder head bolt
• Pass the timing chain through the timing chain
cavity.
• Lubricate the cylinder head nuts and washers
with engine oil.
3. Tighten:
• Cylinder head nut “1”–“6”
• Cylinder head bolt “7”, “8”
• Cylinder bolt “9”
Warpage limit
0.10 mm (0.0039 in)
Thickness gauge
90890-03268
Feeler gauge set
YU-26900-9

 Loading...