5-71
CRANKCASE
6. Install:
• Spring tube
•Spring
EAS30389
DISASSEMBLING THE CRANKCASE
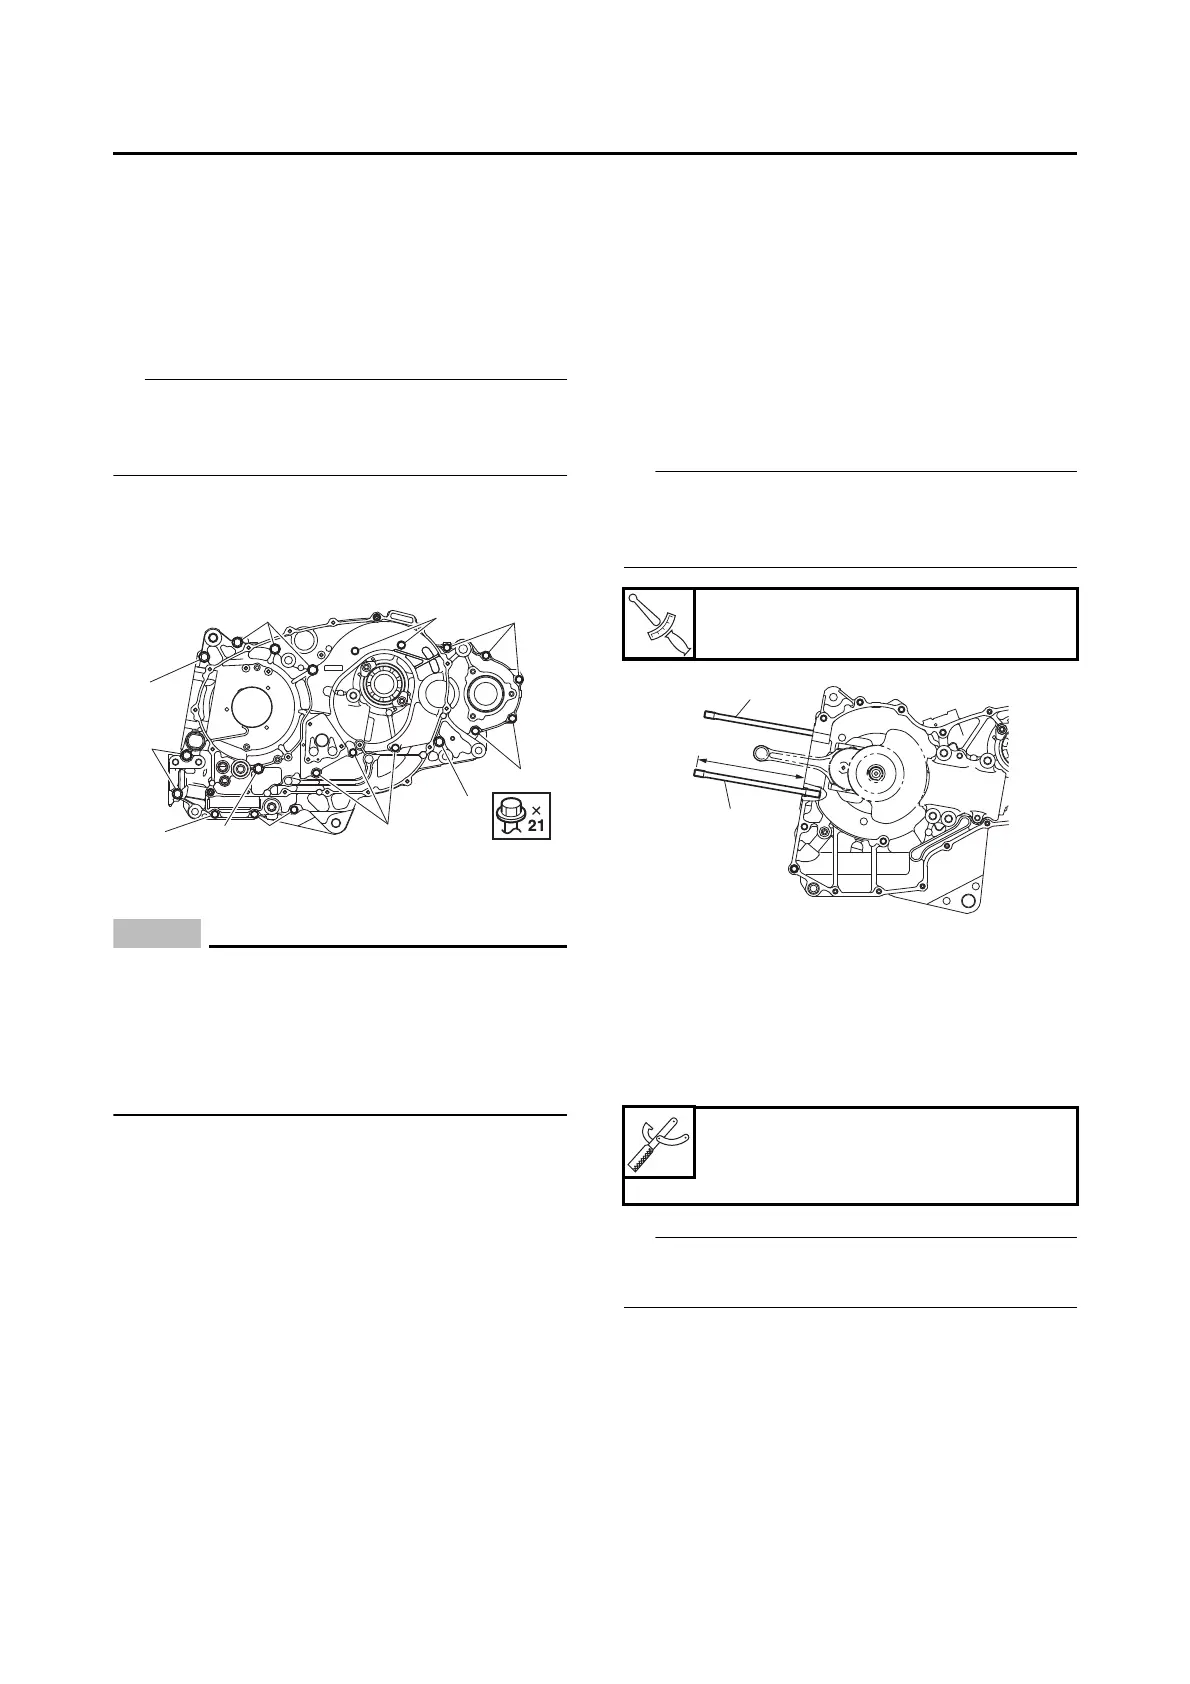
1. Remove:
• Crankcase bolt
Loosen each bolt 1/4 of a turn at a time, in stag-
es and in a crisscross pattern. After all of the
bolts are fully loosened, remove them.
•M6 35 mm (1.38 in) bolt “1”
•M6 50 mm (1.97 in) bolt “2”
•M8 110 mm (4.33 in) bolt “3”
•M8 120 mm (4.72 in) bolt “4”
2. Remove:
• Crankcase (left)
ECA13900
Tap on one side of the crankcase with a soft-
face hammer. Tap only on reinforced por-
tions of the crankcase, not on the crankcase
mating surfaces. Work slowly and carefully
and make sure the crankcase halves sepa-
rate evenly.
EAS30390
CHECKING THE CRANKCASE
1. Thoroughly wash the crankcase halves in a
mild solvent.
2. Thoroughly clean all the gasket surfaces and
crankcase mating surfaces.
3. Check:
• Crankcase
Cracks/damage Replace.
• Oil delivery passage
Obstruction Blow out with compressed air.
EAS31445
CHECKING THE TIMING CHAIN
1. Check:
• Timing chain
Damage/stiffness Replace the timing
chain, camshafts and crankshaft assembly
as a set.
EAS30397
ASSEMBLING THE CRANKCASE
1. Install:
• Cylinder stud bolt “1”
For the cylinder stud bolt, embedded height “a”
is the standard value and the tightening torque is
the reference value.
2. Thoroughly clean all the gasket mating sur-
faces and crankcase mating surfaces.
3. Apply:
• Sealant
(onto the crankcase mating surfaces)
Do not allow any sealant to come into contact
with the oil gallery.
Cylinder stud bolt
13 N·m (1.3 kgf·m, 9.6 lb·ft)
a. 150.2–152.2 mm (5.91–5.99 in)
Yamaha bond No. 1215
90890-85505
(Three bond No.1215®)

 Loading...