NOTE:
[9]: The configuration of the connector varies depending on the country/region. Use the correct power cord to match the location/
area of installation. Be sure to bring back the unused power cords.
[15]: When installing directly to the Buffer Pass Unit or Multi Function Professional Puncher, use 7 screws / to other Options, use
8 screws.
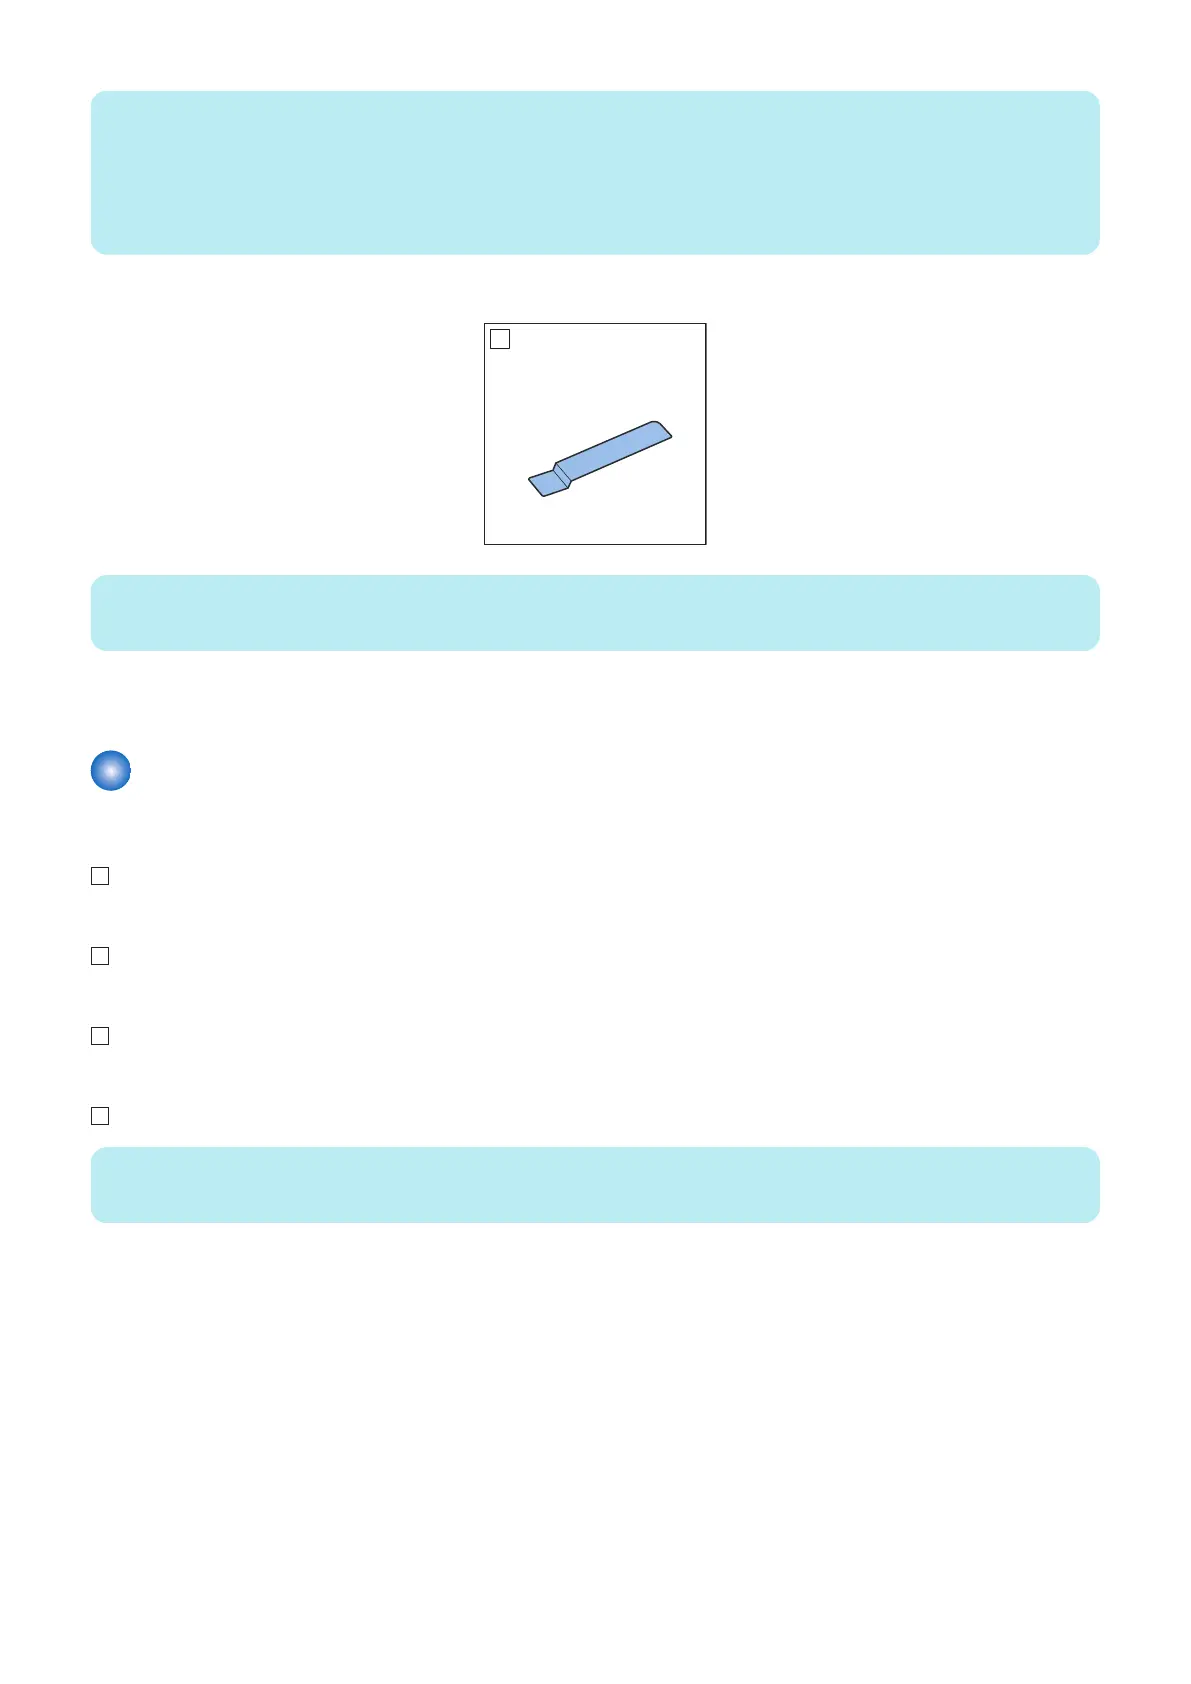
[20]: Use it when installing to the Buffer Pass Unit.
Parts of Accessory Interface Kit-A2
NOTE:
[1]: Use it when installing to the Buffer Pass Unit.
<Other>
Other bundled items such as leaflets, etc.
Installation Procedure
■ Preparing the Finisher for Installation
1. Remove all tapes attached to the equipment and packaging materials from the equipment.
2. Open the Finisher Front Cover.
3. Remove the packing tapes.
NOTE:
Steps 4 to 6 are only for the Booklet Finisher.
4. Release the handle and pull out the Saddle Unit.
6. Paper Output Options
682
 Loading...

