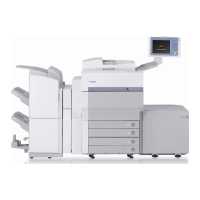
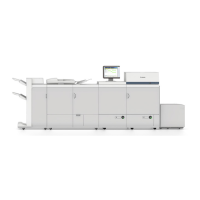
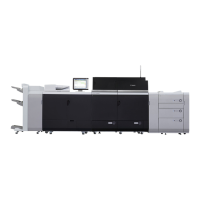
12. Select Settings/Registration > [Adjustment/Maintenance] > [Adjust Image Quality] > [Auto Adjust Gradation] >
“Details of Selected Paper”, and check that paper which is used by the user is displayed.
NOTE:
Check with the user if the paper displayed on the screen is the one which is used for auto gradation adjustment. If it is not correct,
change the paper to the one used for auto gradation adjustment in [Select Paper to Adjust]. Note that the standard type paper
means Canon-recommneded paper. In the case of using the recommended paper, be sure to select "standard paper type".
Execution of Correct Shading
CAUTION:
Be sure to use the largest size of Canon-recommended paper or the largest size of paper which the user uses (It is preferable
to use 320 x 450 mm (SRA3) or 330 x 483 mm).
Do not use special paper (color paper, coated paper, texture paper, etc.).
1. Select [Settings/Registration] > [Adjustment/Maintenance] > [Adjust Image Quality] > [Correct Shading].
2. Select the method for correct shading.
• Densitometer Correction
• Visual Correction
• Scanner Correction
• Print Server Correction
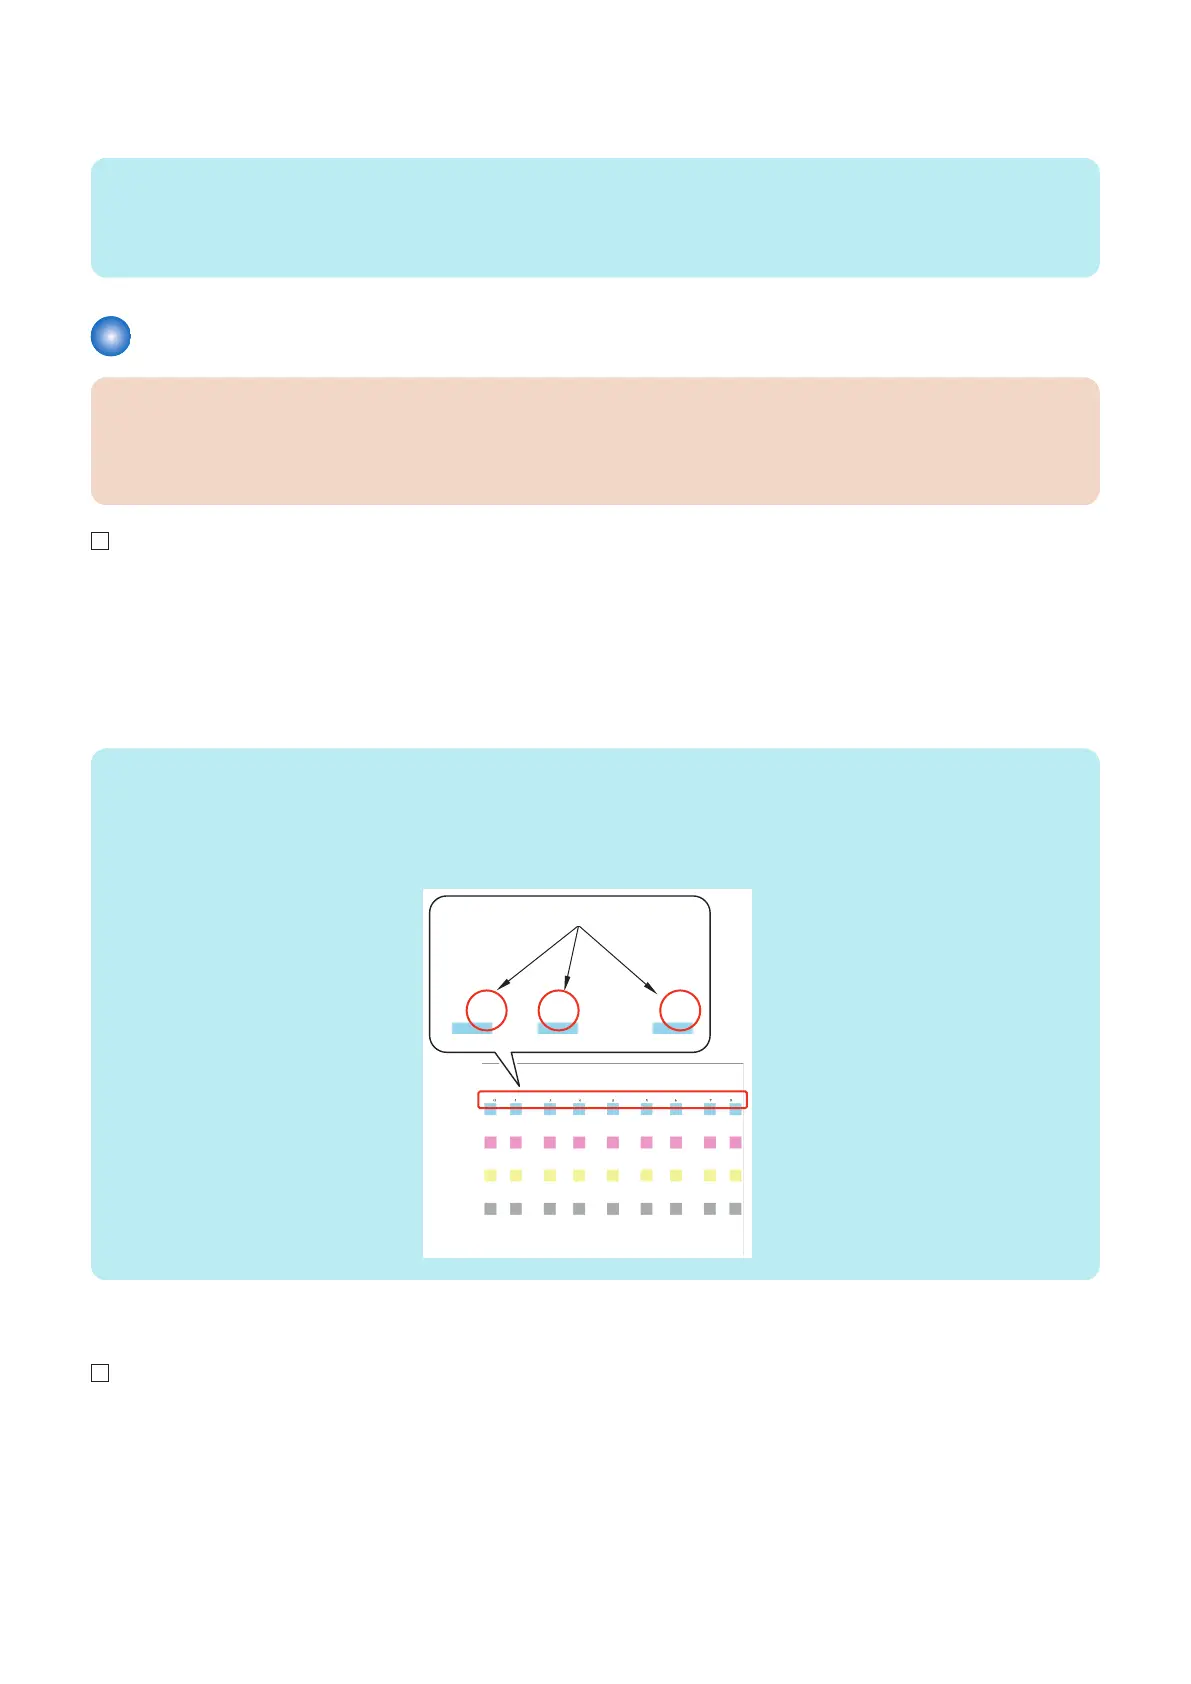
NOTE:
Test page that is output
The mark numbers to be displayed vary according to the paper size.
• 320 x 450 mm (SRA3), 330 x 483 mm : 0 to 8 are displayed
• A3 or 11 x 17, 305 x 457 mm : 1 to 7 are displayed
■ To perform Densitometer Correction
1. Press [Densitometer Correction] > [Start Printing]. (Test Page 1 is output showing mark numbers.)
2. Host Machine
75
 Loading...