GE HEALTHCARE
DIRECTION 2286865, REVISION 14 LOGIQ™ 7 SERVICE MANUAL
Section 6-4 - Reloading the Probe Data 6-9
Section 6-4
Reloading the Probe Data
This procedure will be used for troubleshooting when a image sensitivity is NOT recovered. For details,
refer to Section 7, Troubleshooting.
This rewrites the probe data (probe delay data for beam forming) saved on the flash memories of DDBF
and TRAP boards.
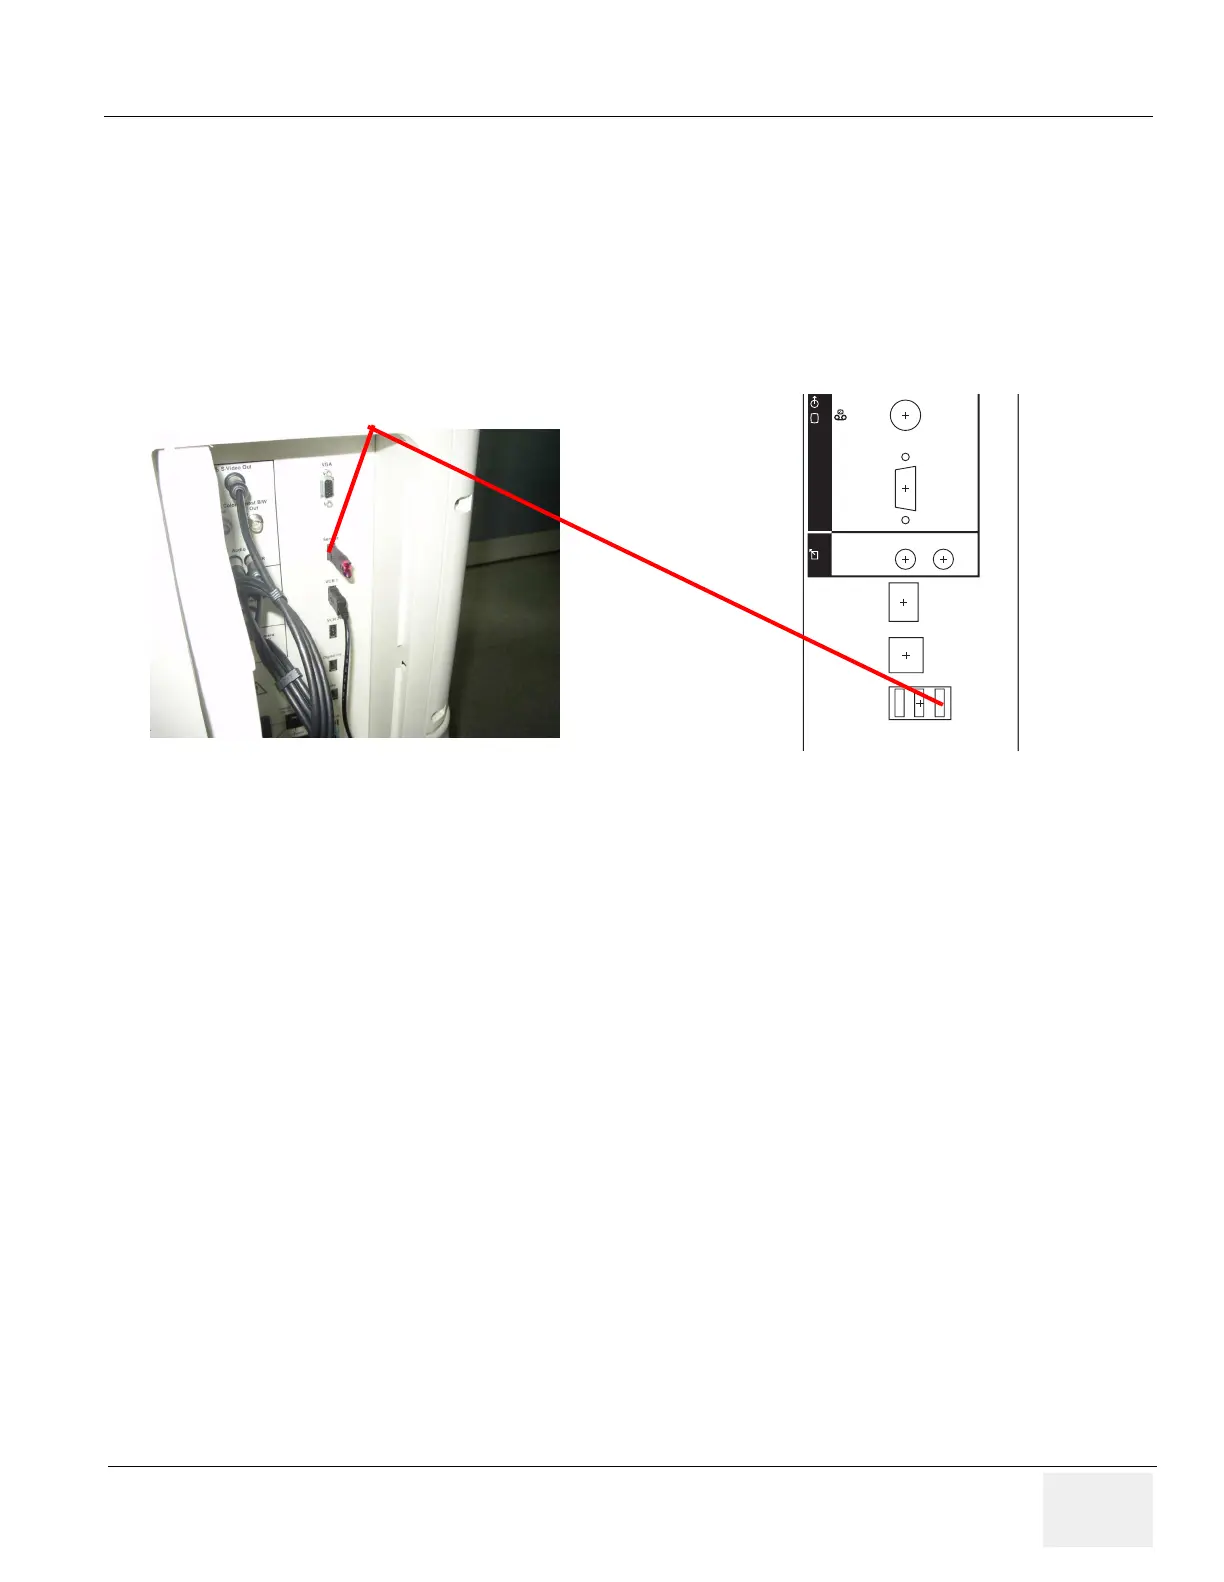
1.) Insert the Service Dongle into the USB port, located at the rear panel of the scanner.
2.) Power ON the scanner.
3.) Refer to 4-2-2-3 Entering Maintenance Mode to enter the windows desktop.
4.) Windows Desktop screen is displayed.
5.) Erase the file, “D:\Pegasus\target\resources\Pegasus\ProbeInfo.res.”
6.) Erase the above file completely from Recycle bin, then restart the scanner.
Figure 6-9 Inserting the Service Dongle
Service Dongle
Re
c/
Expose
VGA
S-Video
Out
Insite
Ethernet
VCR2 VCR1 Service
Camera
B/WColor
Video O
For BT04 or later

 Loading...


