21-8
dummyheaddummyhead
BATTERY/CHARGING SYSTEM
REGULATOR/RECTIFIER
REMOVAL/INSTALLATION
Remove the shroud/side cover (NC700X/XA/XD) (page
2-14).
Remove the shelter/side cover (NC700S/SA/SD) (page
2-15).
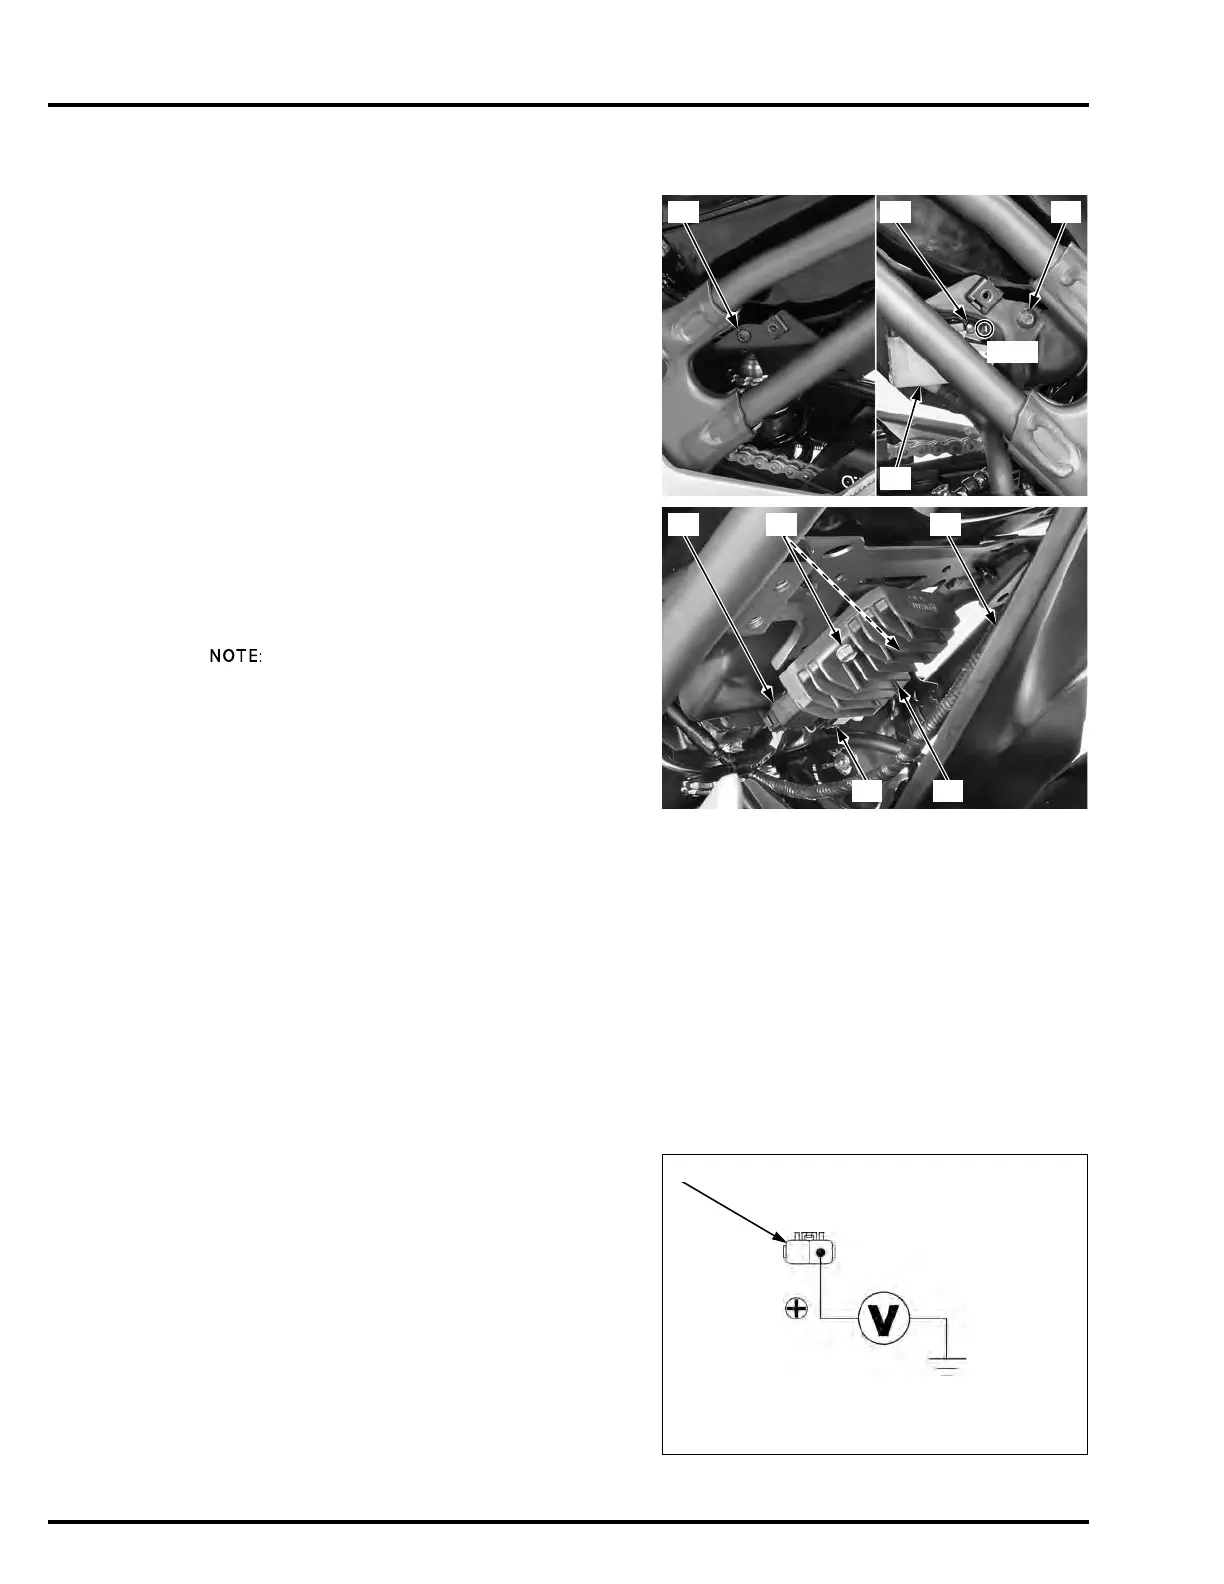
Remove the bolt [1] and rear brake reservoir stay/
reservoir [2].
Remove the socket bolts [3].
Lower the rear fender B [1].
Remove the bolts [2] and regulator/rectifier [3].
Disconnect the alternator 3P (Black) connector [4] and
regulator/rectifier 2P (Black) connector [5].
Installation is in the reverse order of removal.
• Route the wire harness and hoses properly (page 1-
25).
• Align the rear brake reservoir stay with the frame
tab.
SYSTEM INSPECTION
Check connectors for loose contact or corroded
terminals.
Inspect the following items:
– Battery charging line (page 21-8)
– Ground line (page 21-9)
– Charging coil (page 21-9)
If all components of the charging system are normal
and there are no loose connections at the regulator/
rectifier connectors, replace the regulator/rectifier.
BATTERY CHARGING LINE
INSPECTION
Turn the ignition switch OFF.
Disconnect the regulator/rectifier 2P (Black) connector
[1] (page 21-8).
Measure the voltage between the regulator/rectifier 2P
(Black) connector terminal at the wire side and ground.
There should be battery voltage at all times.
CONNECTION: Red (+) – Ground (–)
STANDARD: Battery voltage
 Loading...