11-7
dummyheaddummyhead
CLUTCH/GEARSHIFT LINKAGE (NC700X/XA/S/SA)
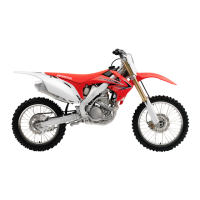
Install the clutch lifter arm [1], return spring [2] and snap
ring [3].
• Align the return spring hook [4] with right crankcase
cover.
• Align the return spring end [5] with clutch lifter arm
groove.
• Make sure the snap ring is firmly seated in the
groove.
Apply engine oil to the clutch lifter rod A sliding surface.
Install the clutch lifter rod A [6].
CLUTCH
REMOVAL
Remove the right crankcase cover (page 11-5).
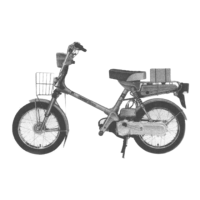
Remove the clutch lifter rod B [1].
Loosen the clutch lifter plate bolts [2] in a crisscross
pattern in 2 or 3 steps, and remove the bolts, lifter plate/
bearing [3] and clutch springs [4].
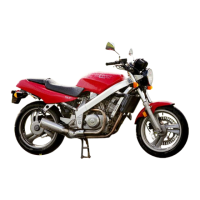
Unstake the clutch center lock nut [1].
Be careful not to damage the mainshaft threads.
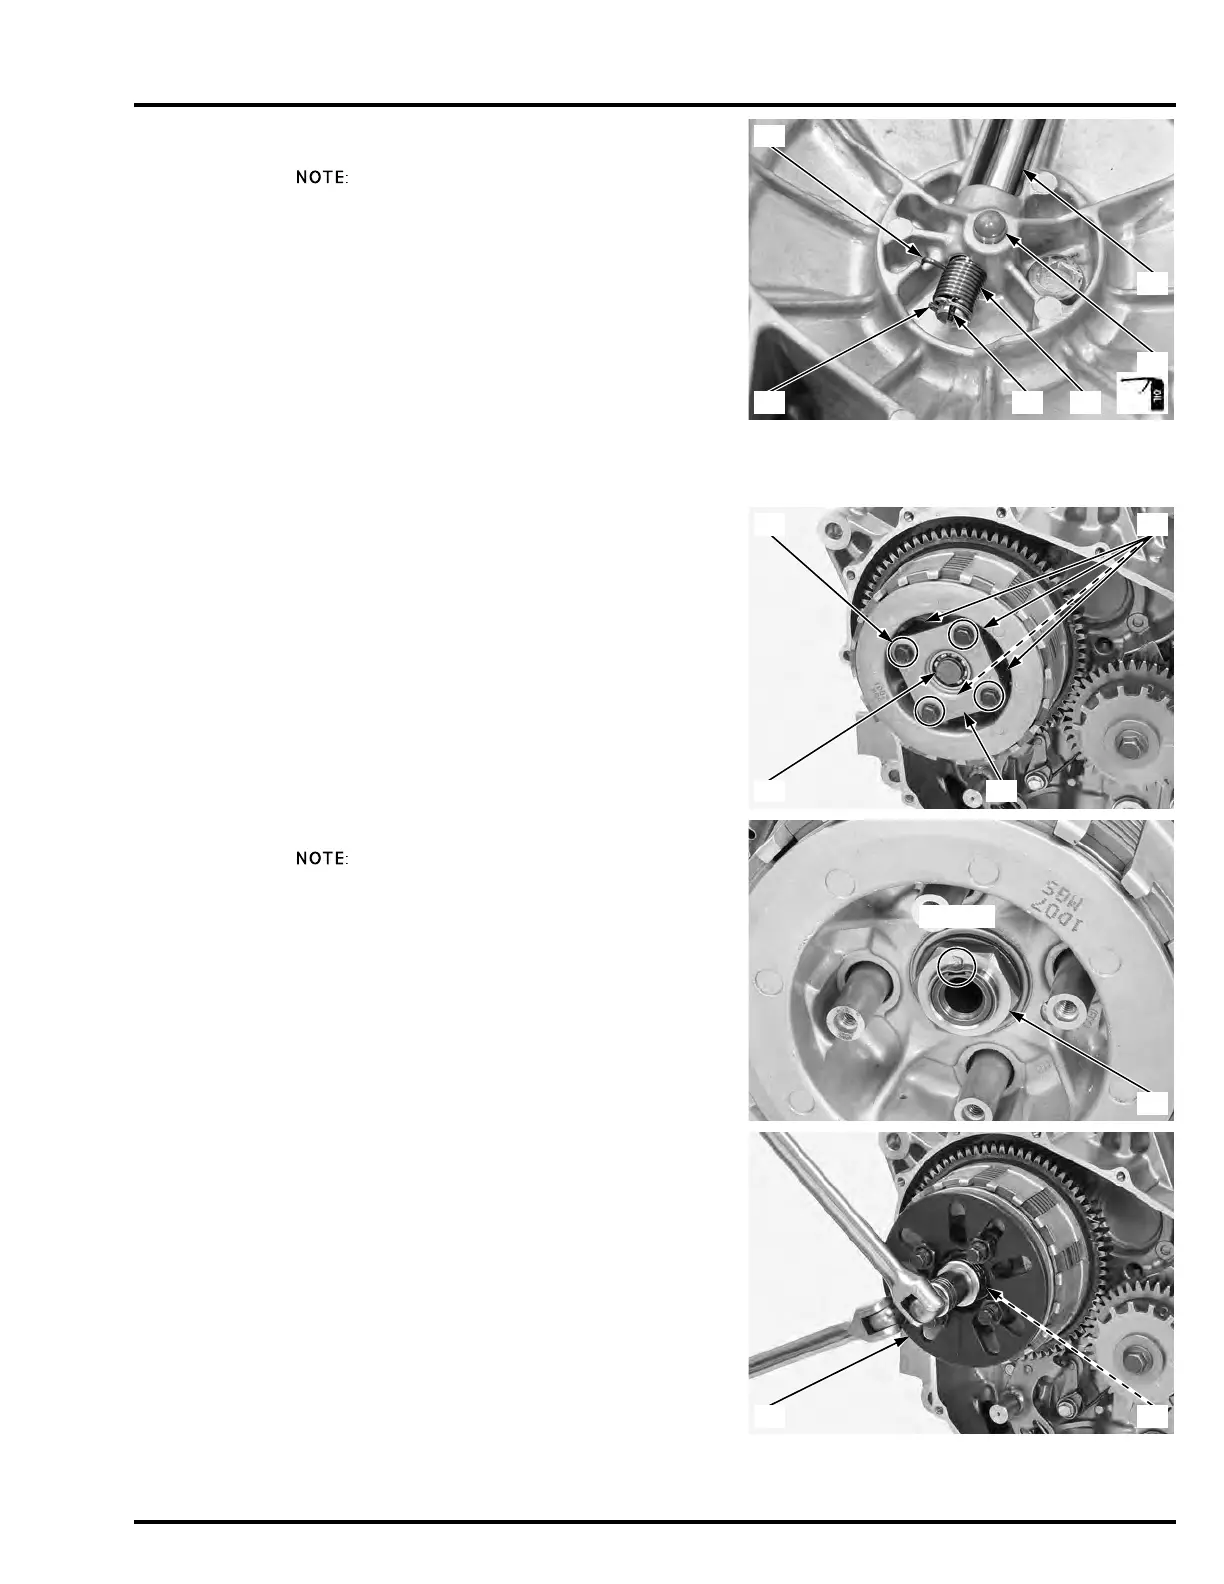
Hold the clutch pressure plate with the special tool and
loosen the clutch center lock nut [1].
Remove and discard the lock nut.
TOOL:
Clutch center holder [2] 07JMB-MN50302

 Loading...