Self-Diagnostic Mode
SM 4-37 D017/D018/D019/D020
Trouble-
shooting
4.2.2 DETAILED SELF-DIAGNOSTIC MODE
Purpose
In addition to the self-diagnostic test initiated every time the main machine is powered on,
you can set the machine in a more detailed diagnostic mode manually in order to test other
components or conditions that are not tested during self-diagnosis after power on.
The following device is required in order to put the machine in the detailed self-diagnosis
mode.
Also, the printer/scanner unit and the optional Centronics (IEEE1284) interface must be
installed.
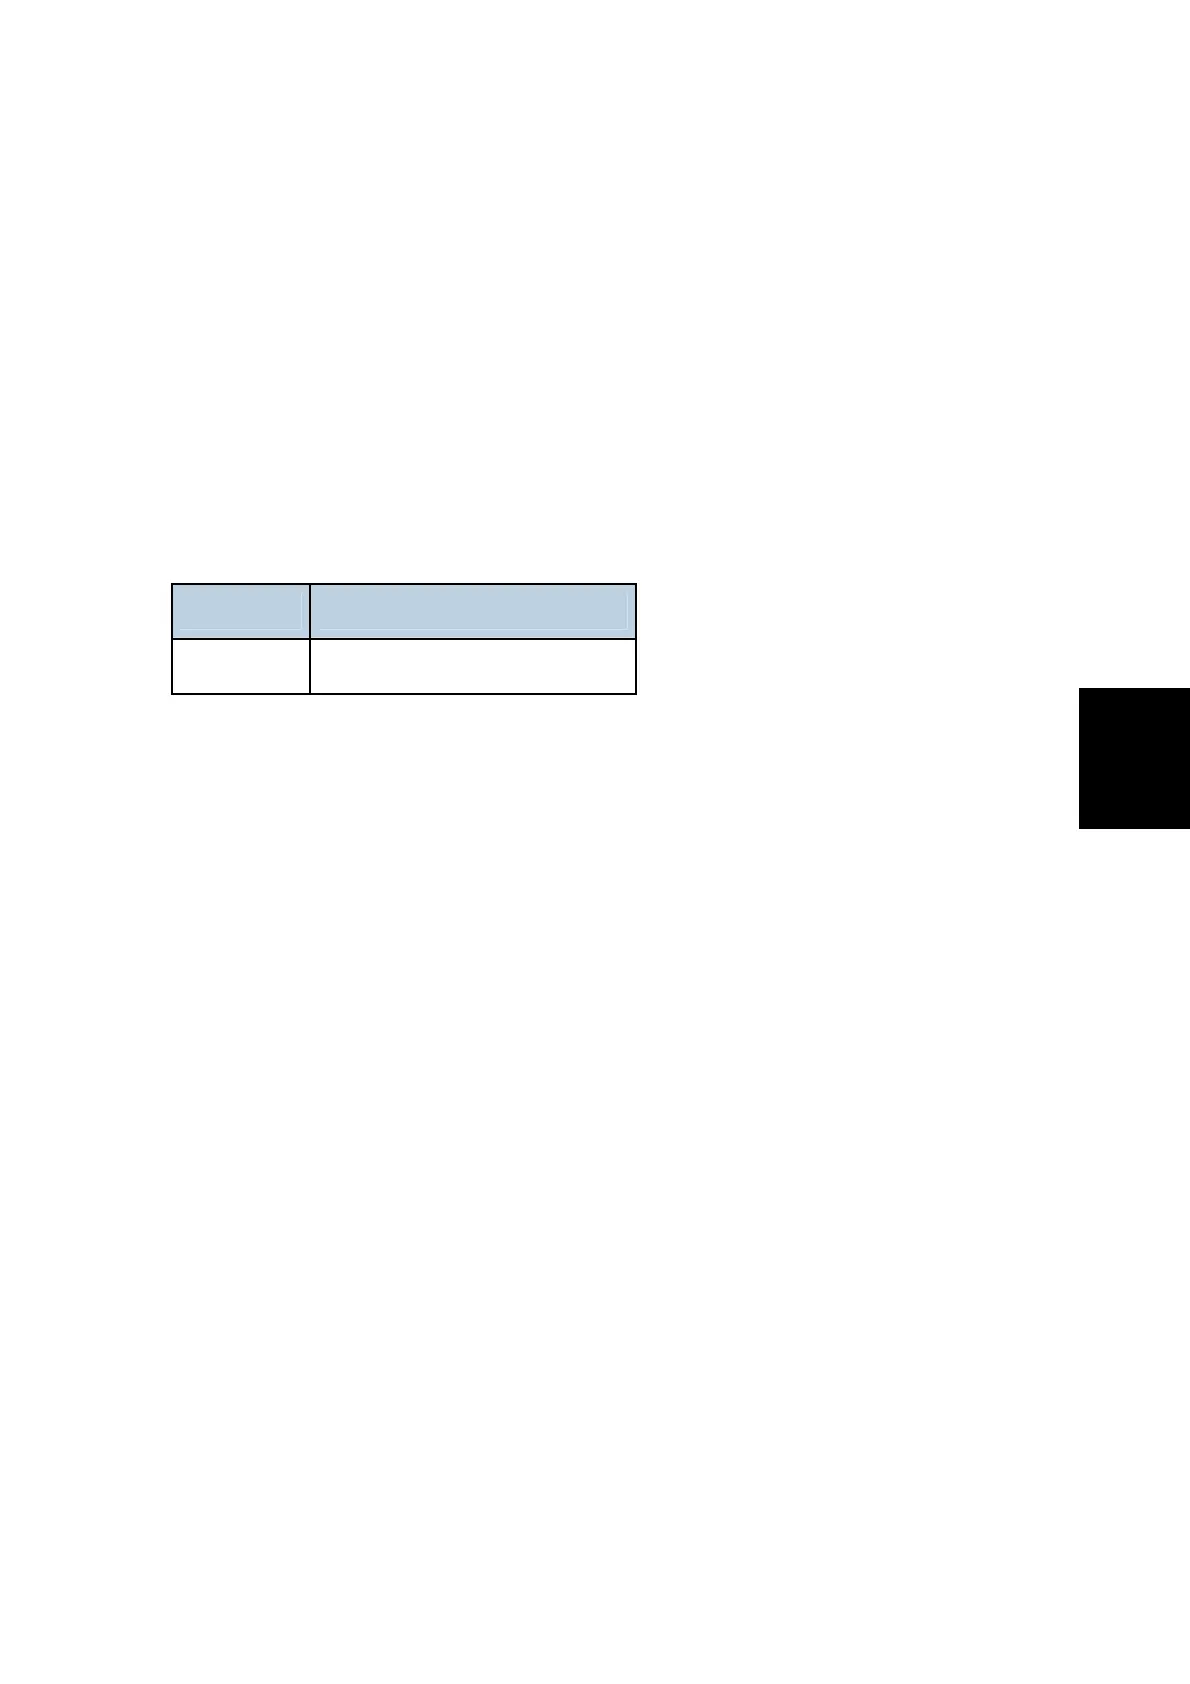
Part No. Name
G0219350 Parallel Loopback Connector
Executing Detailed Self-Diagnosis
Follow this procedure to do the detailed self-diagnosis.
1. Switch off the machine, and connect the parallel loopback device to the Centronics I/F
port.
2. Hold down the button, press and hold down the button, and then while pressing
both keys at the same time, switch on the machine.
You will see “Now Loading” on the touch-panel, and then you will see the results of
the test.
A report like the one below is printed every time a detailed self-diagnostic test is executed,
whether errors were detected or not.
 Loading...