Page 4-102 110XiIIIPlus Maintenance Manual 13185L-002 Rev. A 1/24/06
Section 4 Maintenance
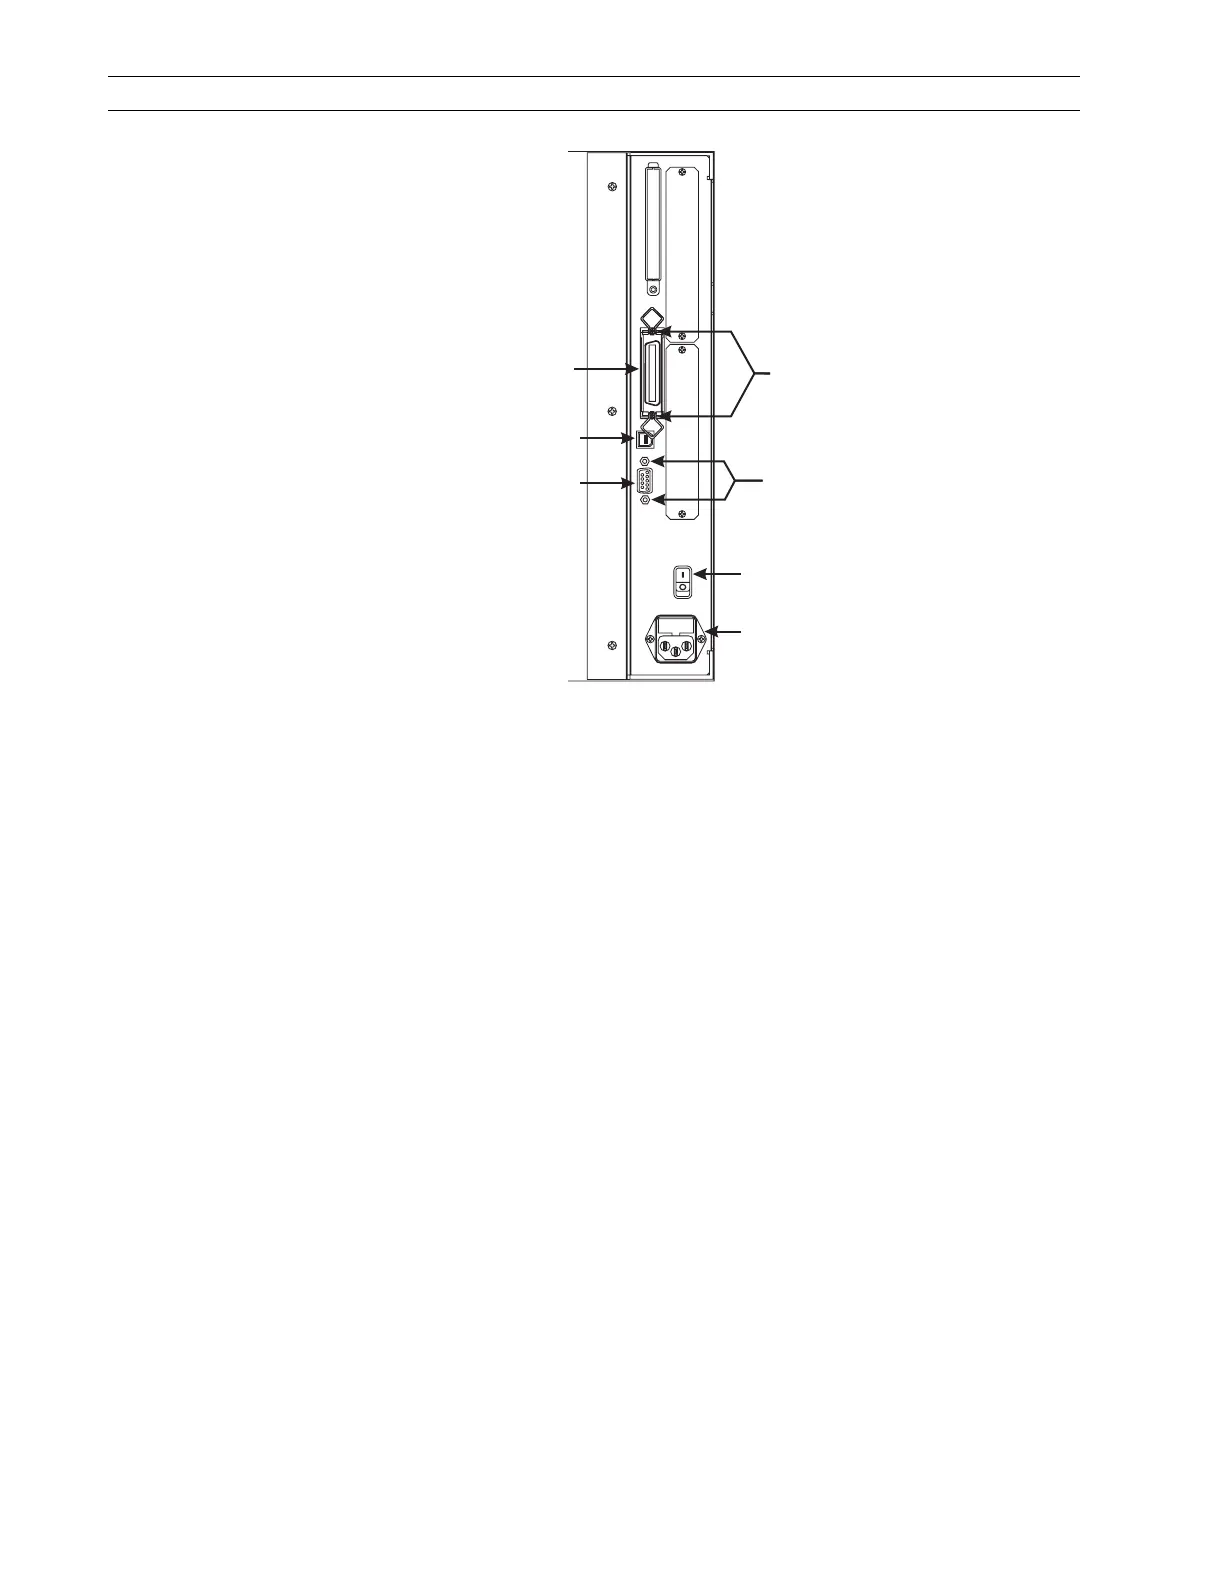
Figure 4-70. Rear View
4. Plug the 40-pin interface data cable into the keyed interface data cable connector
P21 on the main logic board.
5. Insert the twinax interface board partially into the mounting slot, then attach the
other end of the interface data cable into the data cable connector at the rear of the
twinax interface board.
6. Dress the ribbon cable behind the twinax interface board as you slide the board
completely into the printer.
7. Fasten the twinax interface board in place with the screws previously removed.
8. Reinstall the electronics cover.
9. Connect the 9-pin twinax adapter cable connector to the mating connector on the
interface board.
AC Power
On/Off Switch
AC Power
Cable Connection
Parallel
Interface
Connector
DB-9 Serial
Interface
Connector
USB Connector
Parallel Port
Mounting Screws
Serial Port
Mounting Screws
 Loading...