Rockwell Automation Publication 2198-UM002G-EN-P - February 2019 167
Connect the Kinetix 5700 Drive System Chapter 5
Only finger-tight torque on the clamp knob is required. The cable
should not move within the clamp under its own weight or when slight
pressure is applied by hand.
Figure 110 - Dual-axis Inverter Cable Installation (16 and 14 AWG cable)
12 and 10 AWG (series A) cables, prepared as shown on page 165, and series B
cables have longer conductors that support service loops.
Figure 111 - Dual-axis Inverter Cable Installation (series A and B, 12 and 10 AWG cable)
4. Repeat step 1 through step 3 for each dual-axis inverter.
IMPORTANT If the power/brake cable shield on the dual-axis inverter has a
loose fit inside the shield clamp, use a clamp spacer to reduce
the clamp diameter. When the clamp knob is tightened, the
result must be a high-frequency bond between the cable shield
and the drive chassis.
Make sure the clamp is aligned with the shield braid and not
heat shrink.
UFB-A
UFB-B
D+
D-
D+
D-
MF-A
MF-B
Clamps Compressed
Around Shields Close
to the Heat Shrink
Nylon Rivet
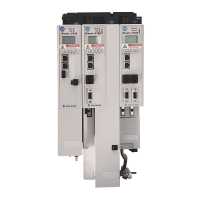
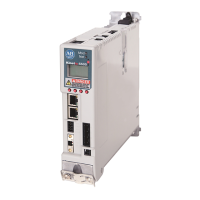
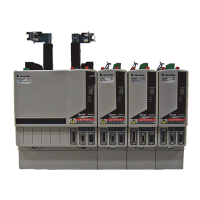
Dual-axis Inverter
(side view)
Clamp Spacer
Dual-axis Inverter
(front view)
Universal Feedback
(UFB) Connectors
Clamp Knob
Motor Power (MP) and
Motor Brake (BC) Connectors
Bulletin 2090-CPBM7DF
Power/Brake Cables
Conductors enter into the motor and brake connectors at
approximately 90° (between 75° and 105° is acceptable).
Stress Relief
Bends
2198-K57CK-D15M
Motor Feedback
Connector Kit
Clamps Compressed
Around Shields Close
to the Heat Shrink
Dual-axis Inverter
(side view)
Motor Power (MP) and
Motor Brake (BC) Connectors
Bulletin 2090-CPBM7DF
Power/Brake Cables
Service loops provide stress relief and the
conductors enter into the motor and
brake connectors at approximately 90°
(between 75 and 105° is acceptable).
75°…105°
Entry Into
Connectors
 Loading...