GERAFT LOGIQ P9/P7
D
IRECTION 5604324, REVISION 11 DRAFT (JANUARY 24, 2019) SERVICE MANUAL
8-158 Section 8-35 - Replacement of the BW printer
Section 8-35
Replacement of the BW printer
8-35-1 Manpower
1 person, 10 minutes
8-35-2 Tools
Standard Phillips Screwdriver.
8-35-3 Pre work
1) Remove Rear Cover. (refer to section 8-9)
2) Remove Top Cover (refer to section 8-7)
3) Remove Cable Cover Bracket. (refer to section 8-17)
4) Remove BW printer Power fix Bracket and Disconnect 2 BW printer cables from printer (refer to
section section 8-29-2)
8-35-4 Removal Procedure
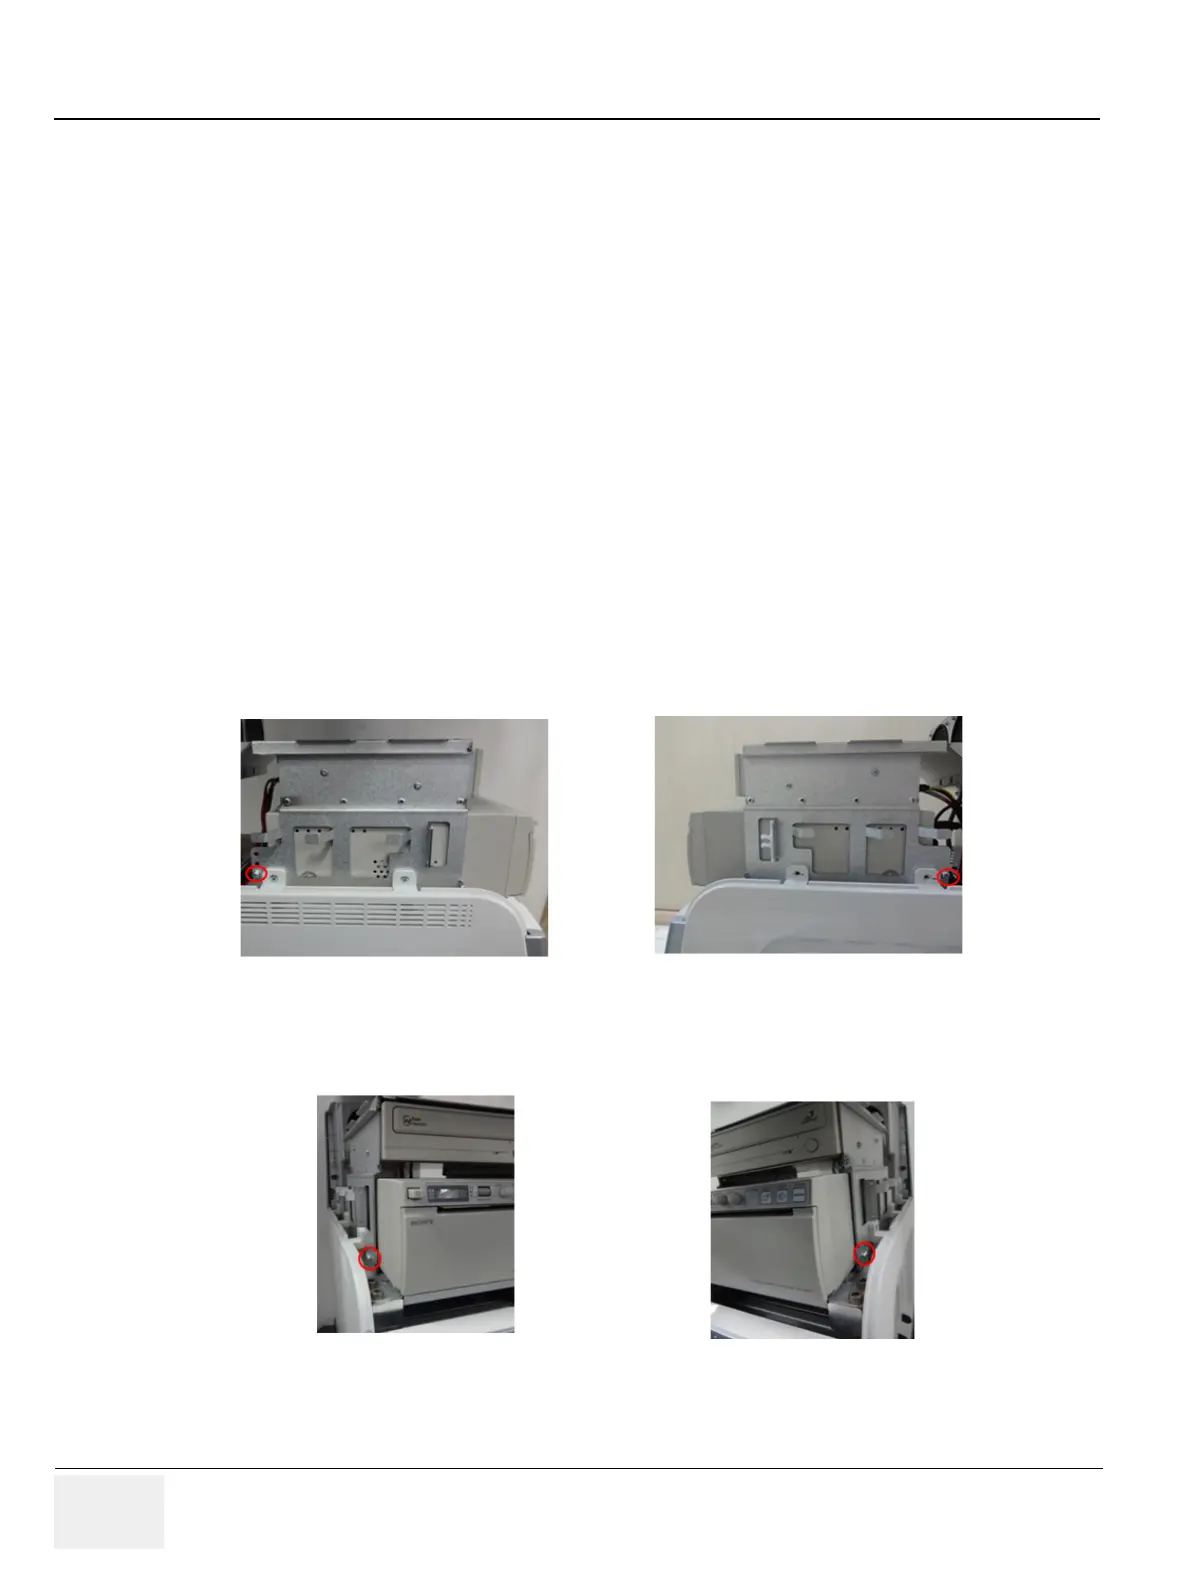
1) Remove 4 screws around BW printer. Refer to following figure.
Figure 8-186 4 screws points for removal of BW printer
Rear left
Rear right
Front left
Front right
 Loading...


