- 178 -
5. Fax
The transmission history displays only sent faxes whose destinations were directly entered.
1
Press [Fax/Internet Fax] or (Fax).
2
Set a document in the ADF or on the document glass.
3
Press [Internet Fax].
4
Check that [To] is selected.
To select [Cc] or [Bcc], press [To] several times.
5
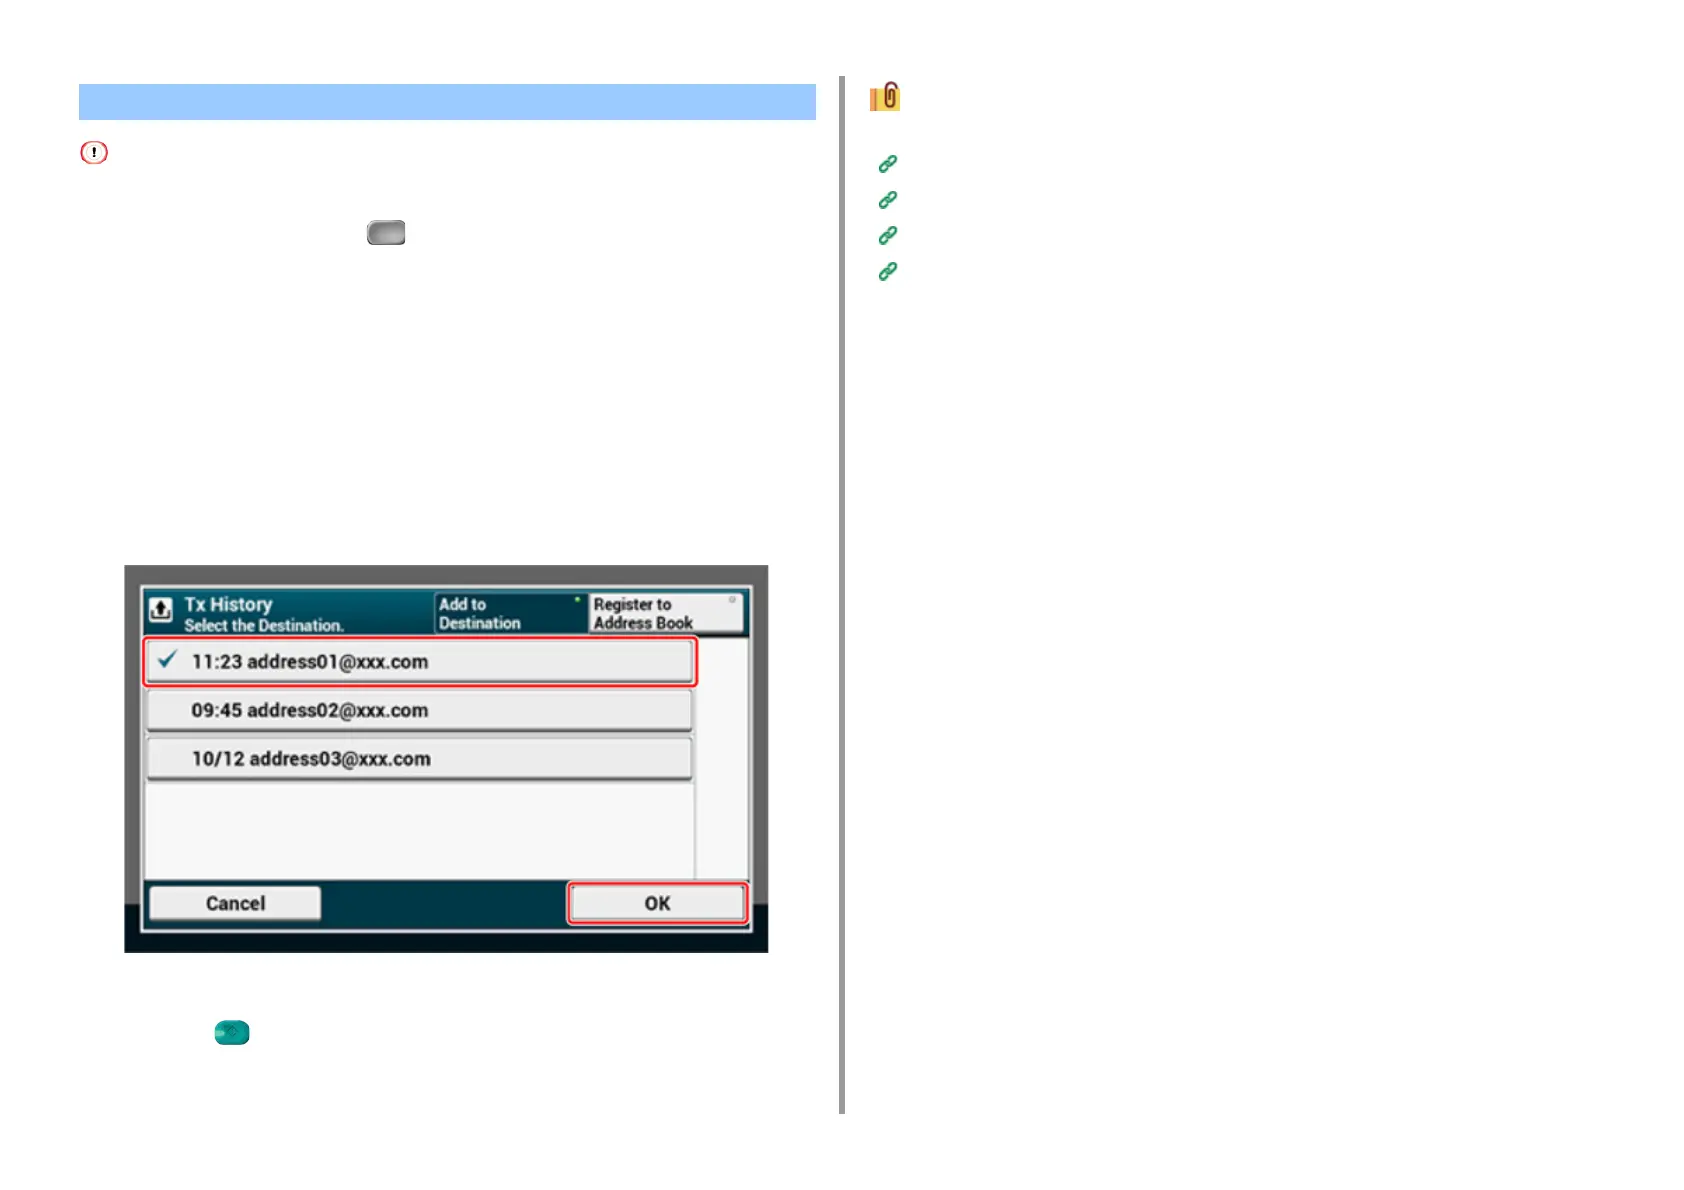
Press [Tx History] on the [Internet Fax] or [Basic] tab.
6
Select the destination, and then press [OK].
You can select multiple items.
7
Set scan settings if necessary.
8
Press the (START) button.
Specifying a destination in other methods
Entering a Destination E-mail Address
Specifying a Destination from Address Book/Group List
Selecting a Destination Using One Touch Buttons
Searching for a Destination in the LDAP Server
Selecting a Destination from Transmission History

 Loading...


