- 74 -
3. Scan
Saving Scanned Data in a Shared Folder
4
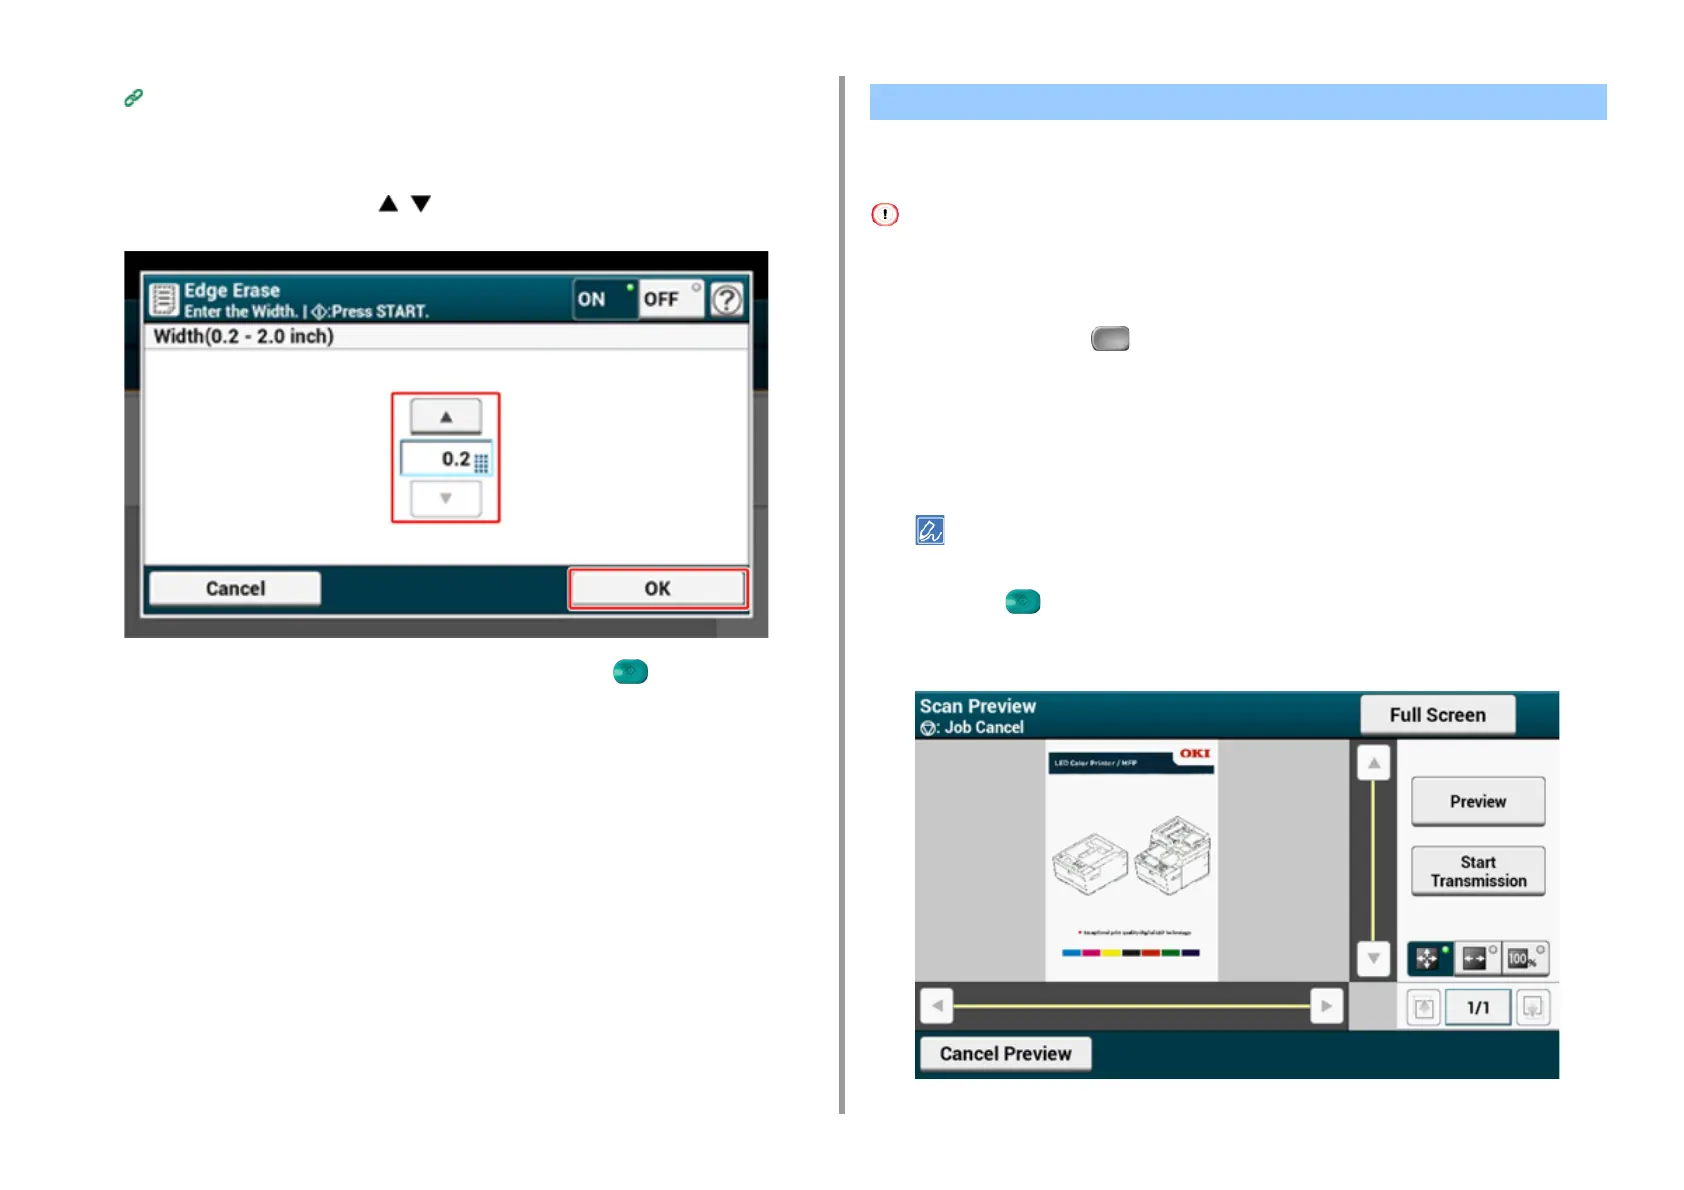
Press [Edge Erase] on the [Image Settings] tab.
5
Enter a value from 5 to 50 mm (0.2 to 2.0 inches) in [Width] by using the
numeric keypad or pressing on the touch panel, and then press [OK].
6
Change other settings if necessary, and then press the (START) button.
Using the Preview function, you can check the scanned image on the touch panel before
saving or sending.
• The image previewed on the display does not completely match the printout. Use the function to check the content
or orientation of scanned documents.
• For the Scan To Computer, Remote Scan, or WSD Scan function, Preview is not available.
1
Press [Scan] or the (SCAN) button.
2
Set a document in the ADF or on the document glass.
3
Select a scan method.
4
Press [Preview] on the [Advanced] tab to set it to [ON].
Pressing [Preview] switches between [ON] and [OFF].
5
Press the (START) button.
6
When preview image is displayed, check the scanned image.
Displaying a Preview Image

 Loading...


