- 84 -
3. Scan
Sending Scanned Data as an E-mail Attachment
This section describes how to send scanned data as an e-mail attachment.
• Before Using Scan To E-mail (User's Manual)
• Entering E-mail Address to Send E-mail (User's Manual)
• Specifying a Destination from Address Book or Group List
• Specifying a Destination Using One-touch Button
• Specifying a Destination from Transmission History
• Specifying a Destination Searching LDAP Server
• Setting the Sender's Address
• Setting the Reply Address
• Registering an E-mail Template
• Using an E-Mail Template
• Saving Transmission Data
• Checking Results of Scan To E-mail
You can select a destination from the address book or group list. You must register
destinations in the address book or group list in advance.
For details on how to add an e-mail address to the address book or group list, refer to "E-mail
Address".
1
Press [Scan] on the touch panel or (Scan) on the operator panel.
2
Set a document in the ADF or on the document glass.
3
Press [Scan To E-mail].
4
Press [Address Book] or [Group List] on the [Scan To E-mail] or [Basic] tab.
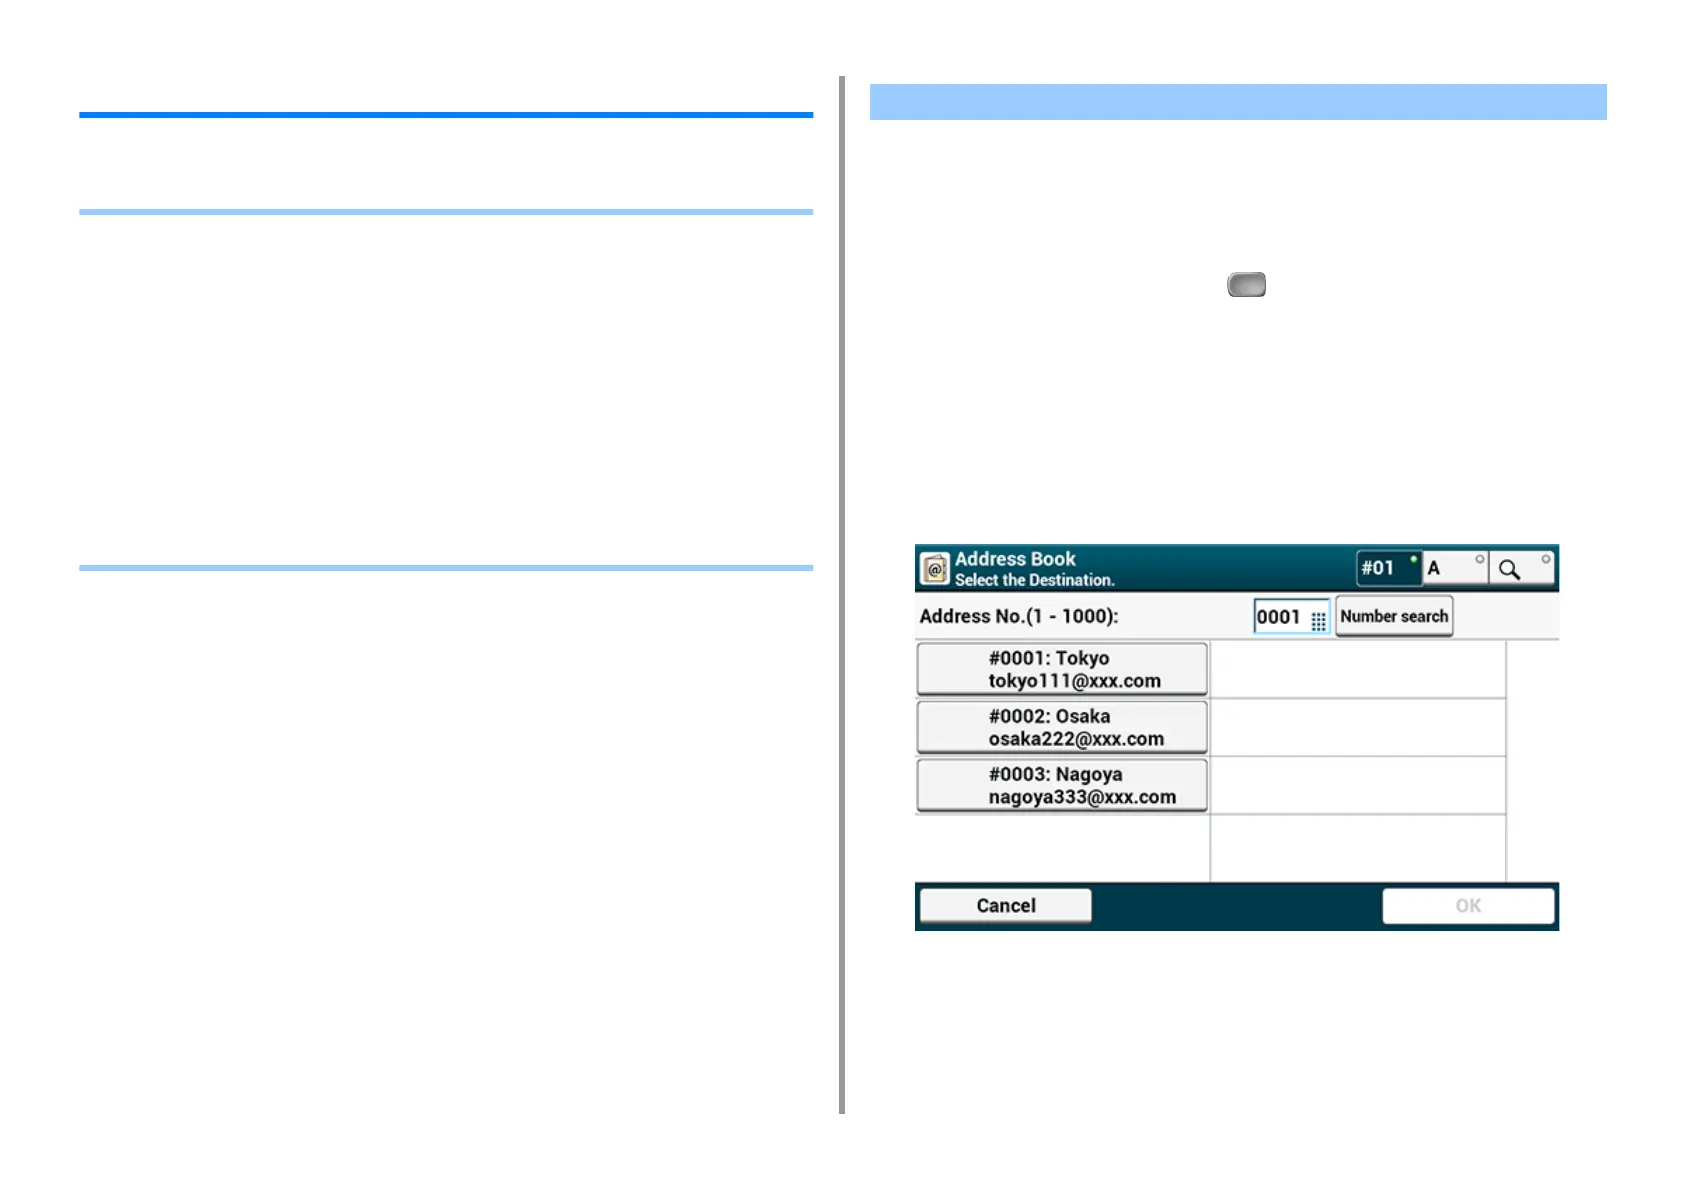
5
Select the transmission destination or group.
You can select multiple items.
6
When you complete the selection of all the destinations, press [OK].
7
Set scan settings if necessary.
8
Press [OK].
Specifying a Destination from Address Book or Group List

 Loading...


