Page 4-16 110XiIIIPlus Maintenance Manual 13185L-002 Rev. A 1/24/06
Section 4 Maintenance
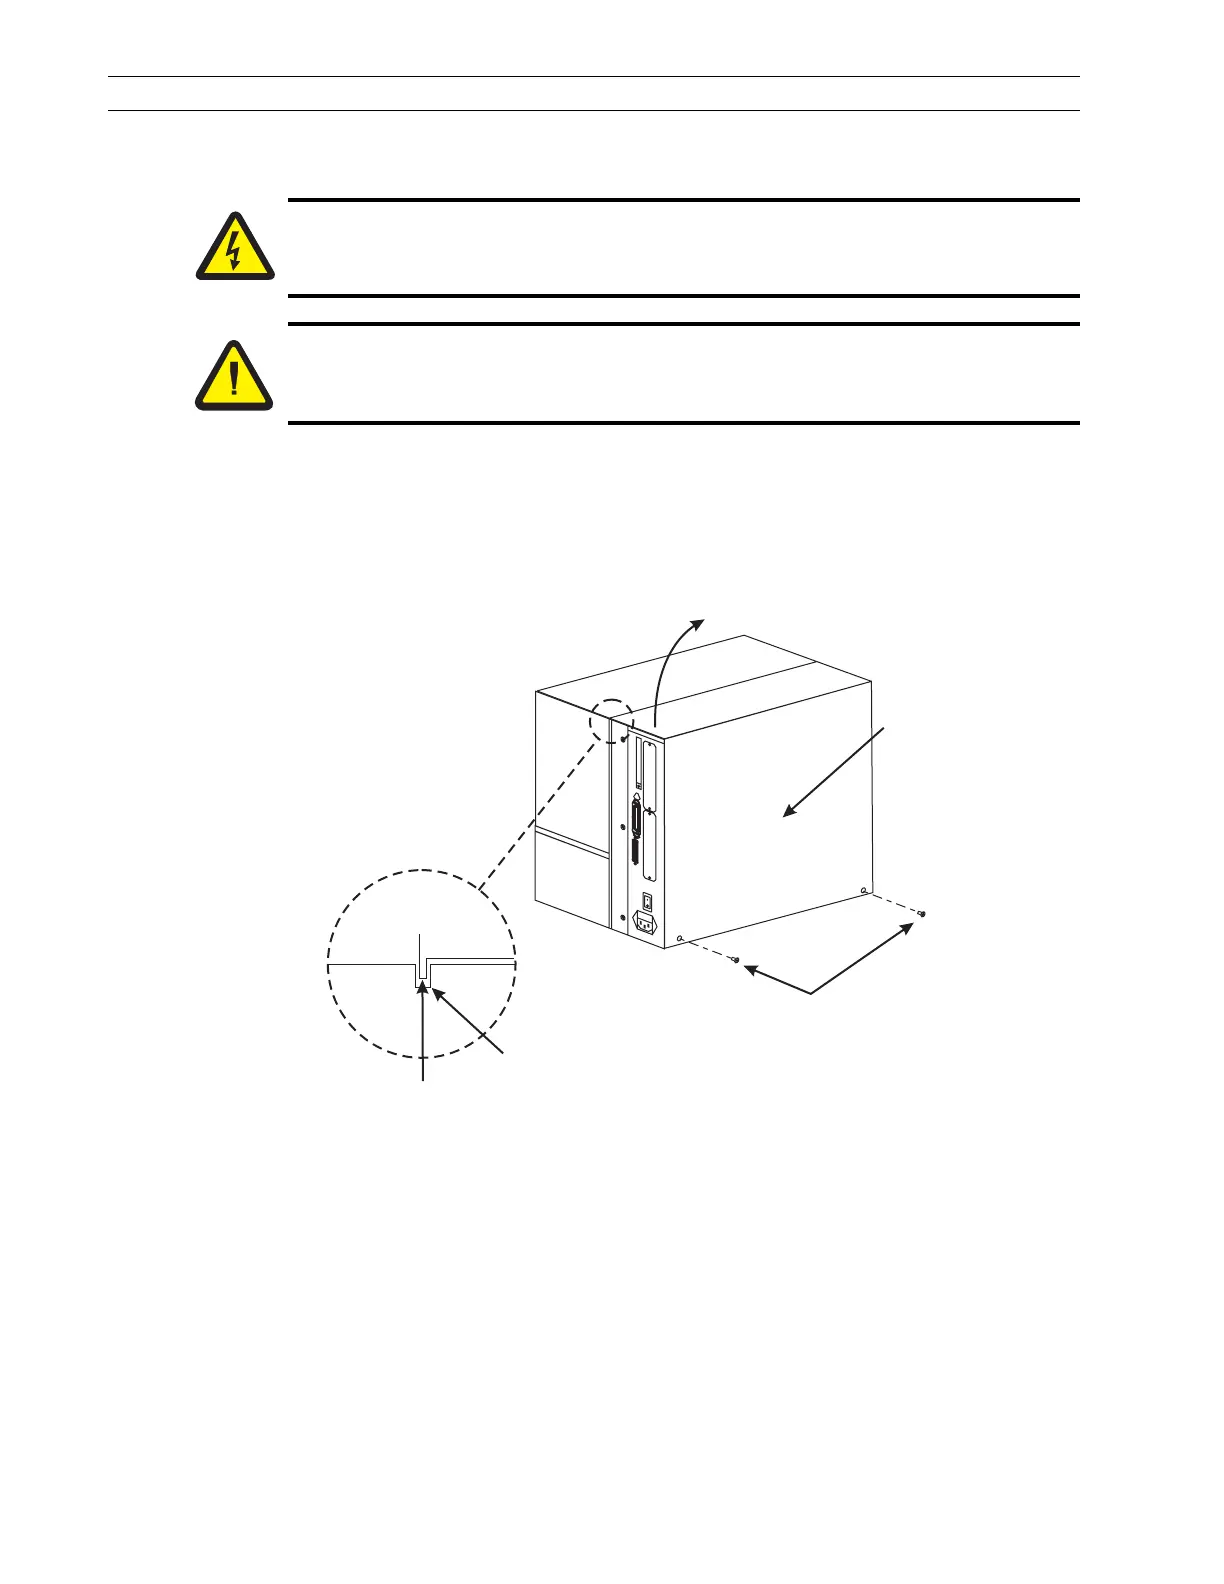
RRP No. 2: Remove and Install the Electronics Cover
Refer to Figure 4-7. Remove the two screws located near the bottom. Lift the electronics
cover at the rear top corner as shown and pull the corner forward and up. Lift the cover up
and away from the printer.
To install the cover, lower the cover so the lip goes into the channel on the top of the
printer and reinstall the screws.
Figure 4-7. Remove and Install the Electronics Cover
Caution:
Unless indicated otherwise, turn the printer Off (O) and disconnect the printer
from the power source before performing the following maintenance.
Caution:
This installation must be performed by a qualified service technician.
Electronics Cover
(Left-Hand Side)
Liftupat
rear corner.
Screws
Channel
Lip of Cover
 Loading...