EasyManua.ls Logo

Zebra ZXP 9 Series User Manual

Zebra ZXP 9 Series
450 pages
To Next Page IconTo Next Page
To Previous Page IconTo Previous Page
Page #430 background imageLoading...
Page #430 background image
422 ZXP Series 9 Card Printer Service Manual P1086708-001
Magnetic Card Encoder
Magnetic Encoding Type
AAMVA
The data stored on magnetic stripes on American driver’s licenses is specied by the American
Association of Motor Vehicle Administrators (AAMVA).
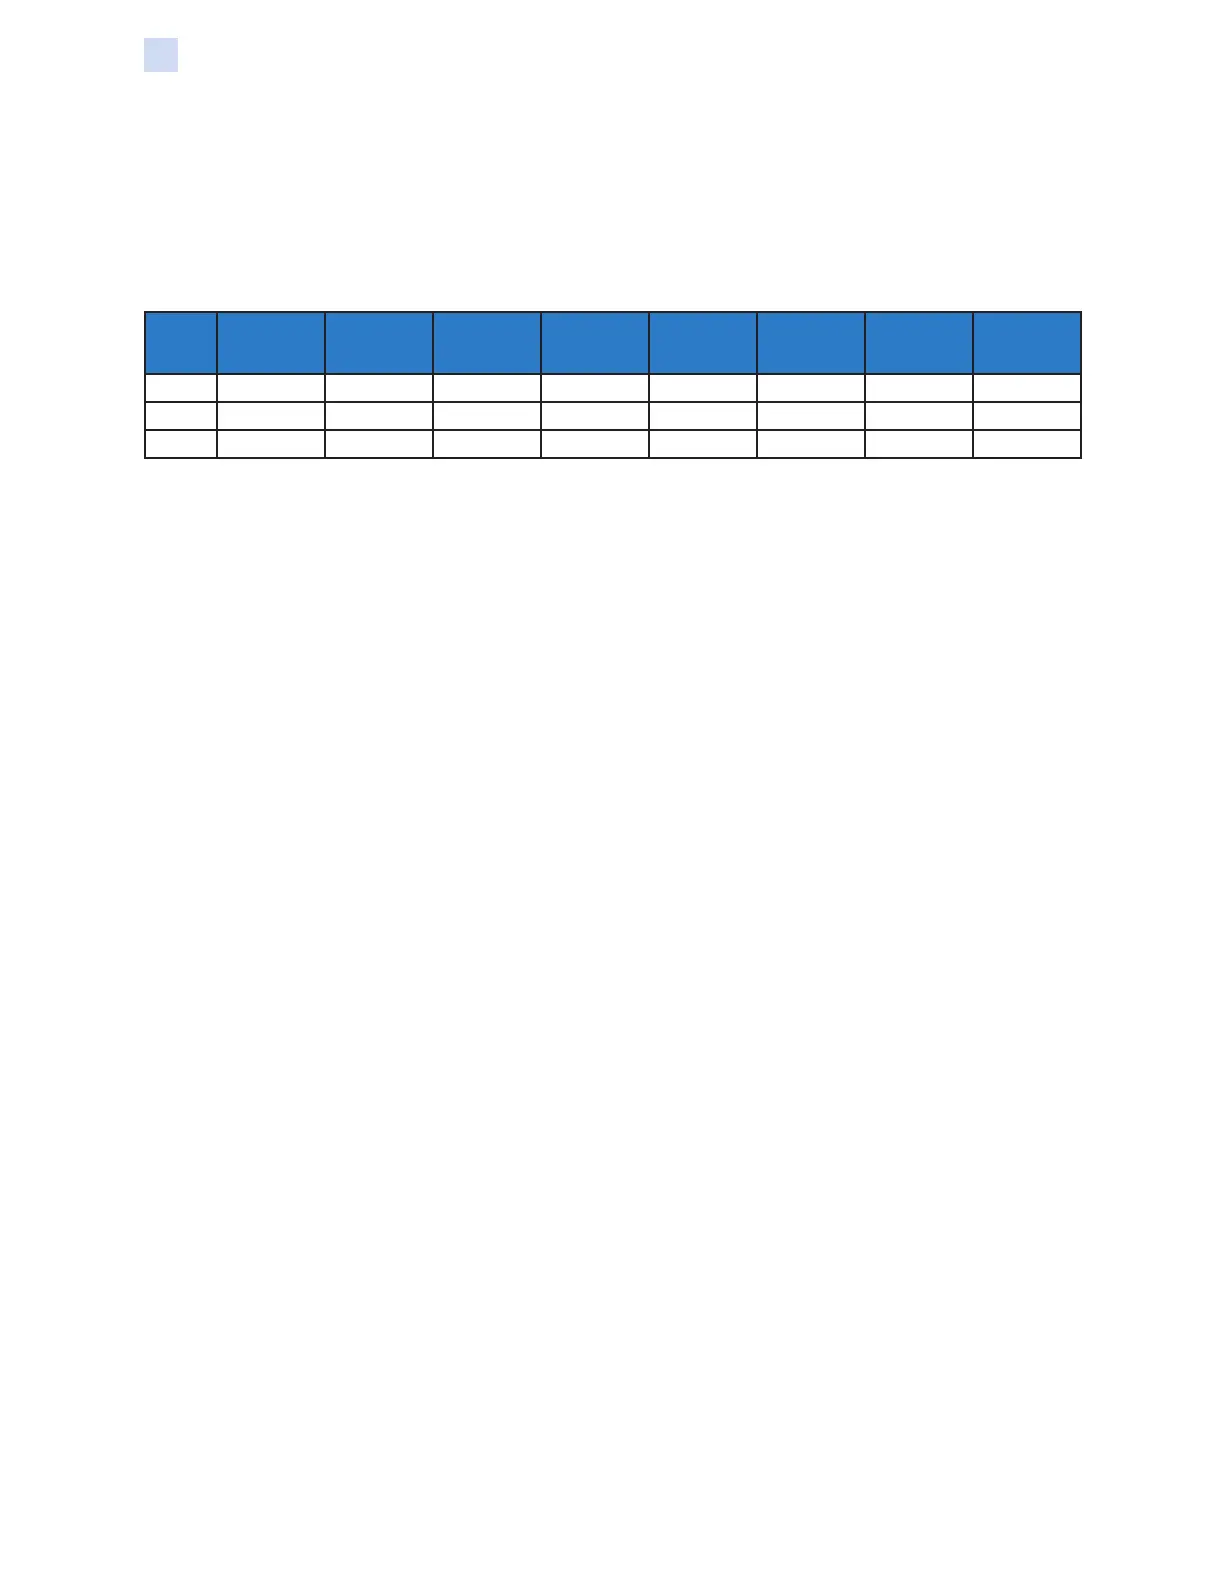
Alpha-numeric characters on Tracks 1 and 3, numerals only on Track 2.
Track
Density (bits
per inch)
Bits per
character
Character
parity
Length
(characters)
LRC parity Start sentinel End sentinel
Start sentinel
offset inches
(mm)
1 210 7 Odd 79 Even % ? 0.293” (7.4)
2 75 5 Odd 37 Even ; ? 0.293” (7.4)
3 210 7 Odd 79 Even % ? 0.293” (7.4)
CUSTOM
If a custom format is desired, the ISO standard format may be used as a starting point. The standard
format can then be modied by assigning different values to any or all of the density, character, and
sentinel attributes. (If any of these attributes is missing, its corresponding value in the standard ISO
format will be substituted.)
BINARY
The binary option allows the user to specify directly the value for each bit on the mag stripe.
In this “direct binary” mode, it is the host’s responsibility to fully populate the magnetic stripe; i.e., the
hex data provided by the host must include the leading zeros, start sentinel, data, end sentinel, LRC,
and trailing zeros. Note that the magnetic stripe is encoded from the right-hand end as viewed from
the “stripe” side, with the stripe uppermost. The least signicant bit of the data is encoded rst.
A sufcient number of leading zeros should be prepended to offset the start sentinel by
approximately 0.3” (7.5 mm) from the right-hand end, as in the ISO format. Care should be taken to
ensure that the payload data does not exceed the capacity of the tracks at their specied recording
densities. (In the binary mode, out-of-range data is not recorded, and no error condition will result.)
A CR-80 size card has a nominal capacity of 252 bits per track at 75 BPI, and 708 bits at 210
BPI. These capacities equate approximately to 31 hex bytes (248 binary bits) and 88 hex bytes
respectively.
The application developer or user can use a preamble or Macro to indicate to the driver that the data
following the Preamble or Macro is to be mag encoded.
The user can have encoding and printing data on the same card, and the driver will filter out the
encoding data from the printing data. The user does not have to know job control syntax or ZMotif
commands to send mag encoding commands to the printer.
Supported Macro commands are:
Step 1. C01<Track1 Data>
C02<Track2 Data>
C03<Track3 Data>
Step 2. ${1<Track1 data>}$
${2<Track2 data>}$
${3<Track3 data>}$
Step 3. ~1=<Track1 data>
~2=<Track2 data>
~3=<Track3 data>
Using Partial-Width Laminate

Table of Contents

Question and Answer IconNeed help?

Do you have a question about the Zebra ZXP 9 Series and is the answer not in the manual?

Zebra ZXP 9 Series Specifications

General IconGeneral
Resolution300 dpi
Card Capacity Output100 cards
Memory64 MB
InterfaceUSB, Ethernet
Operating Humidity20% to 80% non-condensing
Print TechnologyDye Sublimation
Print Speed YMCKUp to 190 cards/hour
Card Capacity Input100 cards
Card SizesCR-80 ISO 7810
ConnectivityUSB, Ethernet
Operating SystemWindows, Linux
OptionsMagnetic stripe encoding
Power Requirements100-240V AC, 50/60Hz
Operating Temperature15°C to 35°C
Card Thickness10-40 mil

Summary

1 Introduction

Printer and Laminator Components

Identifies key physical parts of the printer and laminator, aiding in understanding the device layout.

Icons

Explains the meaning of various icons used throughout the manual to highlight important information.

2 Setup

Unpacking the Printer

Provides step-by-step instructions for safely removing the printer from its packaging and preparing it for setup.

Loading Cards

Details the correct procedure for inserting cards into the printer's input hopper for printing.

Installing the Card Hoppers

Guides users on how to attach the input and output hoppers to the printer.

Opening the Printer

Explains how to safely open the printer cover for access to internal components.

Loading the Transfer Film

Describes the process of installing the transfer film onto the correct spindles for printing.

Loading Print Ribbon

Provides instructions for installing the print ribbon onto the supply and take-up spindles.

Loading the Laminate

Details the steps for loading laminate rolls into the printer's laminate cassettes.

Connecting a USB Cable

Explains how to connect the printer to a computer using a USB cable for data transfer.

Connecting an Ethernet Cable

Guides users on connecting the printer to a network using an Ethernet cable.

3 Software

Installing the Software

Covers the installation process for the printer driver and related software from the provided CD or download.

Supported Operating Systems

Lists the operating systems compatible with the printer driver and sharing configurations.

Installing the USB Printer Driver

Provides a detailed guide for installing the printer driver for USB connectivity.

Installing the Ethernet Printer Driver

Outlines the steps for installing the printer driver for Ethernet network connectivity.

Printer Configuration

Introduces the printer configuration settings available through the driver for customizing print jobs.

Printing Preferences

Explains how to access and use the Printing Preferences panel to set print job parameters.

4 Operation

Printing a Test Card

Describes how to print a test card to verify printer functionality and print quality.

Manual Card Feed

Details the procedure for manually feeding single cards into the printer for printing.

Operator Control Panel (OCP)

Explains the function of the printer's display and control buttons for accessing menus.

Messages

Lists and explains operational messages displayed by the printer during normal use.

Error Messages

Lists and explains error messages that indicate the printer has stopped operating and requires attention.

Loading the Laminate

Provides step-by-step instructions for loading laminate rolls into the printer's laminate cassettes.

5 Theory of Operation

Card Movement During Printing

Describes the step-by-step path a card takes through the printer during the printing process.

Printing Technologies and Ribbons

Explains the dye sublimation and thermal transfer printing technologies used by the printer.

Retransfer Process

Details the four-step retransfer printing process, from image transfer to card application.

6 Maintenance

Cleaning the Printer

Provides instructions for cleaning key printer components to maintain print quality and performance.

Cleaning the Laminator

Guides users on cleaning essential parts of the laminator to ensure proper operation.

Cleaning the Printhead

Explains the procedure for cleaning the printhead to resolve print anomalies.

Magnetic Encoder Cleaning

Describes the process for cleaning the magnetic encoder head to improve encoding accuracy.

7 Troubleshooting

OCP Error Messages

Lists OCP error codes, their possible causes, and recommended solutions for troubleshooting.

Clearing a Card Jam

Provides instructions for resolving card jams within the printer and the laminator.

Identifying Job Quality Issues

Helps diagnose and resolve common issues related to print and transfer quality.

Ethernet Indicators—Detail

Explains the function of the Ethernet port's link/activity and speed indicator LEDs.

8 Setting Custom Card Specifications

Process

Outlines the steps to define custom card types with specific printing and encoding parameters.

Adjustments

Details how to adjust basic parameters like transfer temperature and speed for optimal card printing.

Partial Transfer

Provides steps to correct issues where the image is not fully transferred to the card.

Warpage

Offers solutions to prevent or correct card warpage during the printing process.

9 Network Operations

Printer Connections

Describes the different methods for connecting the printer to an Ethernet network.

Adding a Network Printer (Windows 7)

Guides users through the process of adding a network printer in a Windows 7 environment.

Wi-Fi Connectivity

Explains how to set up and configure the printer for wireless network connection.

Setup via Browser Console

Details how to configure wireless settings using the printer's web browser interface.

Printer Pooling

Explains how to configure printer pooling in Windows to distribute print jobs across multiple printers.

10 Accessing a Network Printer via a Web Browser

Procedure

Outlines the steps to access and manage the printer's settings through its web interface.

11 ZXP Toolbox

Introduction

Introduces the ZXP Toolbox as an advanced utility for printer setup, configuration, and troubleshooting.

Dashboard

Provides an overview of the printer's status and configuration information, not editable by the user.

Printer Configuration

Explains how to update firmware, configure operator panel settings, and manage printer settings.

Encoding Settings

Guides users on configuring and testing magnetic and smart card encoding options.

Calibrate

Describes how to calibrate printer settings like transfer temperature and print position.

Tools & Utilities

Covers diagnostic tools, test cards, and cleaning procedures available within the Toolbox.

Advanced Settings

Explains advanced functions for power, mechanical, and laminator adjustments.

Security

Details how to manage printer access, passkeys, and security roles within the Toolbox.

12 Replacement Procedures for the Printer

Required Tools

Lists the necessary tools and kits required for performing printer component replacement procedures.

Removal Sequence

Illustrates the recommended order for disassembling printer components for access.

Top Cover

Details the steps to remove and replace the printer's top cover.

Card Feeder Assembly

Provides instructions for removing and replacing the printer's card feeder mechanism.

Main PCBA

Guides users through the process of removing and replacing the printer's main printed circuit board assembly.

Power Supply (24V, 350W)

Explains how to remove and replace the printer's power supply unit.

Mag Encoder

Details the procedure for removing and replacing the magnetic card encoder module.

Contact Station PCBA

Provides instructions for removing and replacing the smart card contact station PCBA.

13 Replacement Procedures for the Laminator

Required Tools

Lists the tools needed for performing maintenance and replacement on the laminator.

Removal Sequence

Outlines the recommended order for disassembling the laminator for component access.

Laminator

Covers the process of detaching and attaching the laminator unit to the printer.

Laminator Heater Assembly

Details the steps for removing and replacing the laminator's heater assembly.

Halogen Bulbs

Explains how to replace the halogen bulbs used in the laminator's heating system.

Laminator Controller PCBA

Guides users through the removal and replacement of the laminator's main control board.

Front Frame

Provides instructions for removing and reinstalling the laminator's front frame assembly.

Cassette Latch Assembly (Top & Bottom)

Details the procedure for removing and replacing the cassette latch mechanisms.

14 Magnetic Card Encoder

Driver Setting

Explains how to configure magnetic encoder settings through the printer driver's preferences.

Media Loading Orientation

Provides instructions on the correct orientation for loading magnetic stripe cards into the printer.

Magnetic Encoding Type

Describes the different magnetic encoding formats (ISO, AAMVA, Custom, Binary) supported by the printer.

15 Smart Card Encoder

Driver Setting

Guides users on setting the smart card type within the printer driver for optimal performance.

Media Loading Orientation

Explains the correct way to orient smart cards when loading them into the printer.

Contact Station Smart Card Interface

Details the connection points and pinouts for interfacing with smart cards via the contact station.

Laminating Contact Smart Cards

Explains the process of applying laminate to contact smart cards, including specific cutout patterns.

16 Field Upgrades

Placing Labels

Shows where upgrade labels are placed on the printer and its shipping box for identification.

Field Upgrade Labels

Identifies the labels associated with common field upgrades like Wi-Fi and MIFARE encoders.

17 Packing for Shipment

Printer

Provides detailed instructions for safely packing the printer for shipping, including component removal.

Printer with Laminator

Guides users on the proper procedure for packing the printer with an attached laminator for shipment.

Related product manuals