Rockwell Automation Publication 2094-UM002G-EN-P - August 2016 227
Remove and Replace the Kinetix 6200 and Kinetix 6500 Drive Modules Chapter 9
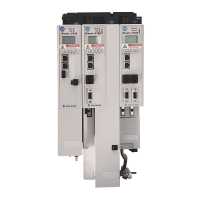
Replace Kinetix 6200 and
Kinetix 6500 Drive Modules
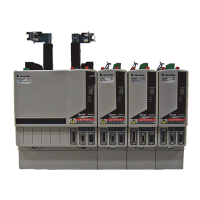
Follow these steps to replace control modules, power modules, shunt modules,
and slot-filler modules from the Bulletin 2094 power rail.
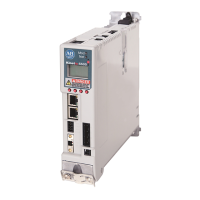
Replace the Drive Modules
Follow these steps to replace the drive modules.
1. Determine your power module, shunt module, or slot-filler module
replacement.
2. Prepare to mount your replacement drive module by removing the
protective covers from the power rail connectors.
3. Hang the mounting bracket from the slot on the power rail.
4. Align the guide pins on the power rail with the guide pin holes in the
back of the drive module (refer to the figure above).
5. Use 2.26 N•m (20 lb•in) torque to tighten the mounting screw.
If you are Then
Replacing a drive module on an existing power rail Go to step 3.
Replacing a drive module on a new power rail Go to step 2
.
IMPORTANT Power rails must be in vertical orientation before replacing drive
modules for pins to seat properly.
TIP The IAM power module can have two or three power rail connectors
and guide pins, the AM power module can have one or two, all
other modules have only one connector and one guide pin.
 Loading...