GE DRAFT VOLUSON™ P8 / VOLUSON™ P6
DIRECTION 5723243, R
EVISION 6 DRAFT (MAY 23, 2018) BASIC SERVICE MANUAL
Chapter 3 - Setup Instructions 3-39
28.)Finally click on Finish
29.)Assign the printer to the remote keys P1, P2 and/or P3
30.)Assign the printer as Report Printer
31.)Close app open windows, select Save & Exit and restart the system (turn off and on the system).
3-7-4 Installing the Deskjet Color Printer directly via an USB-cable
1.) Power off/Shutdown the system as described in: Section 3-6-3 on page 3-29.
2.) Connect the printer according to connection scheme:
3.) Power On/Boot Up the system as described in Section 3-6-2 on page 3-25
All software drivers are pre-installed for the designated printer only.
4.) Verify correct printer settings; Section 3-7-7 "Adjustment of Printer Settings" on page 3-48
5.) Assign the printer to the remote keys P1, P2, P3; see Section 3-7-8 "Remote Control Selection" on
page 3-52
6.) Assign the printer as Report Printer, see
3-7-5 Installing the DeskJet Color Printer via Bluetooth connection
NOTE: Installation of the DeskJet Color Printer has to be performed in sequential order!
Content in this section
3-7-5-1 Installing the Bluetooth Adapter and Software
1.) Turn ON the system and wait till the system has booted.
2.) Connect the Bluetooth Adapter according to connection scheme, see
3.) Connect the USB "standard GE" service dongle to the USB connector(s) on the rear of the system.
As soon as the dongle is detected the login window pops up. Remove the dongle.
4.) Enter the "Standard GE Revolving" password (changes every six months) and then click ENABLE
.
5.) Press the ALT
+ F4 key again to close the Ultrasound Application.
6.) Press CTRL
+ ESC key simultaneously and open the Windows start menu.
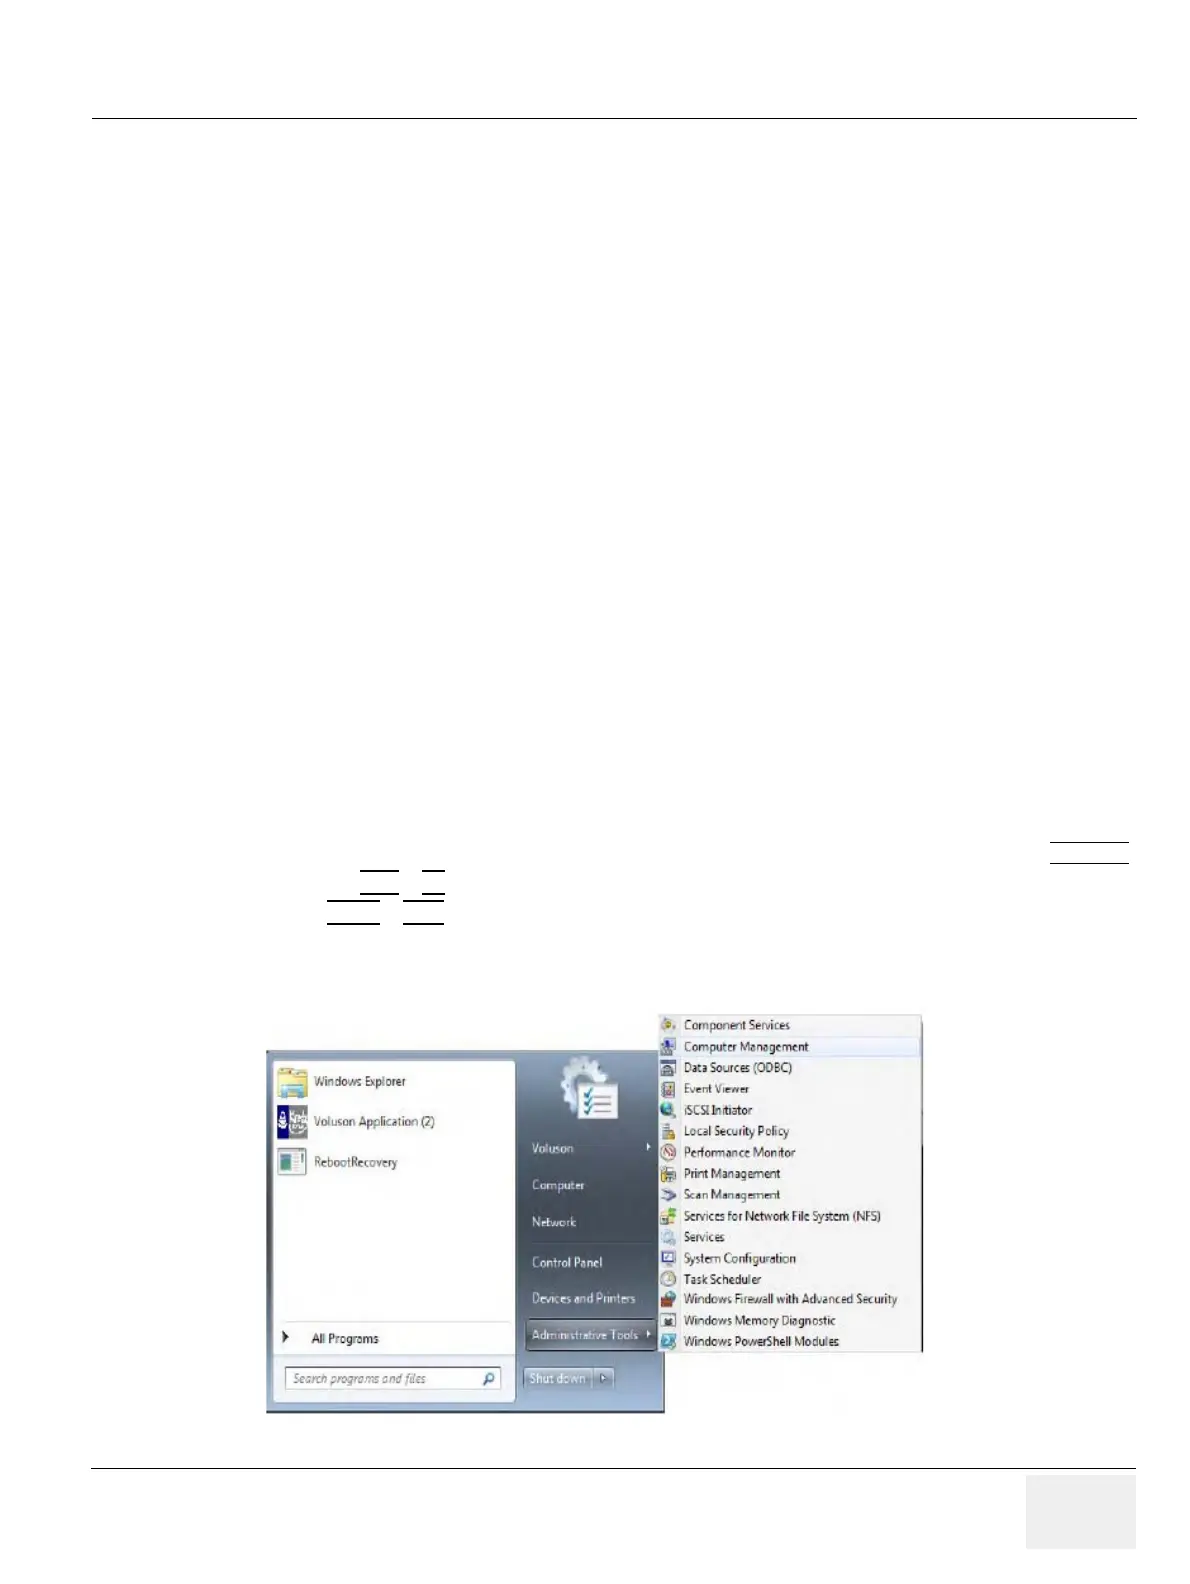
7.) Using the “Arrow” keys on the keyboard, select All Programs - Administrative Tools- Computer
Management.
Figure 3-33 select “WinExplorer” and double click the “Voluson_Bluetooth_Driver.exe” file
 Loading...


