03/2003
4-148
8850/ 510DP
ADJ 8.3
Repairs and Adjustments
ADJ 8.3 Cut Length
Purpose
The purpose is to calibrate the Printer to produce the correct length prints for each media type.
Prerequisite
1. Check the following:
a. Fuser Temperature (NVM) (ADJ 10.1)
b. Vertical Magnification (ADJ 8.1)
c. Lead Edge Registration (ADJ 8.2)
Adjustment
1. Enter diagnostics.
2. Enter code [0955] and make one 600 mm print and one 1200 mm print of Test Pattern #7.
3. Allow the prints to cool for five minutes.
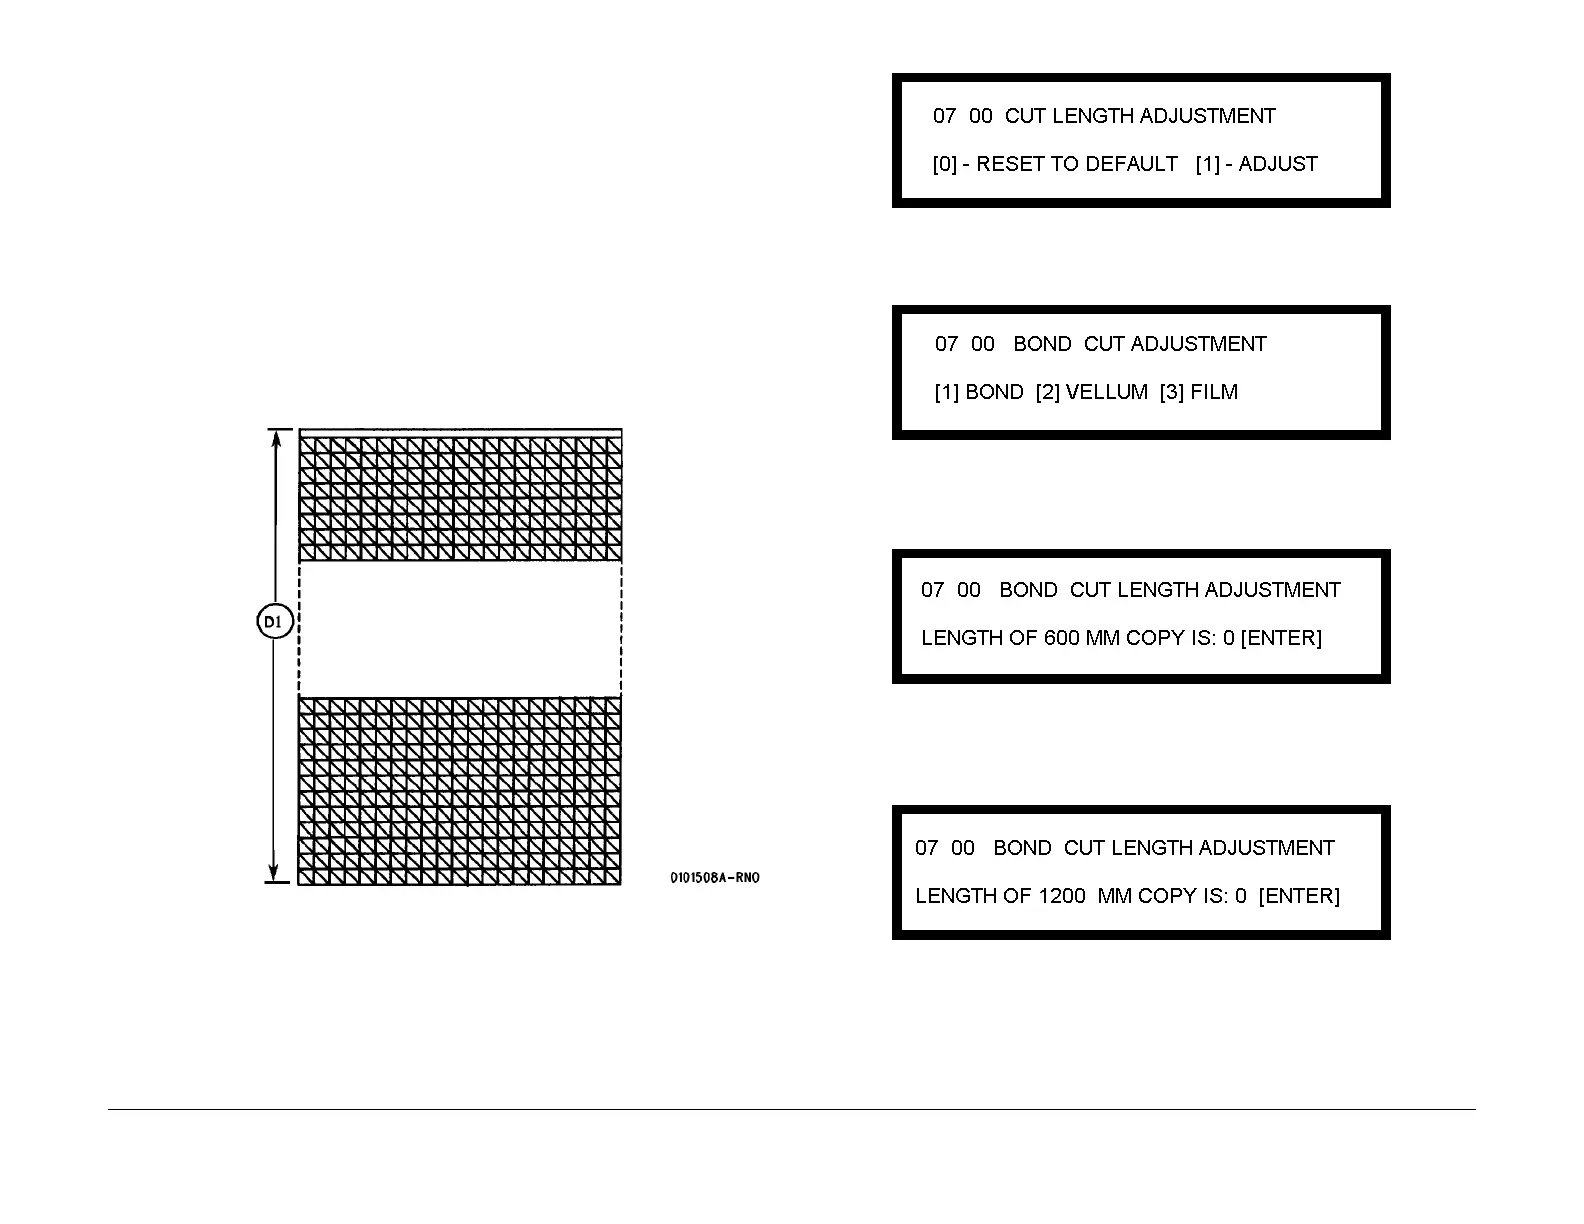
4. (Figure 1): Measure the two prints in the paper feed direction.
Figure 1 Checking the Print Length
5. (Figure 2): Enter code [0700] in order to adjust the Cut Length. Enter [1] to adjust.
Figure 2 Adjusting the Cut Length
6. (Figure 3): Select the media type to be adjusted.
Figure 3 Selecting the Media to Adjust
7. (Figure 4): Enter the measurement of the 600 mm print and press the Enter button.
Figure 4 Entering the 600 MM Length
8. (Figure 5): Enter the measurement of the 1200 mm print and press the Enter button.
Figure 5 Print Length
9. (Figure 6): Confirm the length adjustments.
 Loading...


