03/2003
6-3
8850/ 510DP
To Enter The Diagnostic Mode
General Procedures
To Enter The Diagnostic Mode
The diagnostic mode is entered by pressing and holding the zero (0) button while switching on
the Printer. The Diagnostic Mode may also be entered from the Control Panel by entering the
Printer Menu > Diagnostics, and entering the password (6789).
When entering the diagnostic mode, the Message Display will indicate the Copyright message,
the message ROM configuration, and the software revision level.
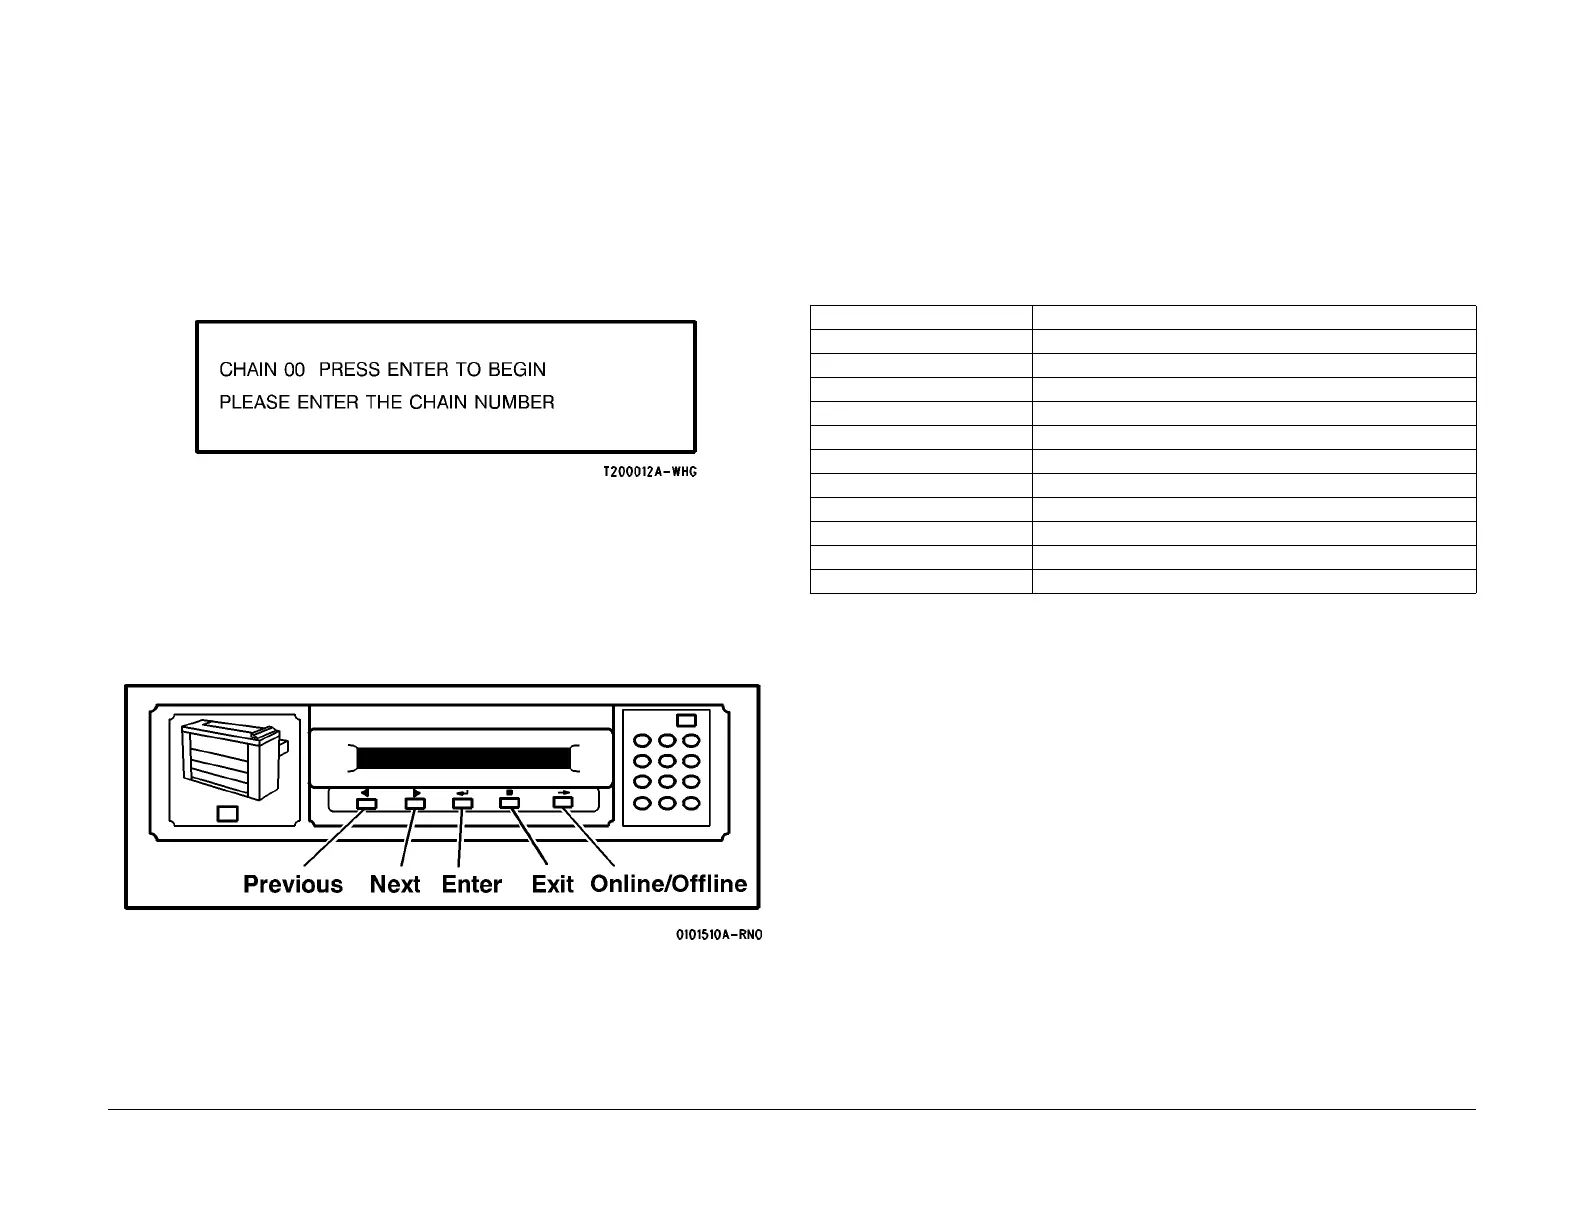
(Figure 1): The following message will be displayed when the diagnostic mode is entered.
Figure 1 Control Panel Buttons
Enter the first two digits of the code and press Enter button, then enter the second two digits of
the code, and press the Enter button to begin the test.
(Figure 2): The Control Panel buttons are identified in the following diagram:
Figure 2 Control Panel Buttons
The code entered will be displayed on the Control Panel. The test name will be in the bottom
line of the display along with test feedback information. There also may be additional informa-
tion displayed depending on the test being run.
The Exit button is used to stop the tests.
The Exit button is used to clear the entry.
The Test Codes consist of a chain number and a test number. The chain numbers correspond
to the same chain numbers that are used in the Service Manual to identify functional areas in
the Printer. The test numbers are sequential numbers to identify the tests within a chain.
The chain numbers used are listed below in Table 1.
Table 1
Chain Number Functional Area
01 Standby Power
02 User Interface (Control Panel)
03 Printer Run Control
04 Drives
06 Exposure
07 Media Supply
08 Media Transportation
09 Xerographics
10 Fusing/Print Transportation
11 Finishing
14 Communication
 Loading...


