03/2003
1-13
8850/ 510DP
Maintenance Procedures
Service Call Procedures
Maintenance Procedures
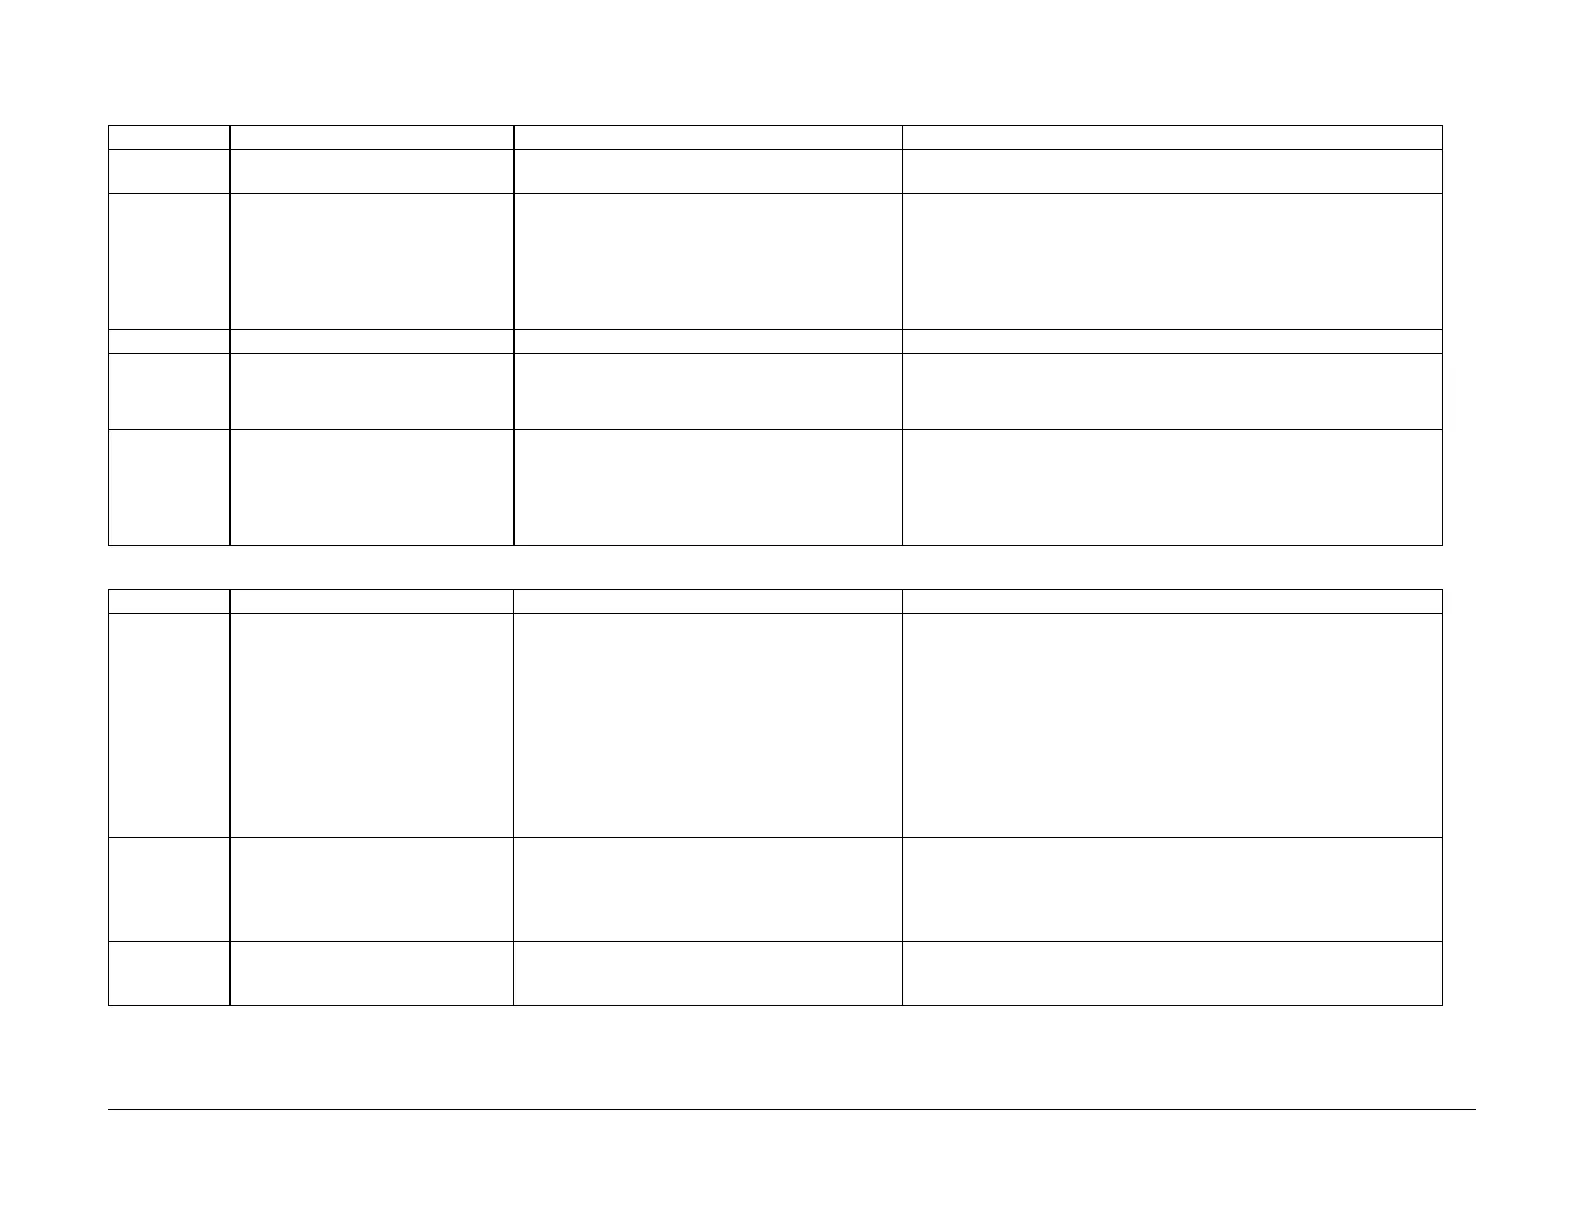
Table 1 Image Module
INTERVAL TASK REASON TASK ENABLER
Normal Call Check, clean, or repair spacing wheels
as required.
Contaminated, dirty or worn spacing wheels or Drum
ends cause print quality defects.
Clean or replace spacing wheels and the end surface of the Drum that the
wheels ride on.
Normal Call Check and clean, if required, the
charge Scorotron.
Contaminated grid, bent or contaminated pins. Worn
end blocks, are also causes for scorotron failure,
which results in print quality defects.
WARNING
The scorotron pin arrays are very sharp. Use care when handling the
assembly.
If contaminated, remove scorotron assembly and clean both sides of the
grid with a brush. Examine pins and clean with brush Only if contaminated.
Cleaning with a cloth can deposit lint that will cause print quality problems.
Normal Call Clean the image bar. Contamination causes print quality defects. Clean the image bar with a lint free cloth and lens cleaner.
15K ft.
4.5Km
Clean the Scorotron Screen. Contamination on the screen causes print quality
defects
Remove the Scorotron Screen and clean it with a brush.
NOTE: Do not use a cloth to clean the Scorotron Screen as it can leave lint
on the screen, causing print quality problems.
As Required Repair or replace the scorotron/ grid. Contamination causes print quality defects.
WARNING
The scorotron pin arrays are very sharp. Use care when handling the
assembly.
Replace the grid and/or pin array.
Perform ADJ 9.2 Electrostatic Series.
Table 2 Drum/ Cleaner Module
INTERVAL TASK REASON TASK ENABLER
Normal Call Clean the Drum/cleaner module.
Clean the Erase Bar.
Inspect the Drum for damage.
Inspect components for vellum con-
tamination.
Inspect all seals for damage.
Inspect the Cleaner Blade for damage.
Contamination can cause print quality problems. Con-
taminants can travel to the LED bar and scorotrons,
which results in print quality problems. Fused toner on
the bottom of the module can cause jams.
Contamination reduces the effectiveness of the lamp
to discharge the Drum.
Contaminants from vellum
- Cleaner failure
- Contaminants to prints.
Vellum contamination will contaminate and plug the
cleaner auger at the ends.
Clean the toner from the housing and cleaner blade with a vacuum cleaner.
NOTE: Ensure that the vacuum cleaner does not contact the edge of the
cleaner blade that touches the surface of the Drum.
Perform the Drum Cleaning Enhancement procedure in section 6. Use
cleaning solvent to remove any fused toner from the bottom of the module.
Replace the Drum if damaged.
Clean the Erase Bar with a brush or dry lint free cloth.
Replace any damaged xerographic module seals.
As Required Check/clean the Drum. Contamination/wear, scratches, or chips can generate
print quality problems.
Inspect Drum surface for deep scratches, chips or excessive wear. Replace
Drum if damaged.
Apply zinc stearate to the cleaning blade and Drum. *Note 2
Clean Drum surface with Xerox Film Remover if contaminated. Apply zinc
stearate when surface is dry.
As Required
*Note 3
Check/clean the cleaning blade.
Replace with the new Drum or as
required.
Residual image, streaks, Drum scuffing can occur if
the blade is worn or contaminated.
Vacuum clean the cleaning blade. *Note 1
Apply zinc stearate to the cleaning blade and Drum. *Note 2
Replace the blade if damaged.
 Loading...


